Oh oh..... another possible diversion?
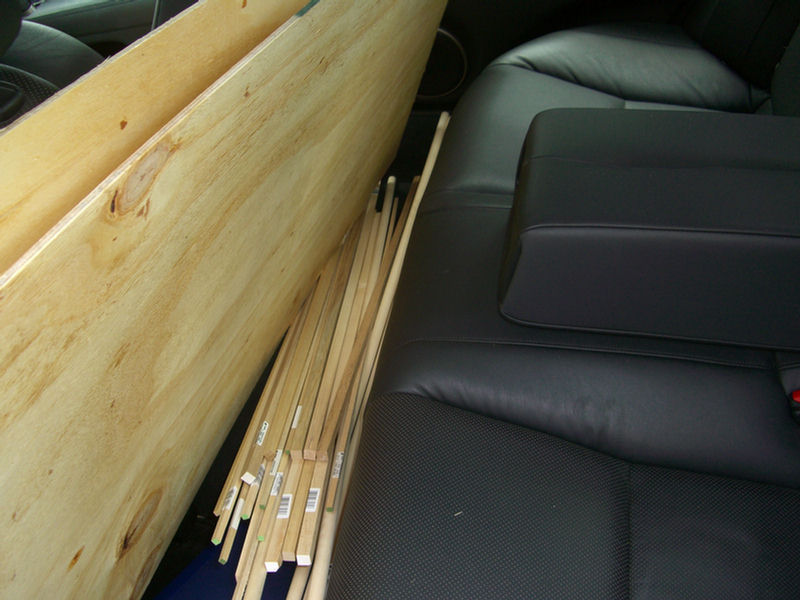
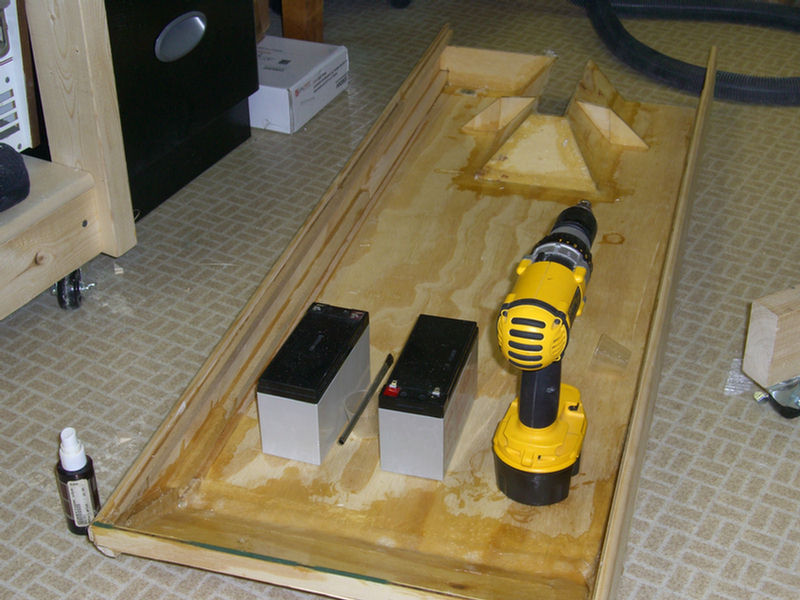
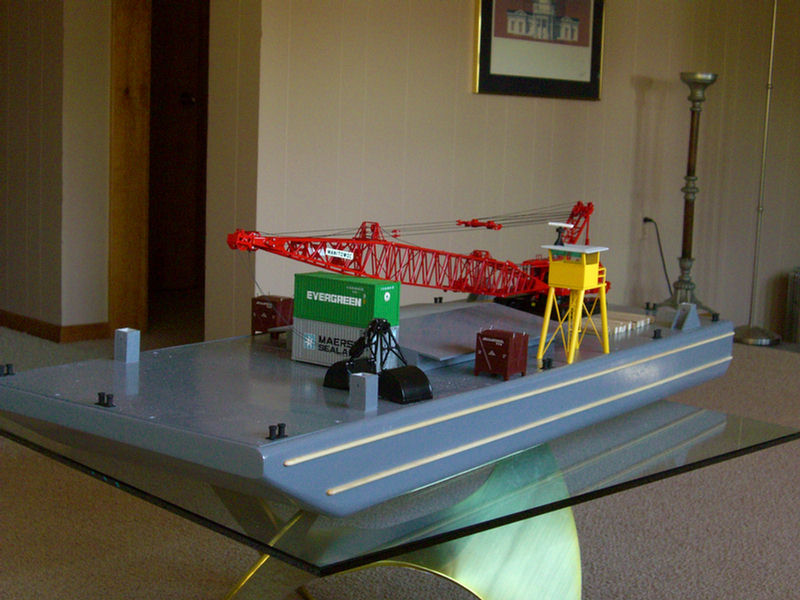
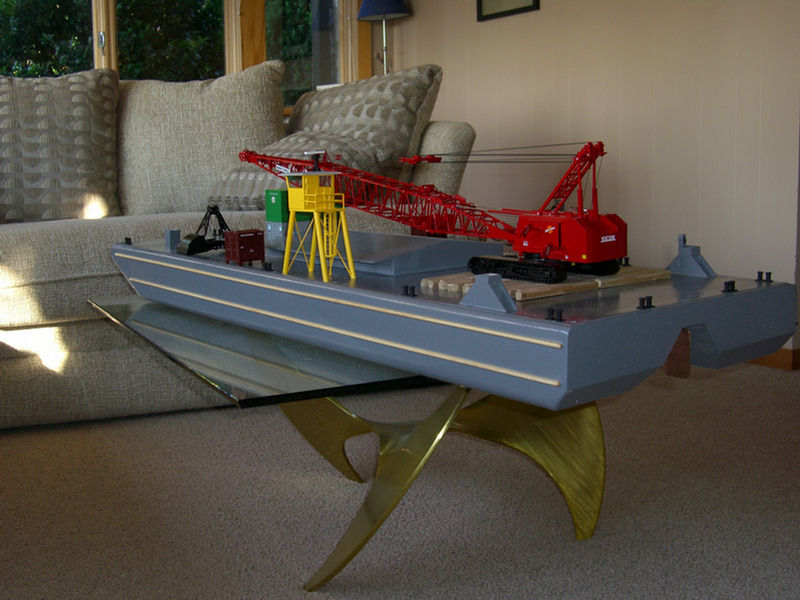
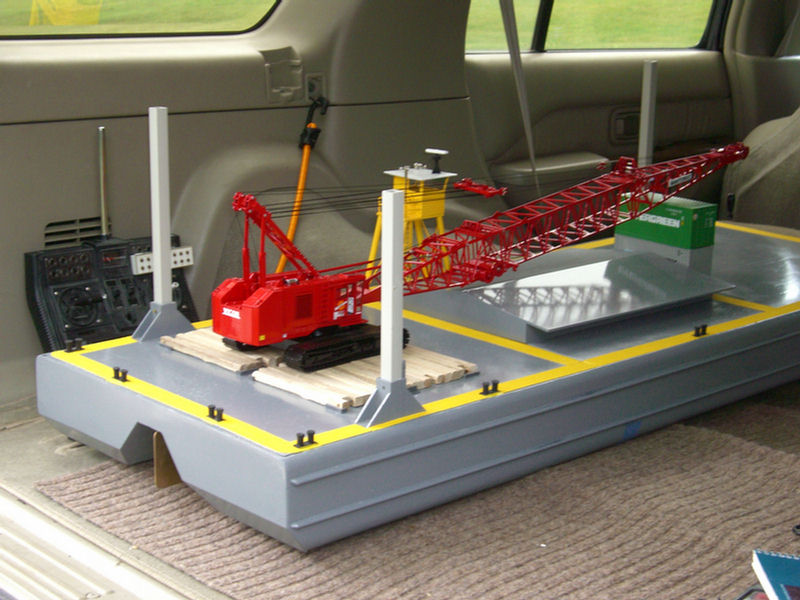
It is a start to my crane barge. 190' x 72' x 14' (full size) = 45 1/2" x 17 1/4" x 3 1/2" @ 1:48 scale
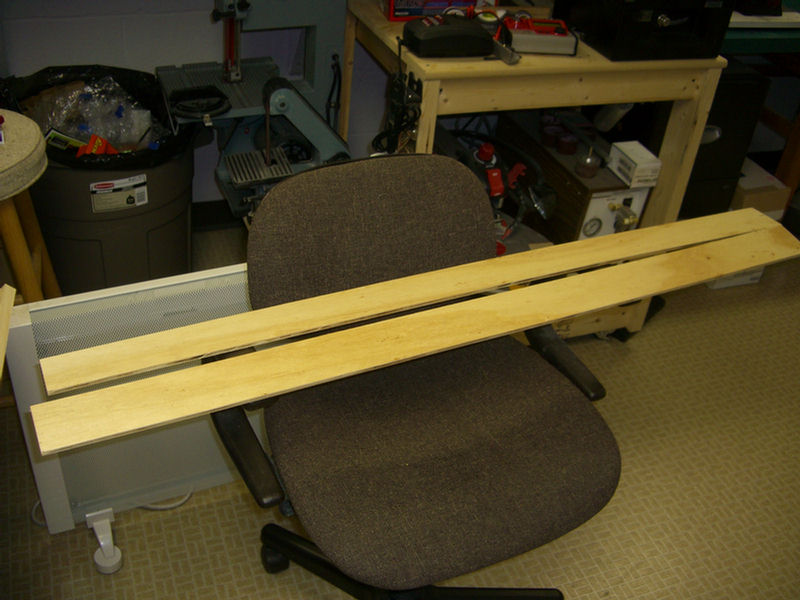
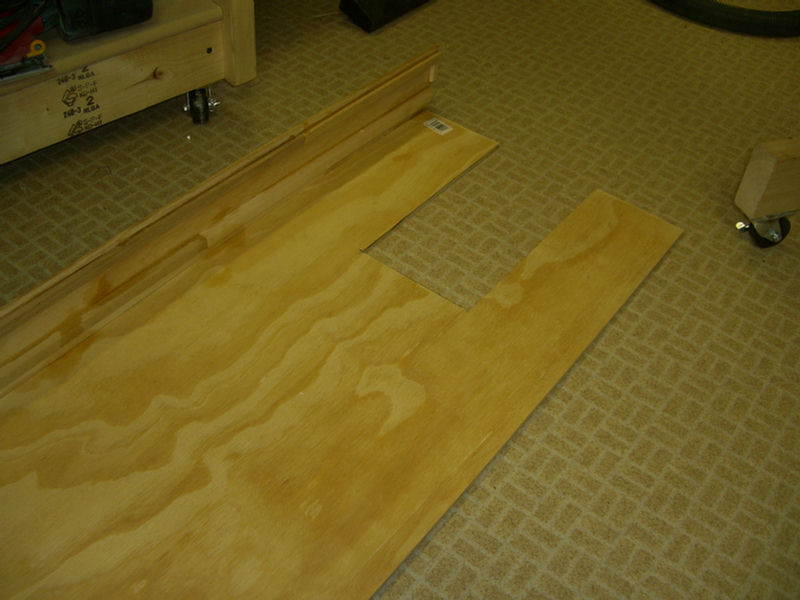
My two sides.
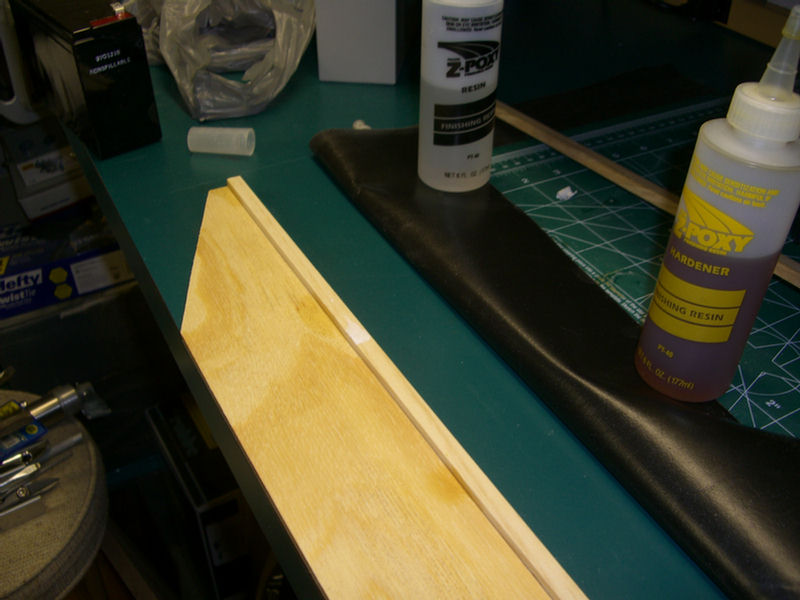
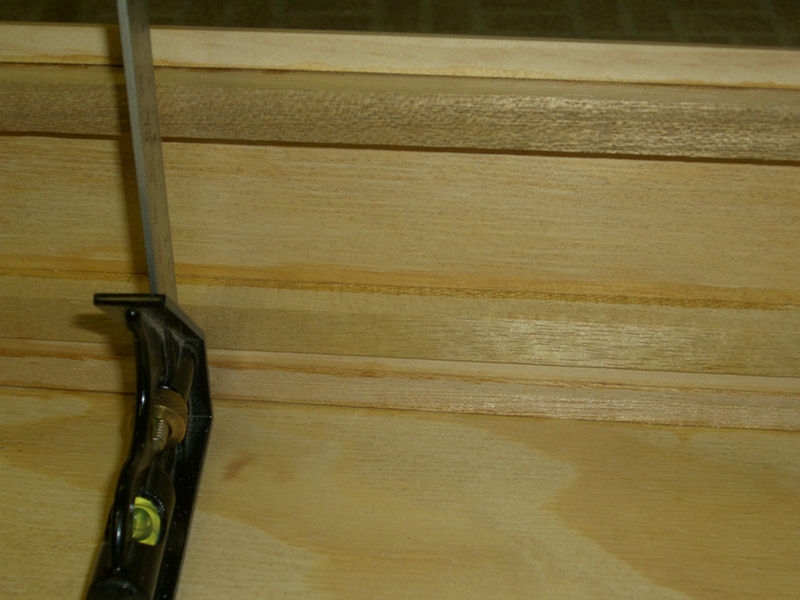
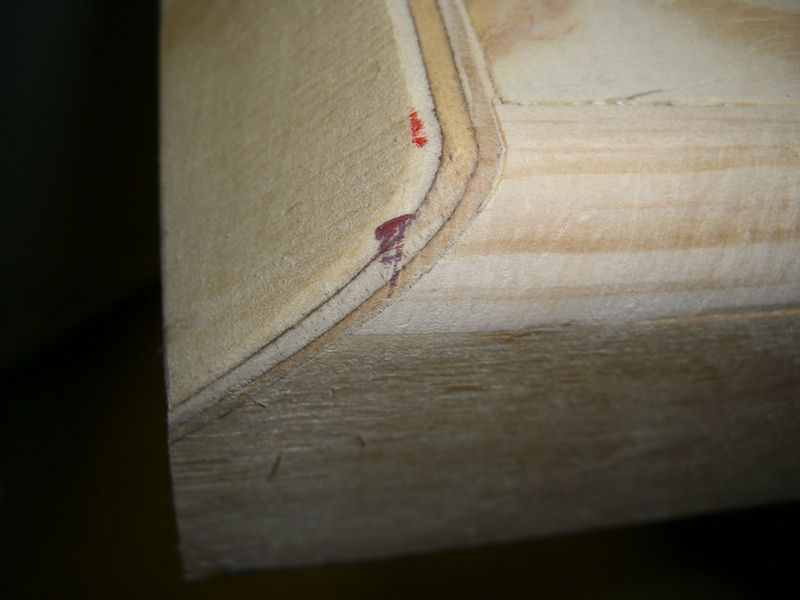
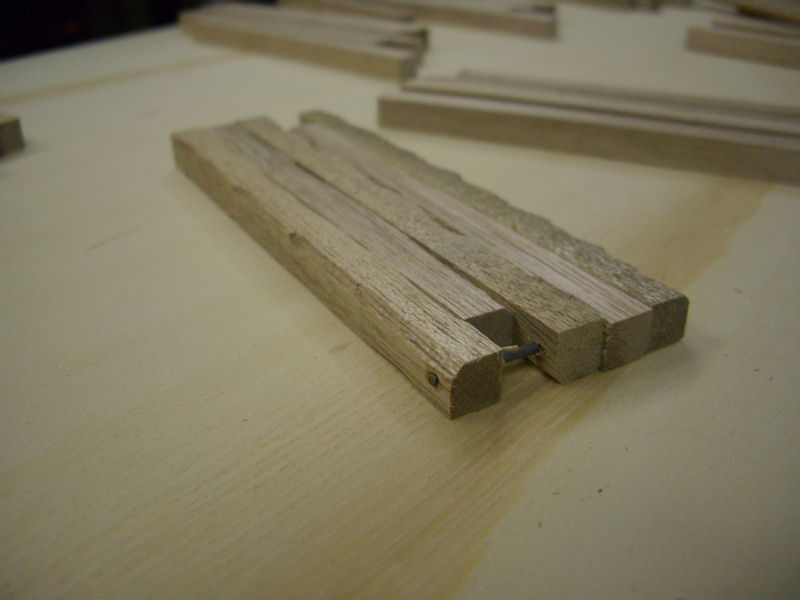
First quarter round being installed. (rounded edge is down)
Building the first side piece.
Attaching the starboard side.
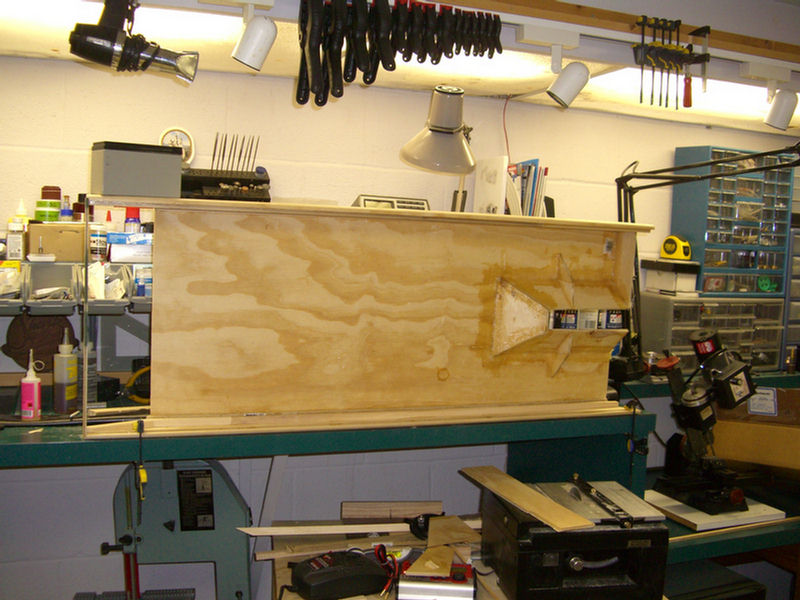
Inside longitudinal bracing.
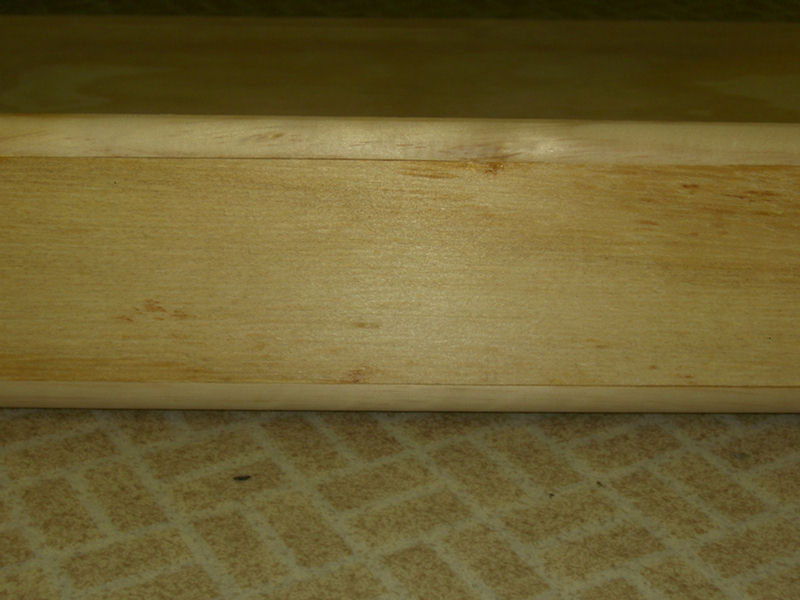
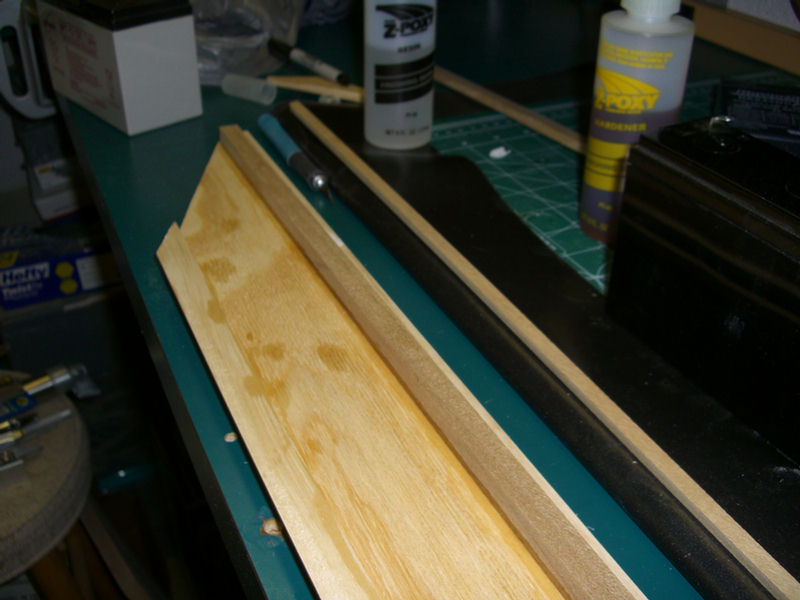
Detail of the side with different radius top and bottom edges.
Fitting the bow plate.
Some fiberglassing at the bow and the propeller/rudder tunnel aft.
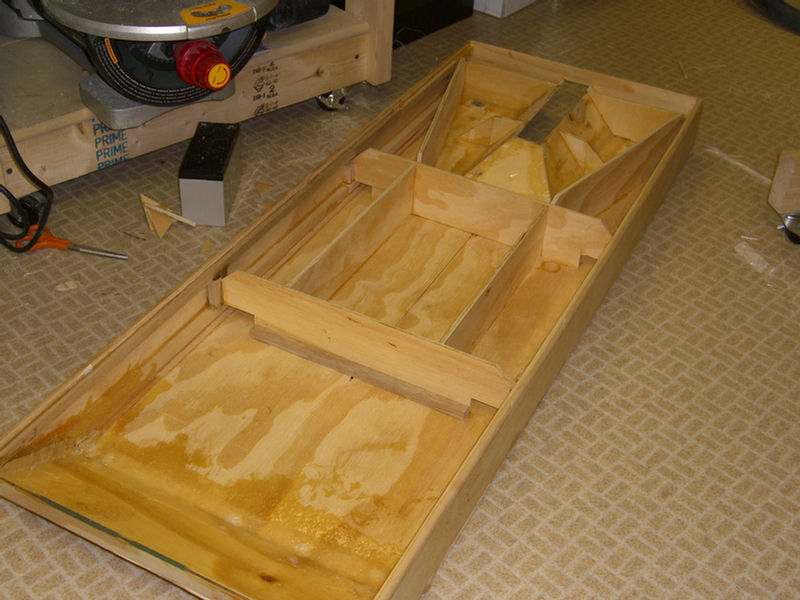
Internal bracing and deck support.
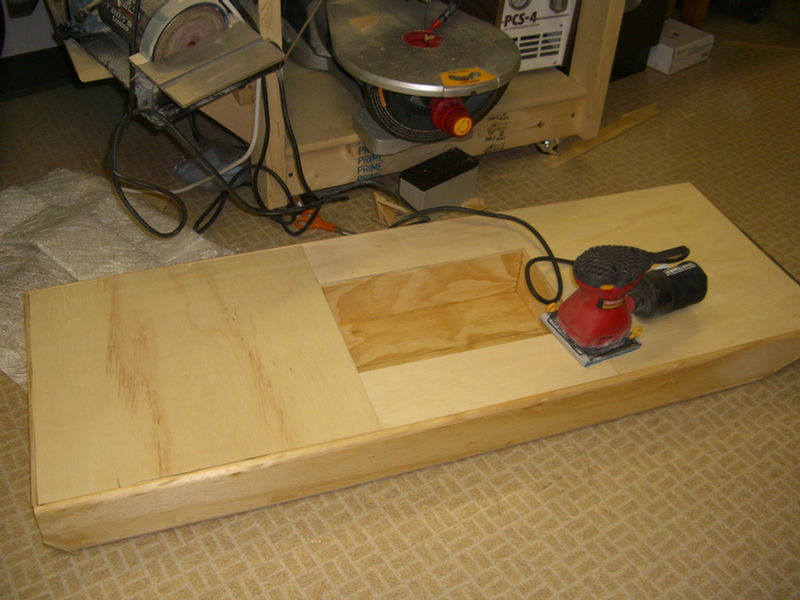
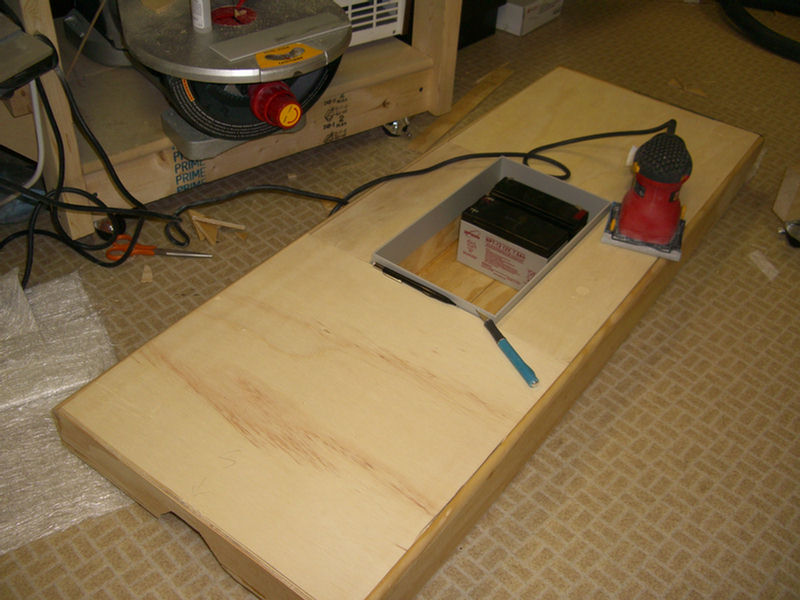
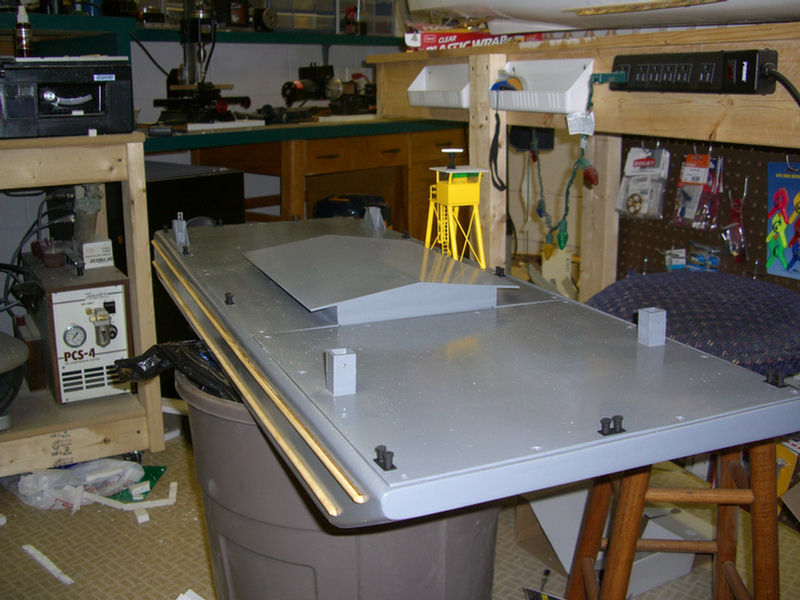
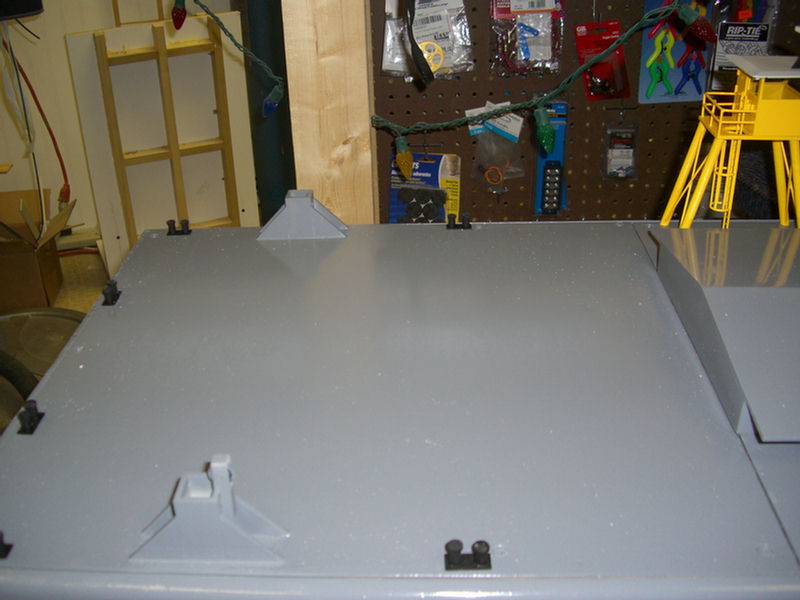
Top decking loosely fitted.
The barge is designed to be pushed by a towboat. Since I have not built a towboat and want to get something in the water, I will propel the barge without any protruding give-aways. Then will remove the driveline and use it in the towboat when ready, bringing the barge back to its intended non powered use.
Some curved detail of the stern.
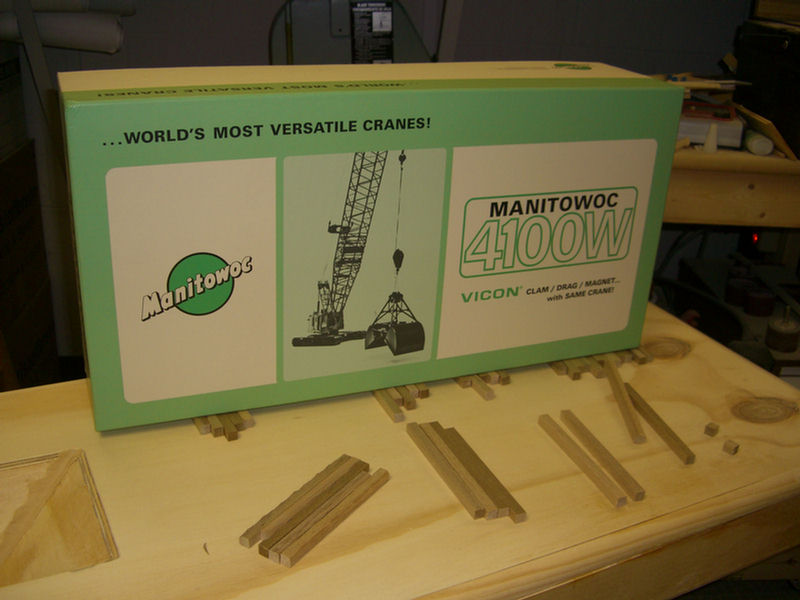
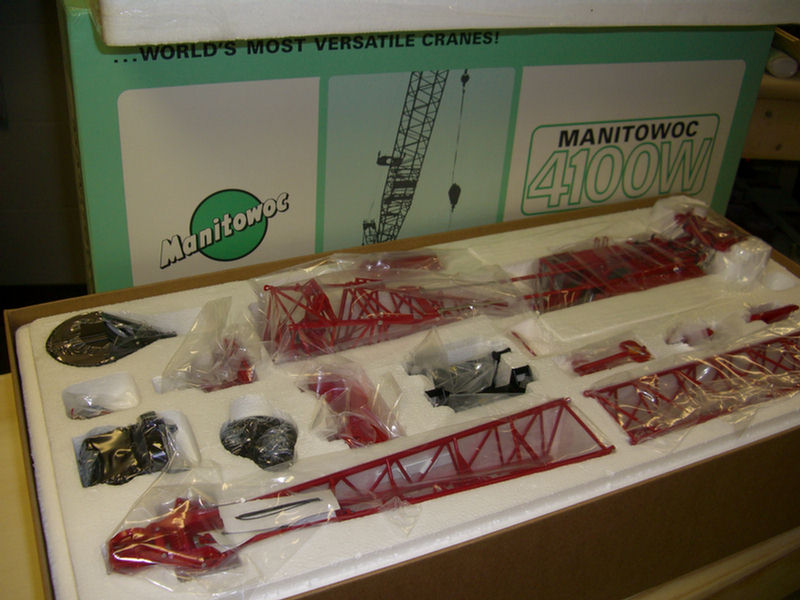
This crane comes equipped with a clamshell, a magnet, and a dragline bucket!
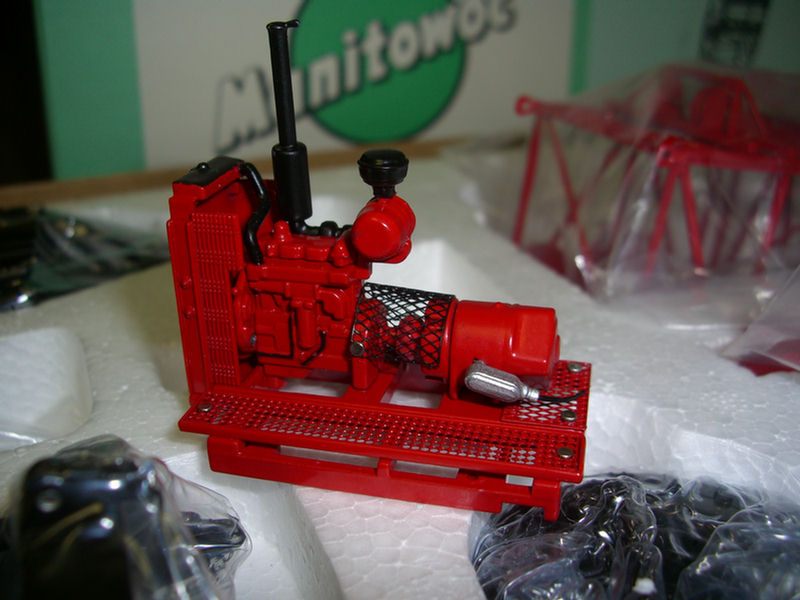
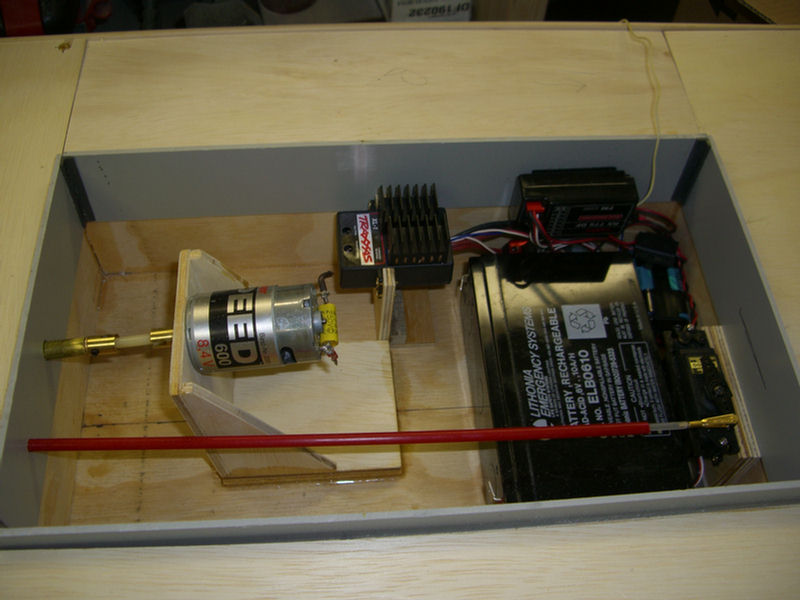
This is the engine/generator for the magnet attachment for the crane.
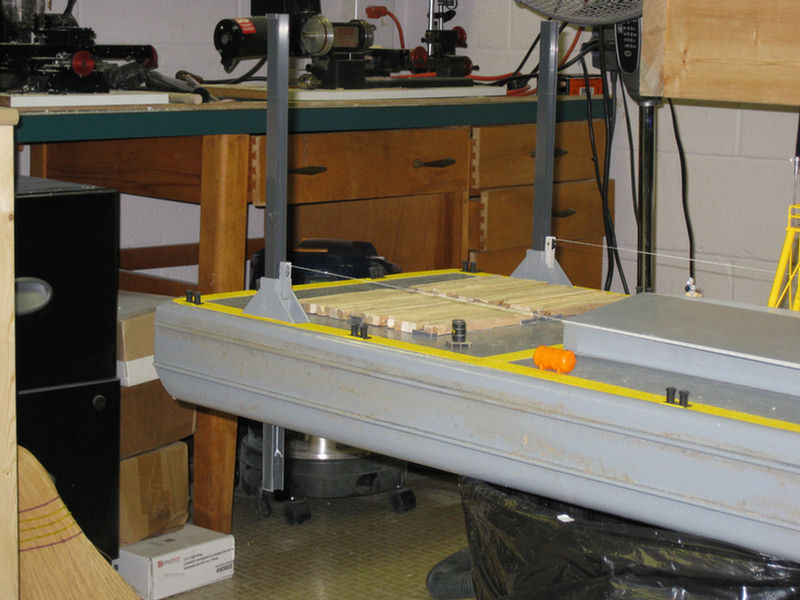
One crane mat done, Seventeen more to go.
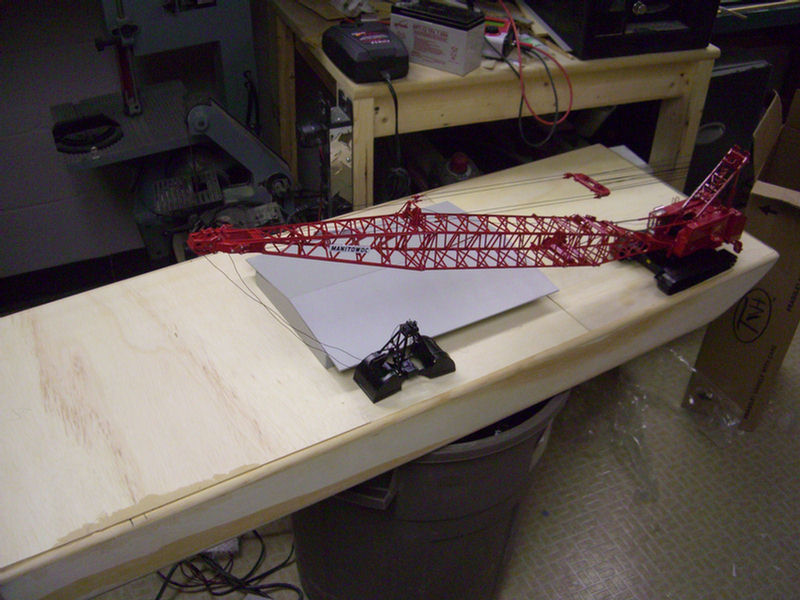
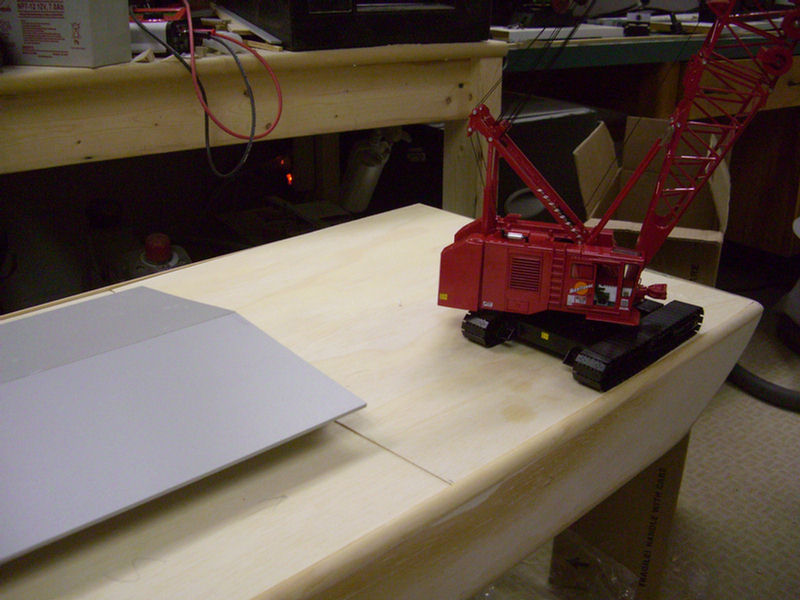
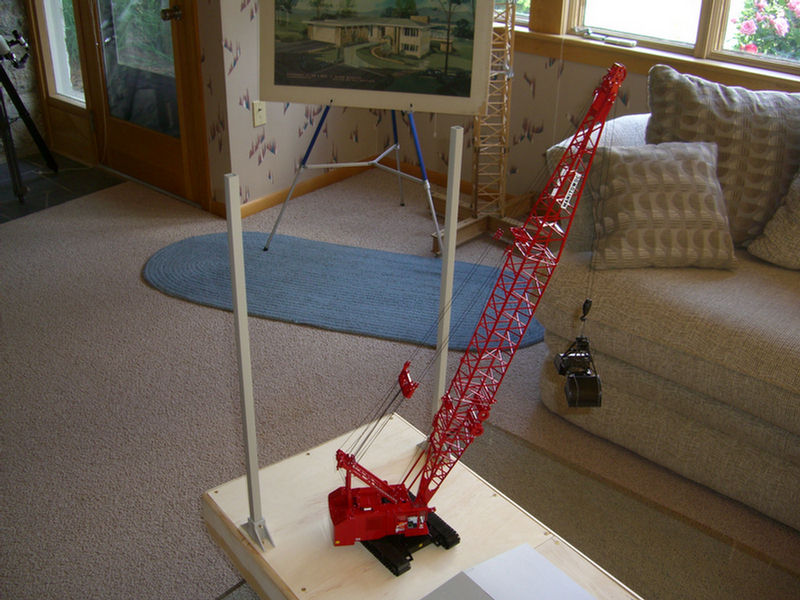
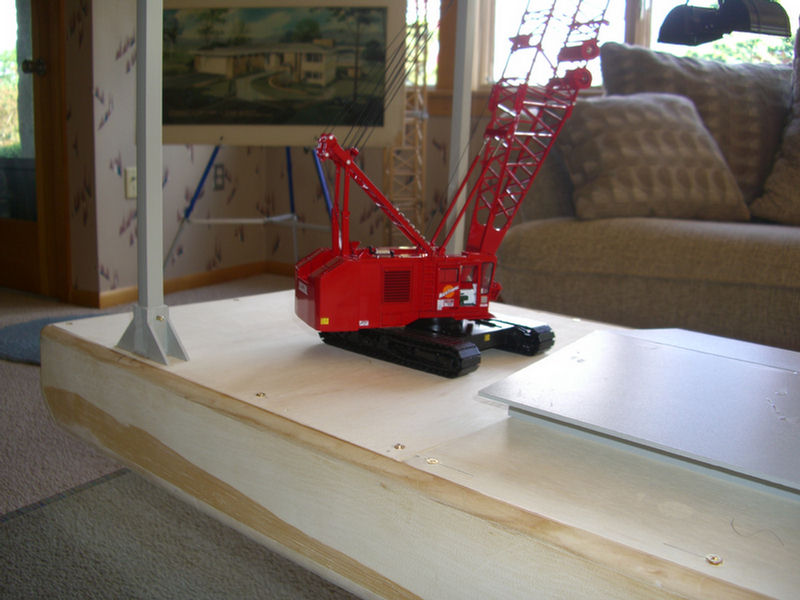
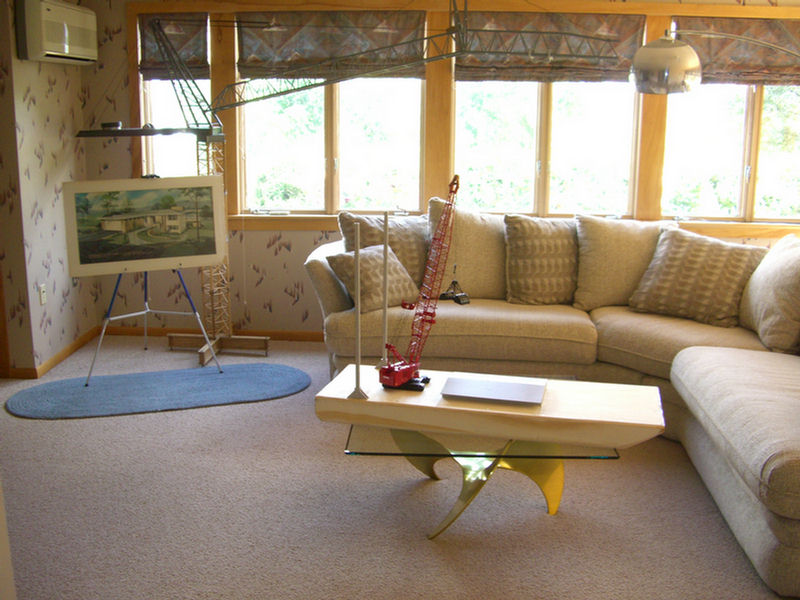
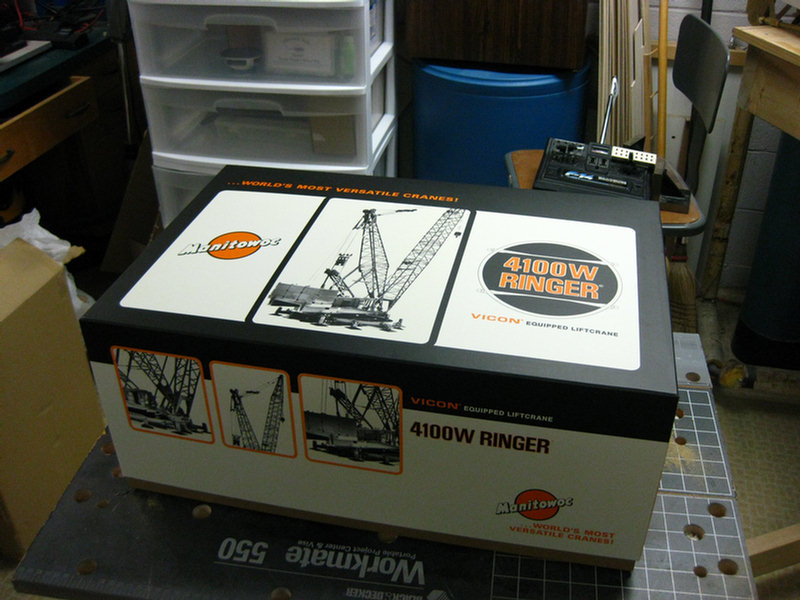
Manitowoc 4100W configured for clamming operation.
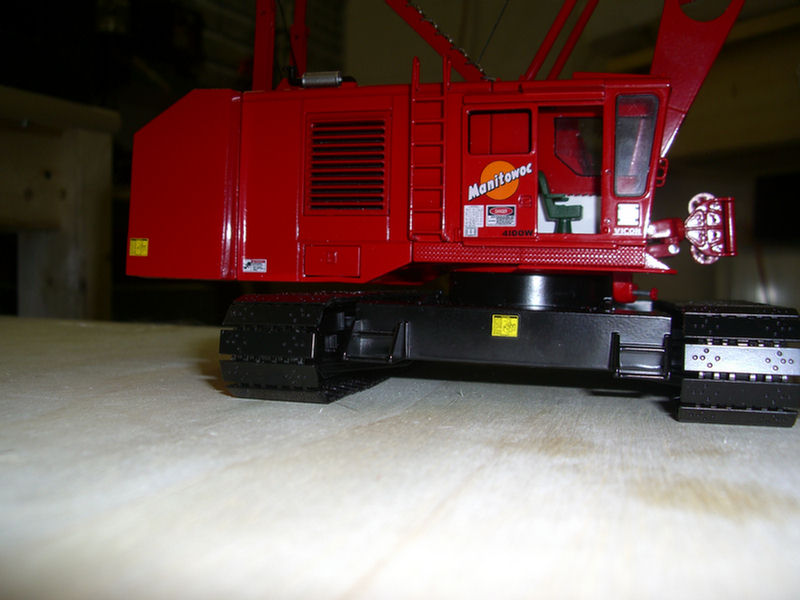
Jump up in the seat. Just don't turn it over!!!
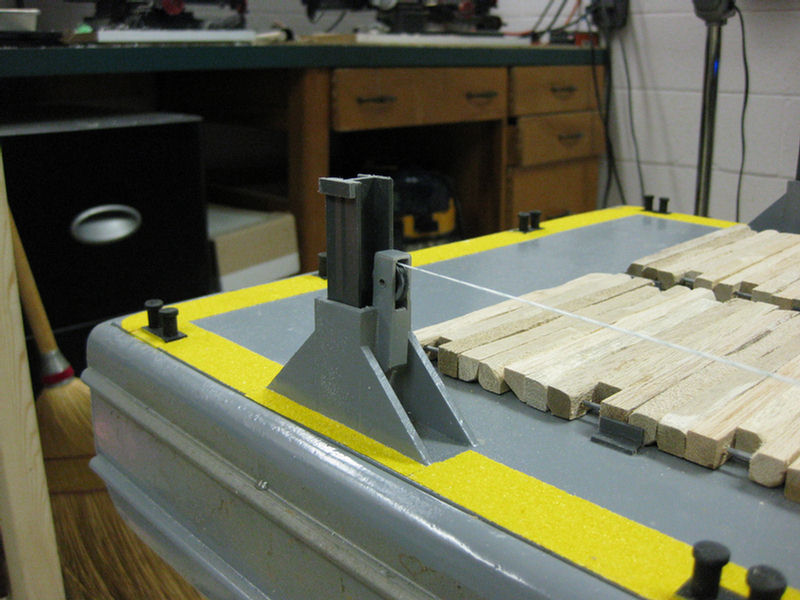
This will be a dry well surrounded by water ballasted chambers.
Have made two of the four spuds. These drop down into the muddy river bed and keep the barge in place resisting the current of the river.
The spuds are either lowered with a crane or with a winch.
Two more spud wells to go and the barge is ready to fiberglass.
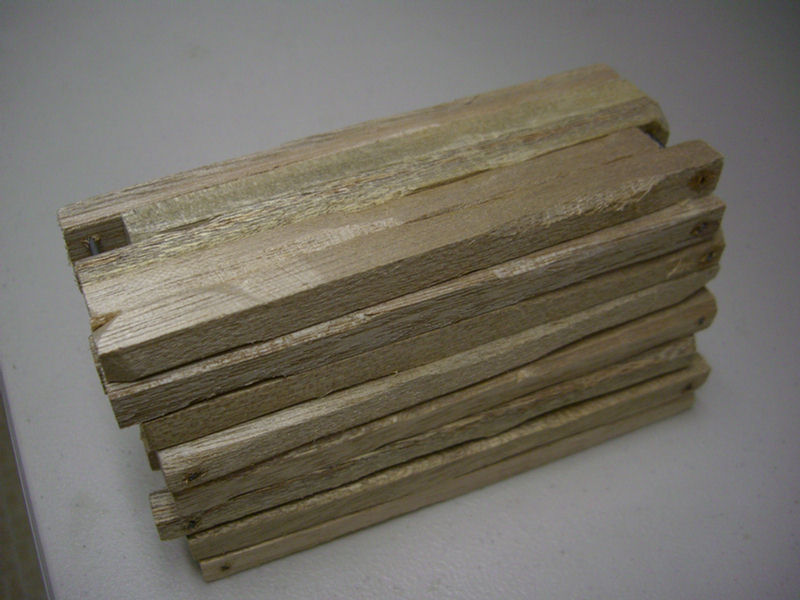
Here is a stack of eight crane mats.
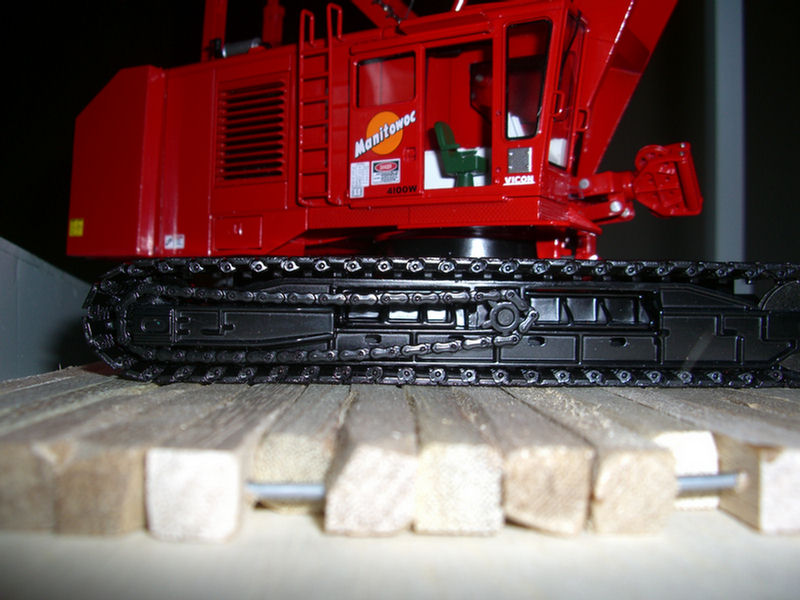
Cranes often times work from a bed of hardwood crane mats.
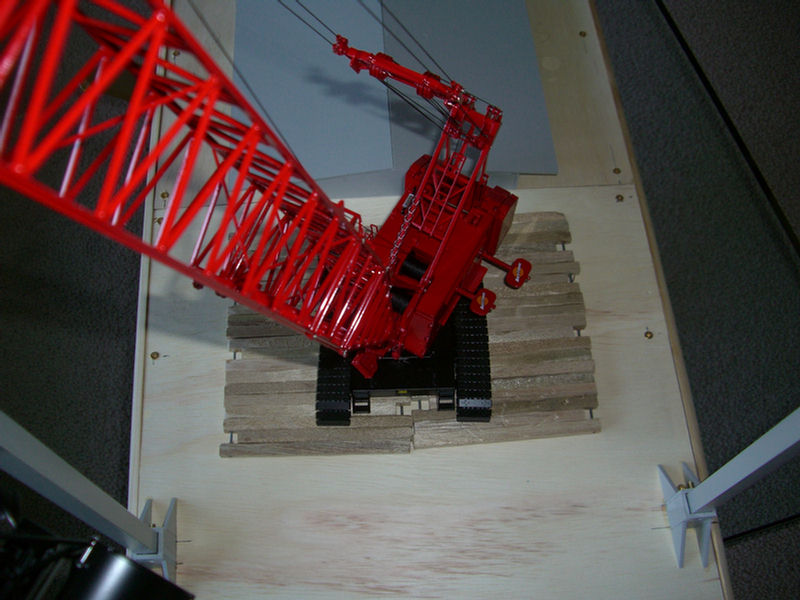
The crane mats spread the load out to a larger area of the deck.
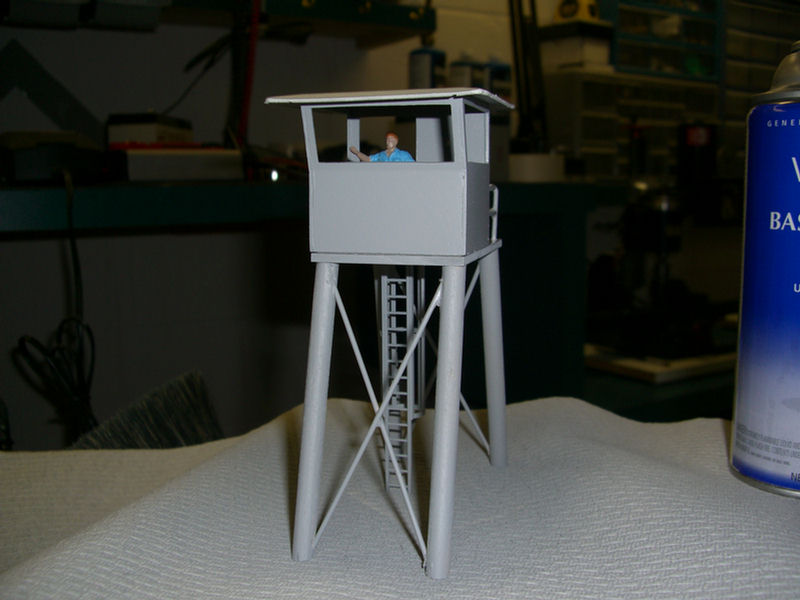
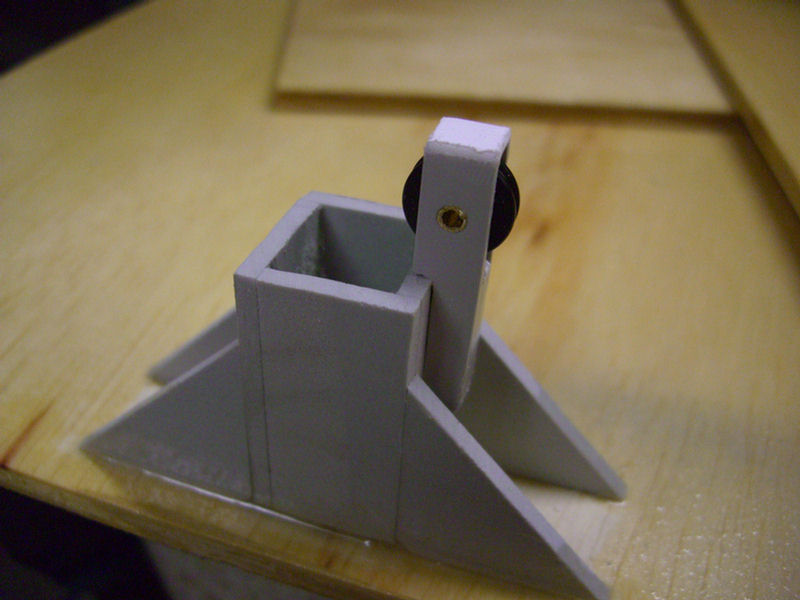
This is the start of the raised pilot house. Cut just inside of the lines, and....
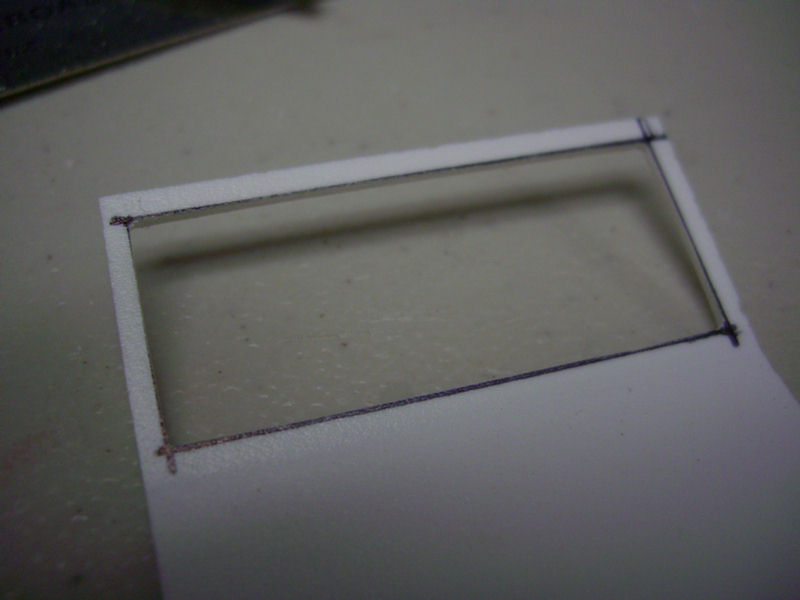
File to finished dimensions.
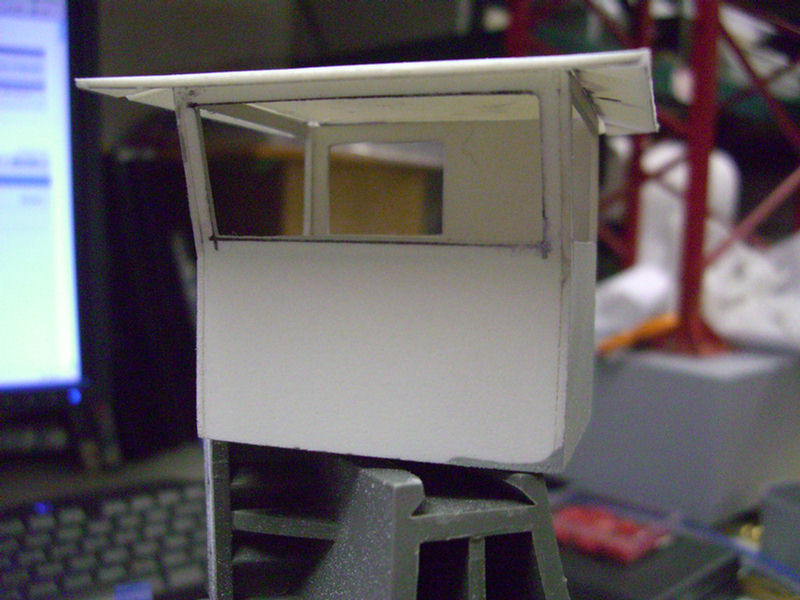
Trial fit up.
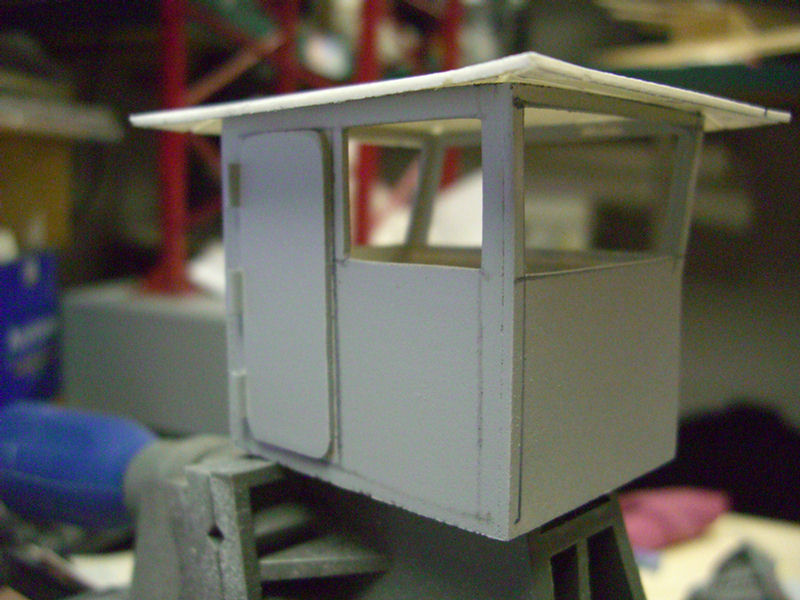
Placement of the door
I see the 'Lil Wanker is getting in to the act.
Hey pops, call out for a pizza will ya?
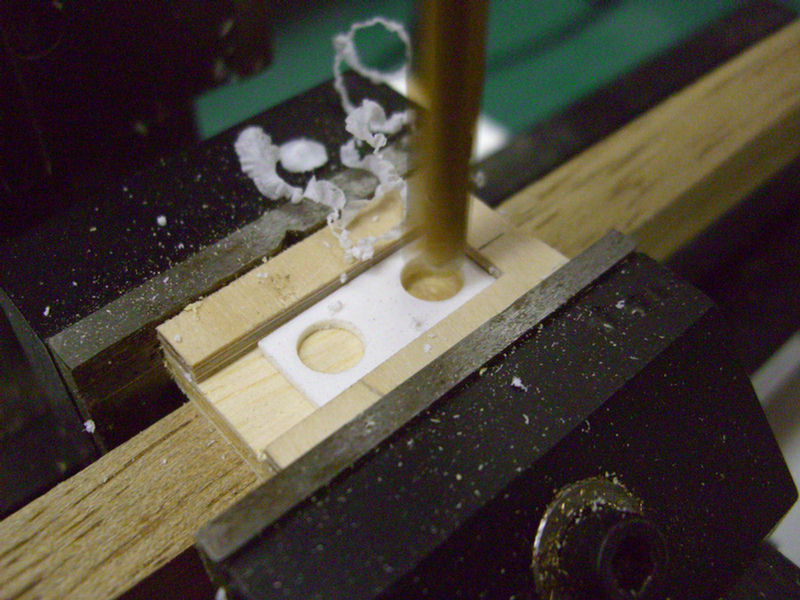
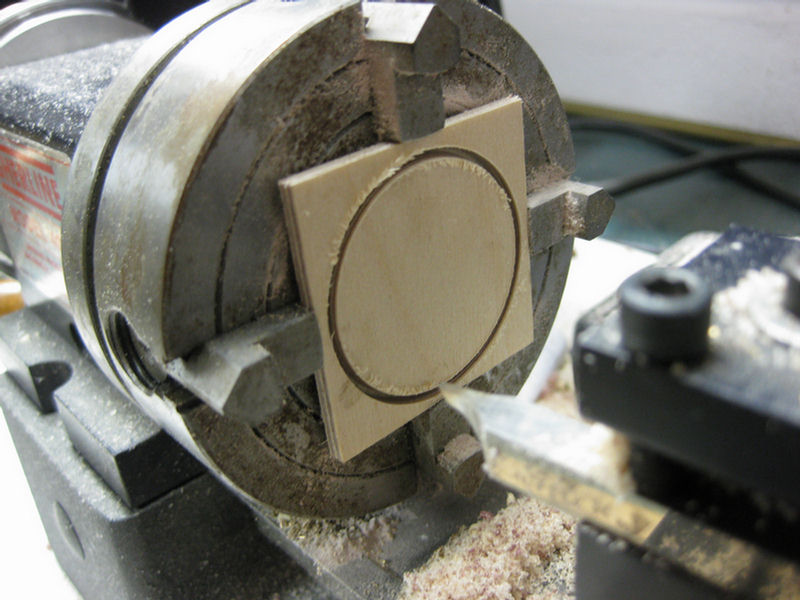
This is a little jig made to drill the bases for the bollards.
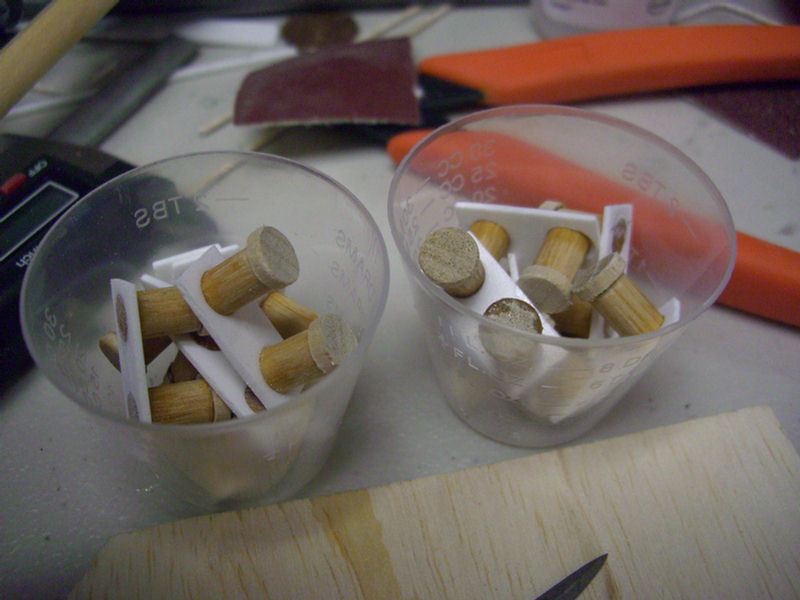
Here are the bollards. I made some extras.
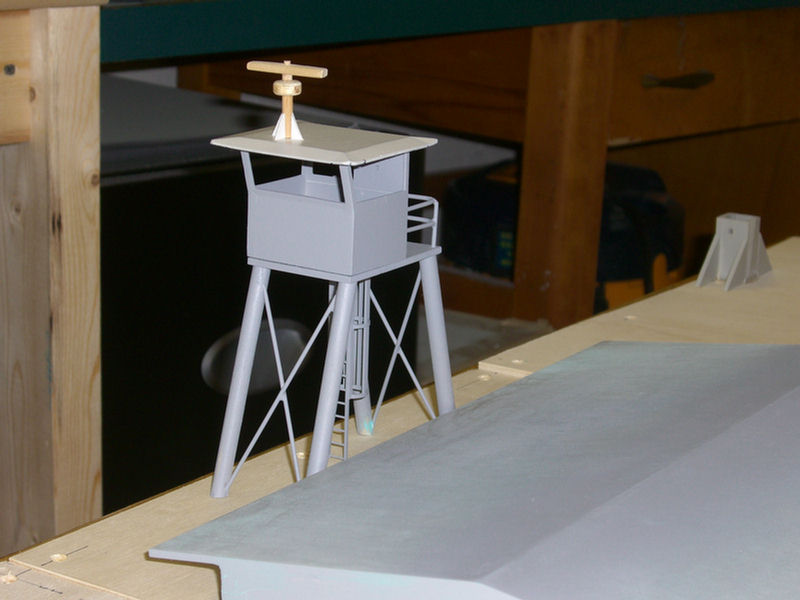
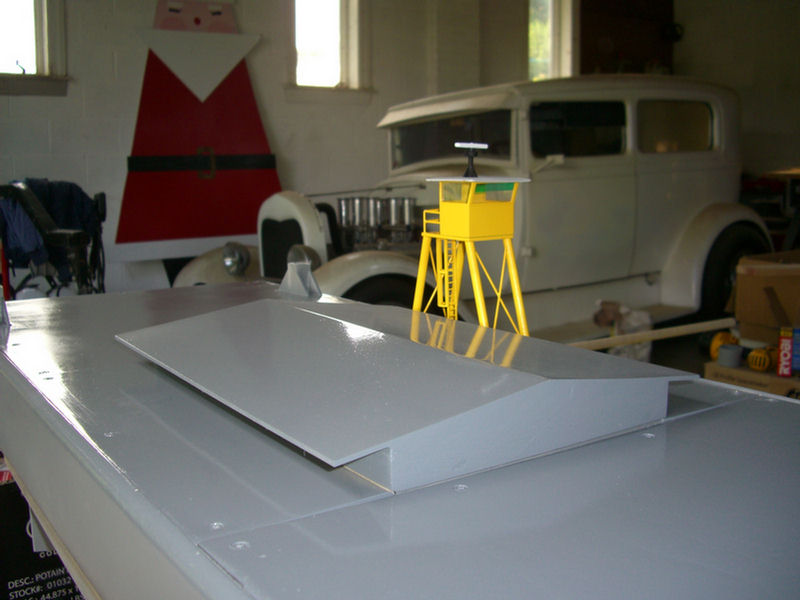
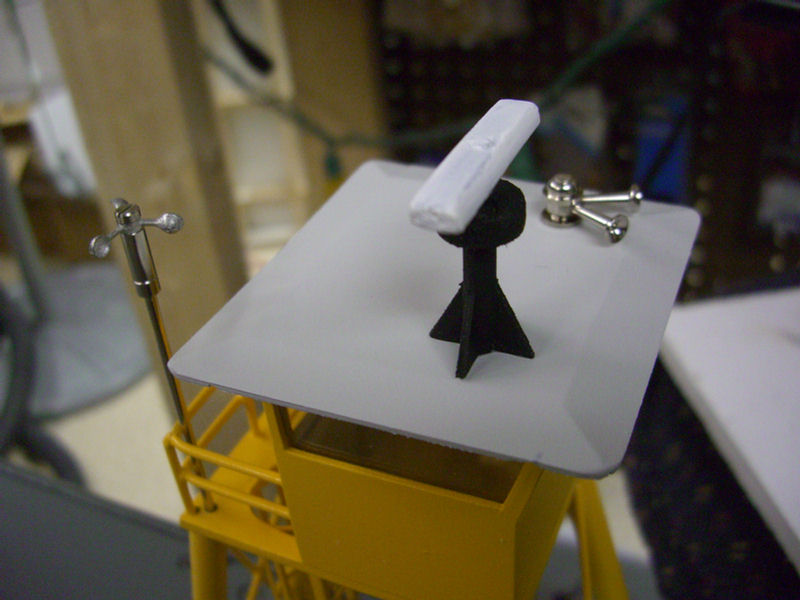
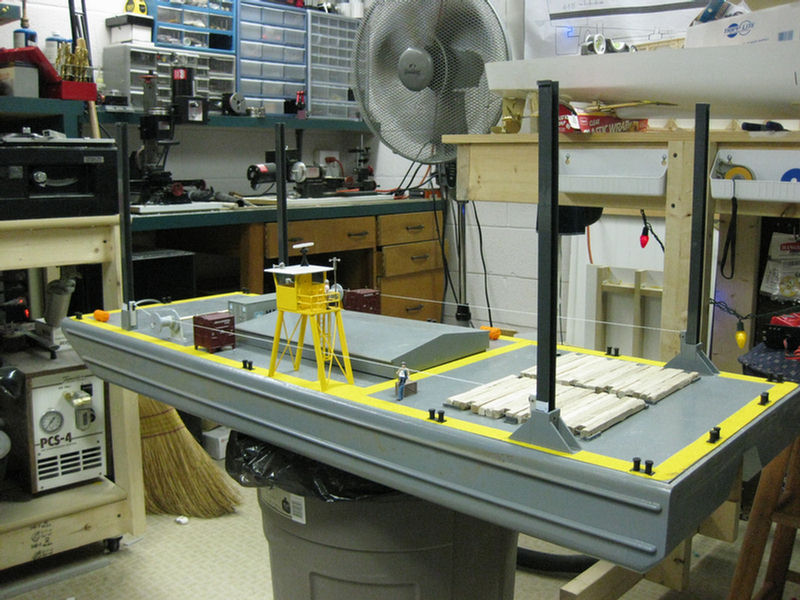
Here is the elevated pilot house with the radar roughed in.
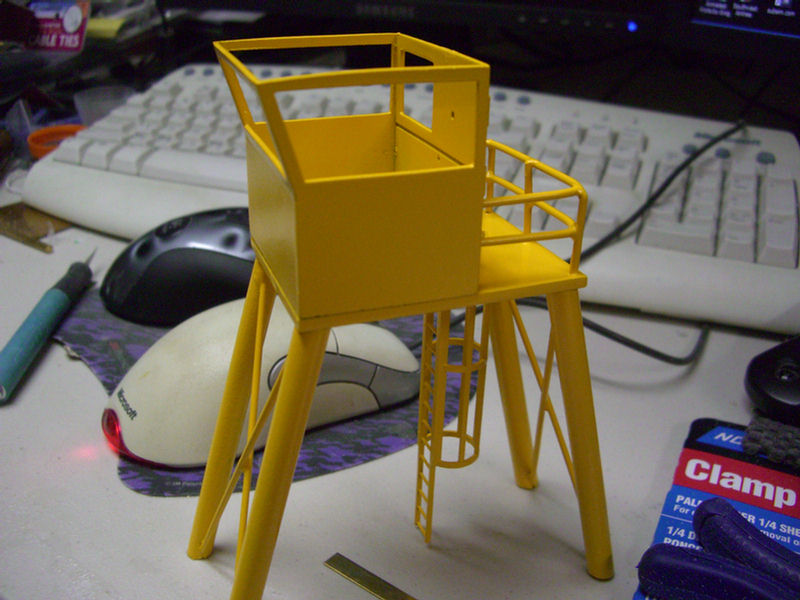
I wanted to make sure I would see this. :) So it is really YELLOW!
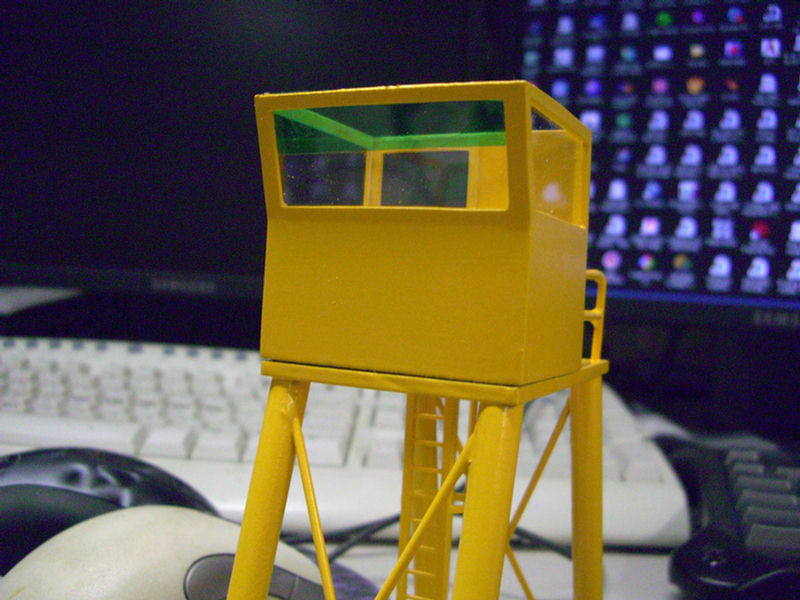
Putting in the glazing, The front has a sun shield. Sure don't want to hit an oncoming tow!
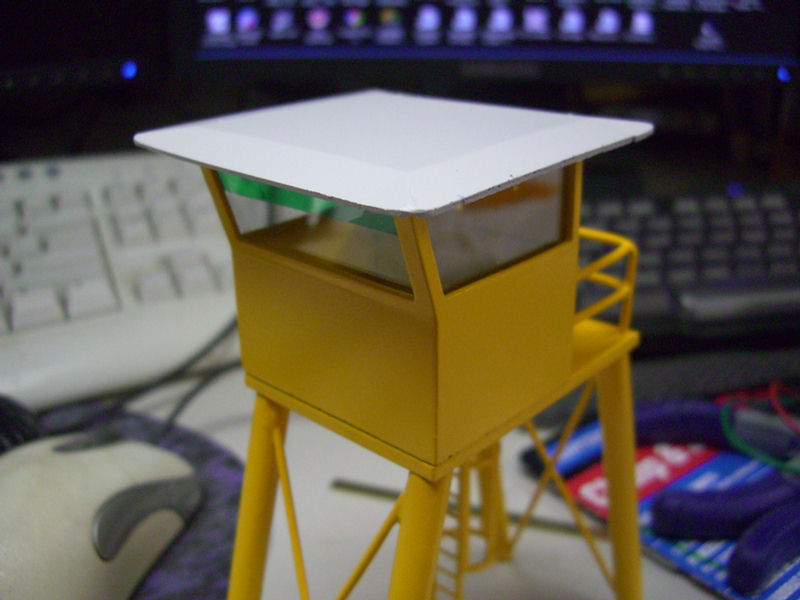
The roof was then attached.
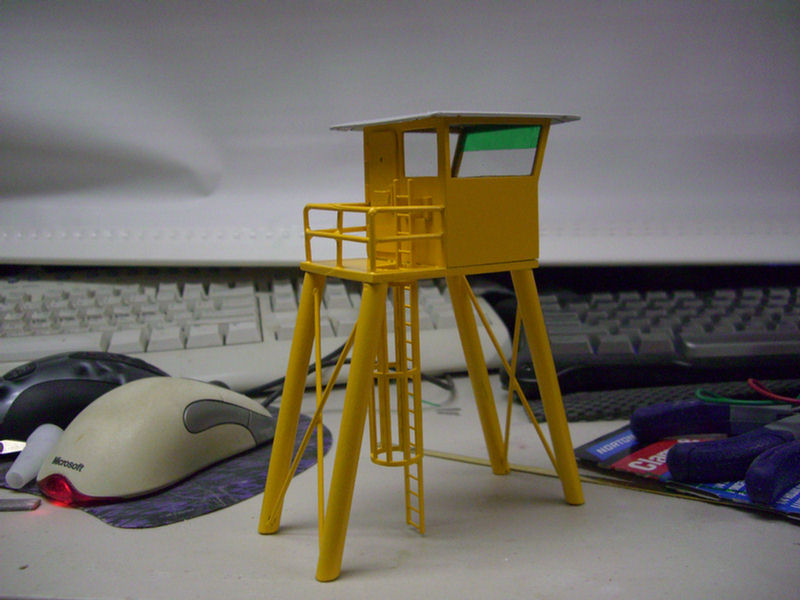
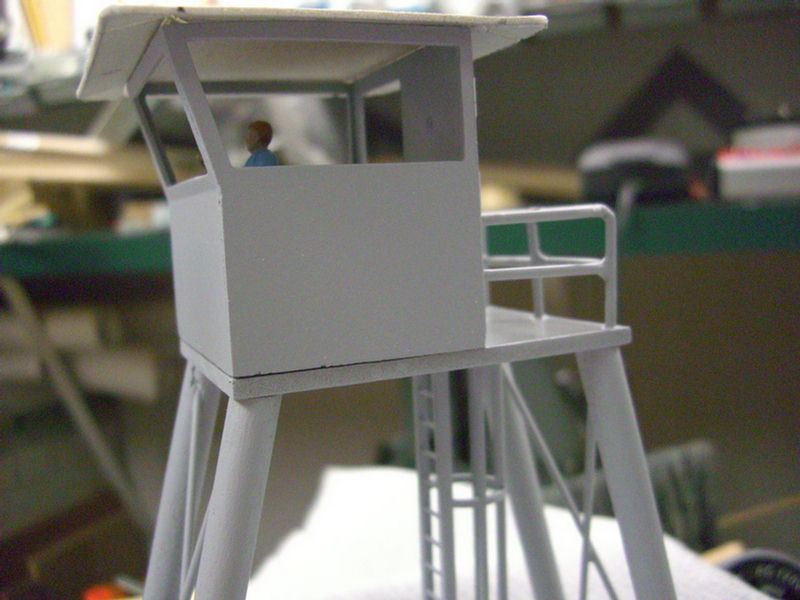
This raised pilot house is only temporary as once there is a finished towboat, this barge will be moved by it rendering this pilot house unnecessary.
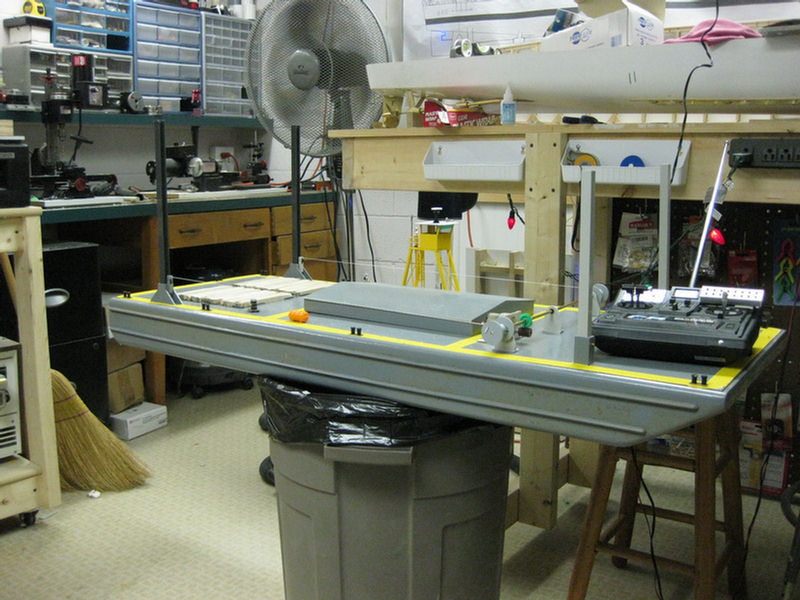
It has been a few days and I need to show a little progress. Actually the hull is glassed on the outside and epoxied on the inside. Additionally, all deck plates have been treated on all sides with epoxy to resist the water. Next I have to sand and fit the deck plates to their final fitting.
Slots are cut in the bottom of the hull and styrofoam has been attached to the underside of the deck plates. I'm getting pretty close to getting this thing wet.
Another hobby in the background.
Still have a few things to do:
Some electrical work inside the well
Some more detail work and painting
The spud winch system
Ready for the water. It's been 33 years since I have had an R/C boat in the water!
Your not going to believe this!
We get to a beautiful reservoir I place the barge in the water, and as I bent down to turn on the switches, I dropped my camera in the water!
So there is not one picture of the maiden voyage of the barge, :(
The lens won't open on the camera and the screen was blank. After a couple of hours drying out, I have part of the screen back and I can read the card, The lens though, remains retracted. Bummer!
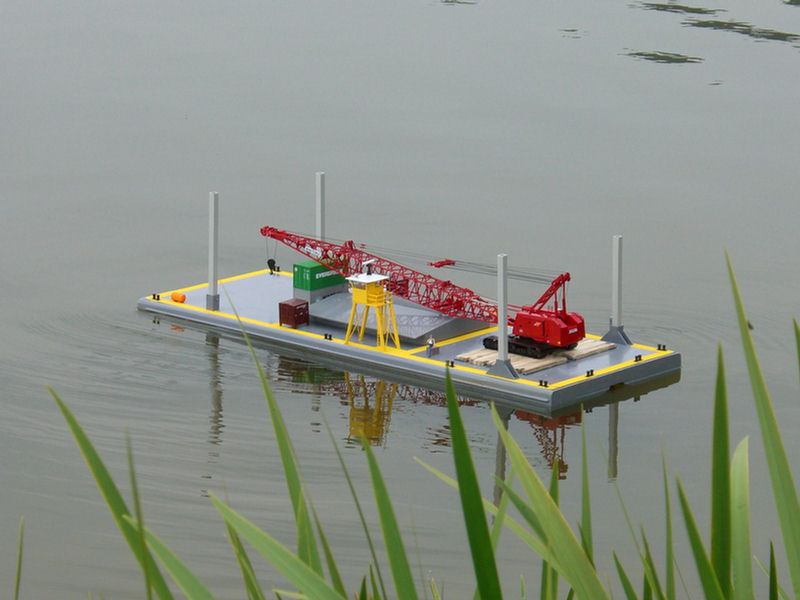
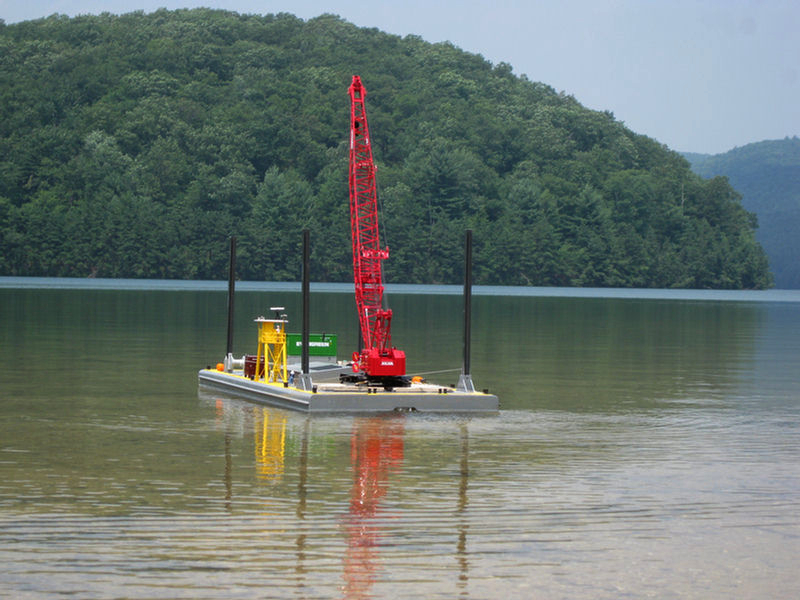
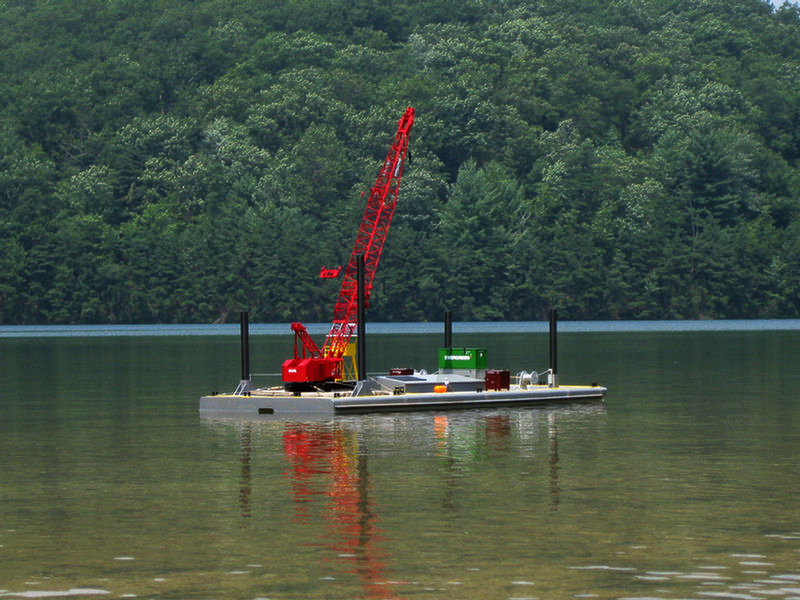
Now this is better. This is the second voyage.
The barge did well in the lake.
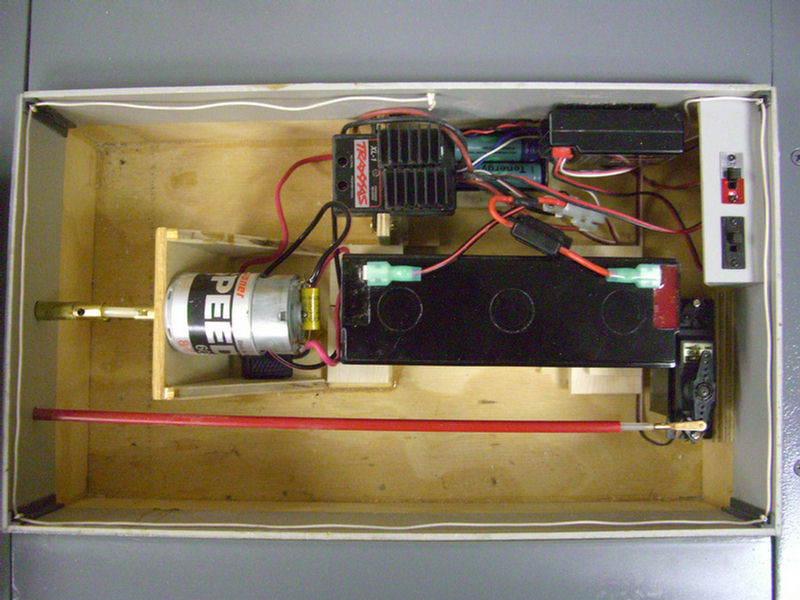
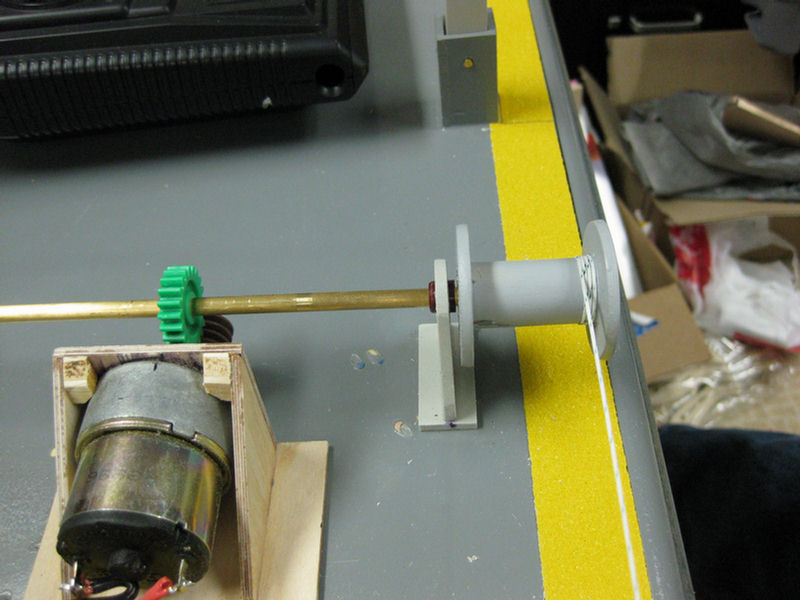
Next, I need working spuds. That means I need a winch system. I'm lazy so one winch is going to work all four spuds.
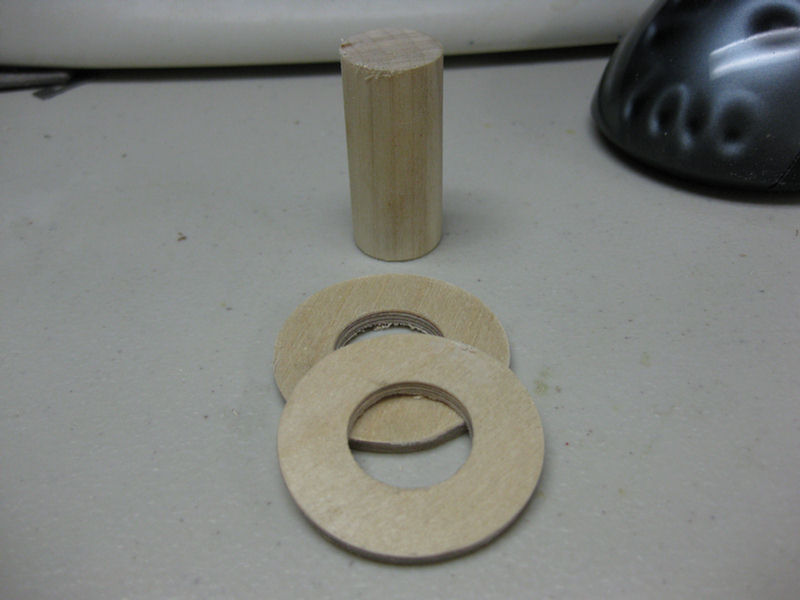
Pieces for one of two drums. One line will pay off of one end of the drum for one spud, and another line will pay off of the other end of the drum for the other spud. Each drum, driven by one winch will operate two spuds.
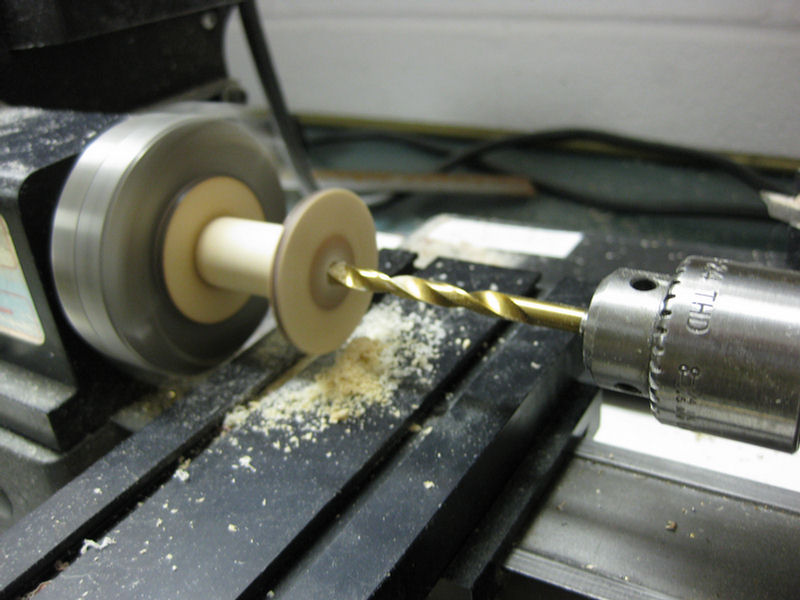
Boring out the hole for the shaft that will drive the drum.
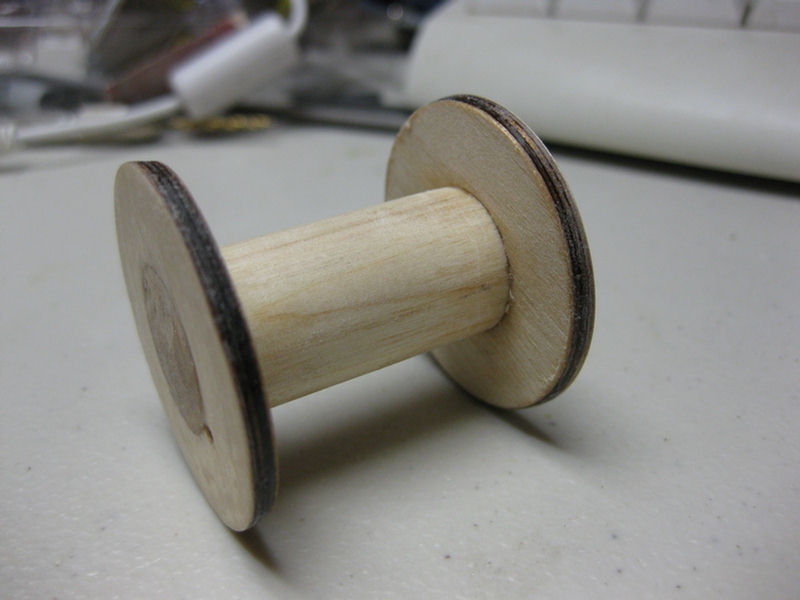
One down, one to go.
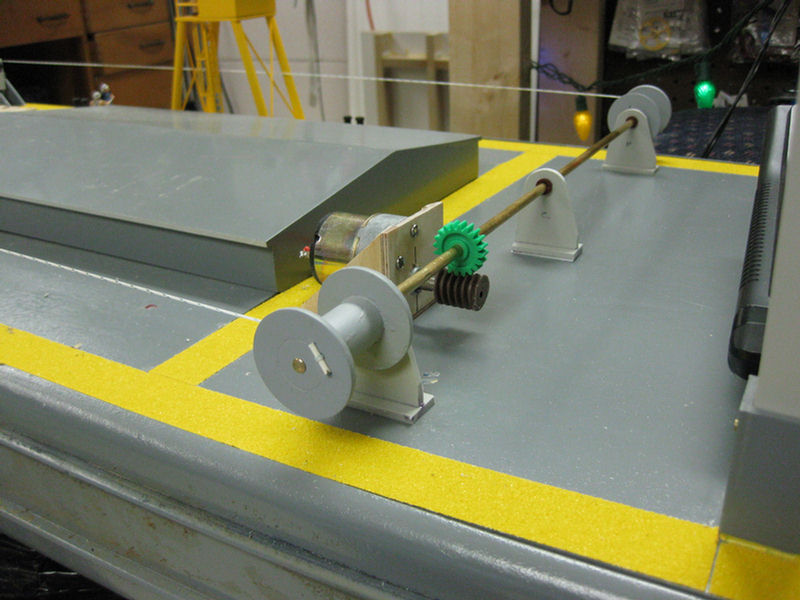
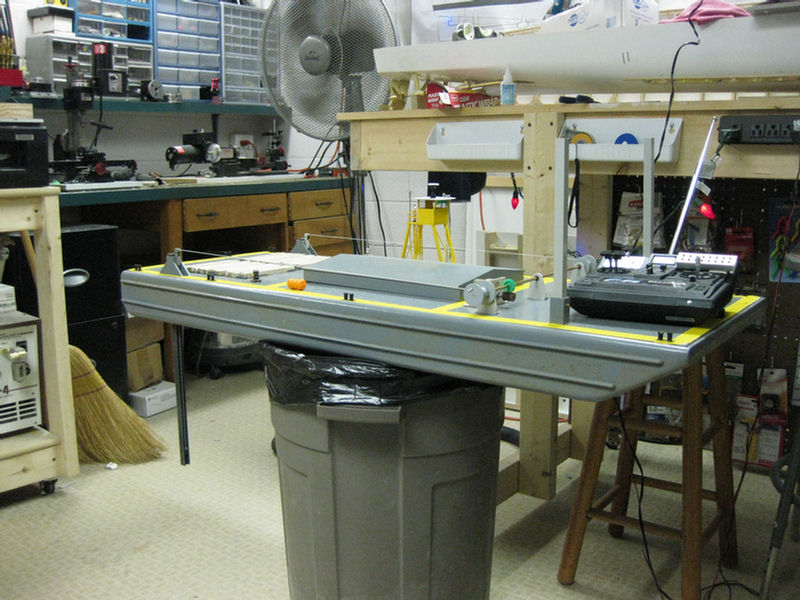
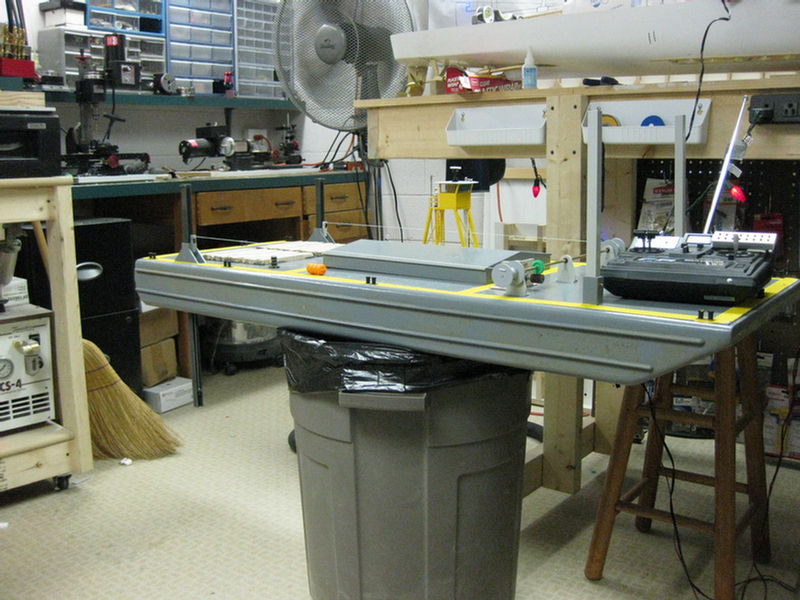
Looks like I forgot to take a few photos. Well here is the winch system with both drums attached. Thus far, I only have the two rear spuds in place. The next photos show them raising.
Just starting to raise. Note the stop block in order not to let the spud lower too far.
Worm drives are nice as they don't need any braking (in most cases.) In my case this is overkill as the gear reduction built in to the motor acts as a brake too. Alright! I had the worm gear and want to use it OKAY?!?? PS. Note how nice the line is wrapping on the drum.
Spuds down.
Spuds about half way up.
Spuds nearing the upper limit of travel.
Spuds fully raised.
Okay, all four spuds are fabricated and attached to the winch.

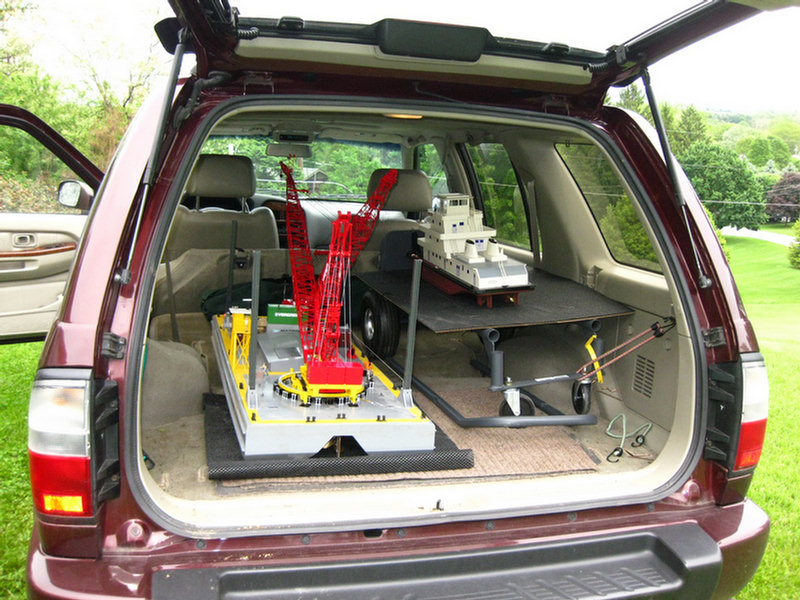
Added some ventilation and a fan inside the engine room. Have also lashed down the crane. Not so much for the lake, but in the car for those sharp left turns.
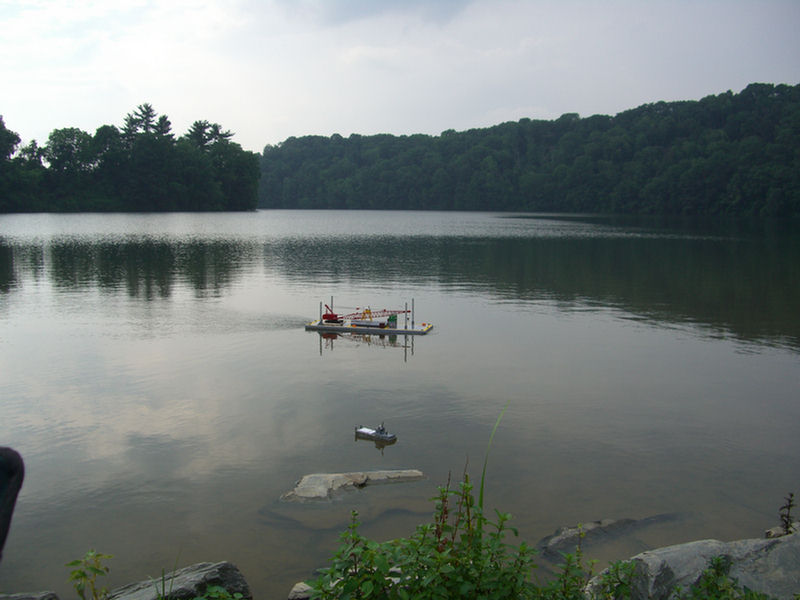
Today's sailing...Camera survived!!
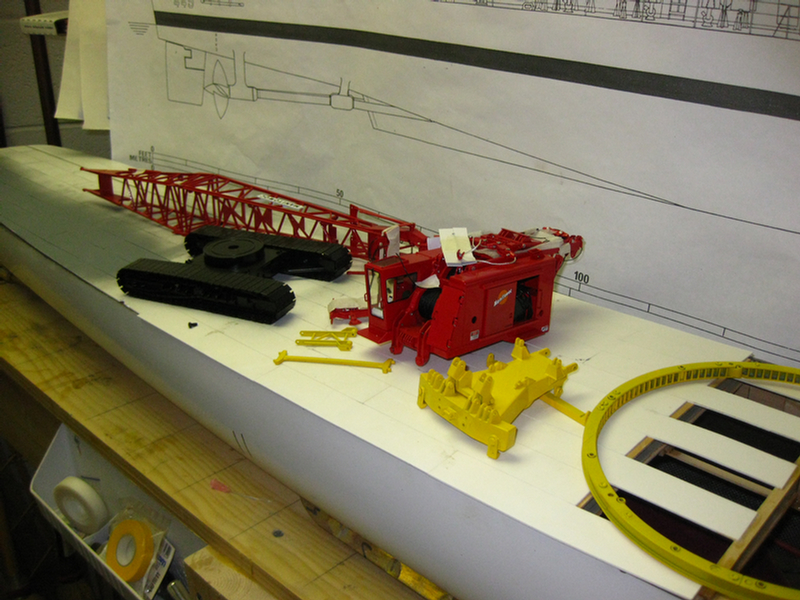
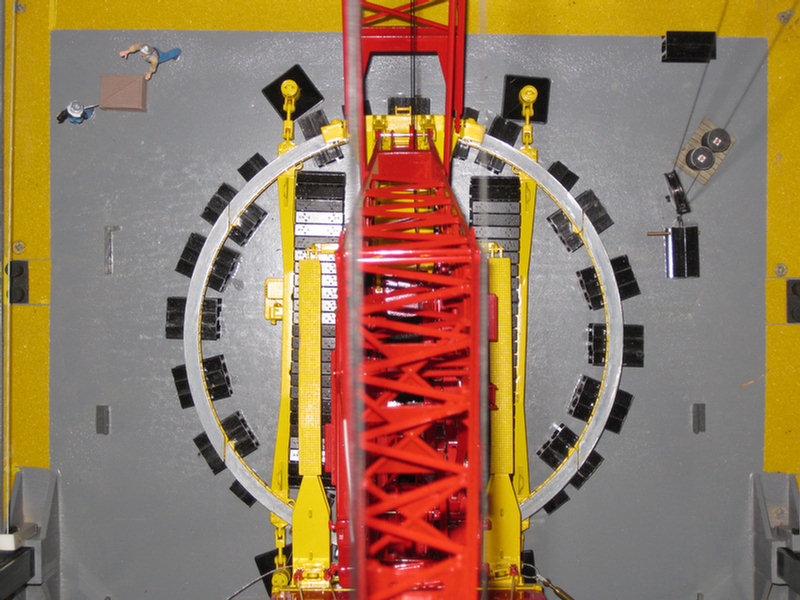
I will next re-work and place the crane this barge was designed for. The Manitowoc 4100W Ringer.
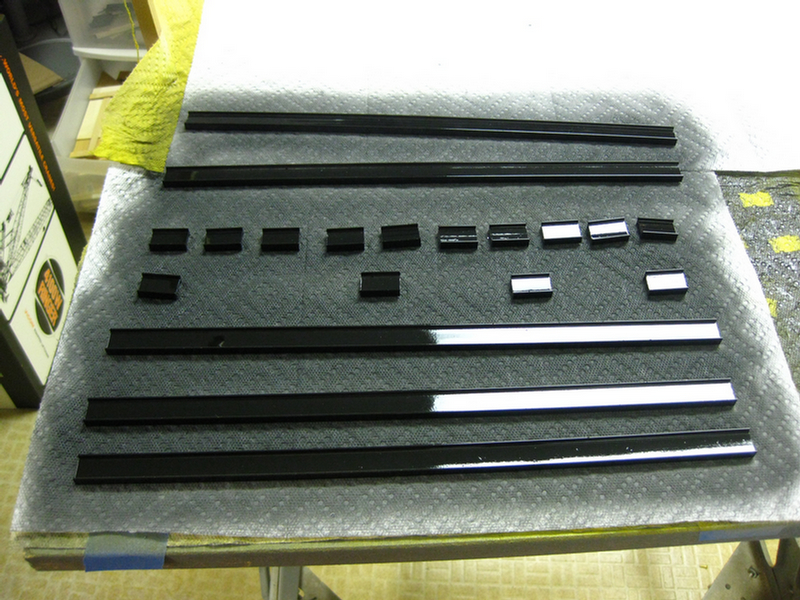
First steps are to paint the Ringer attachment yellow instead of the supplied red.
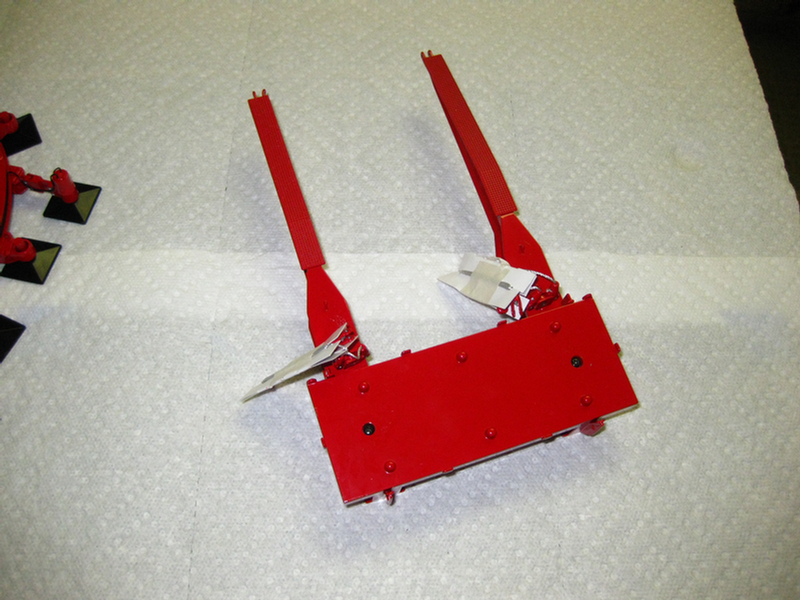
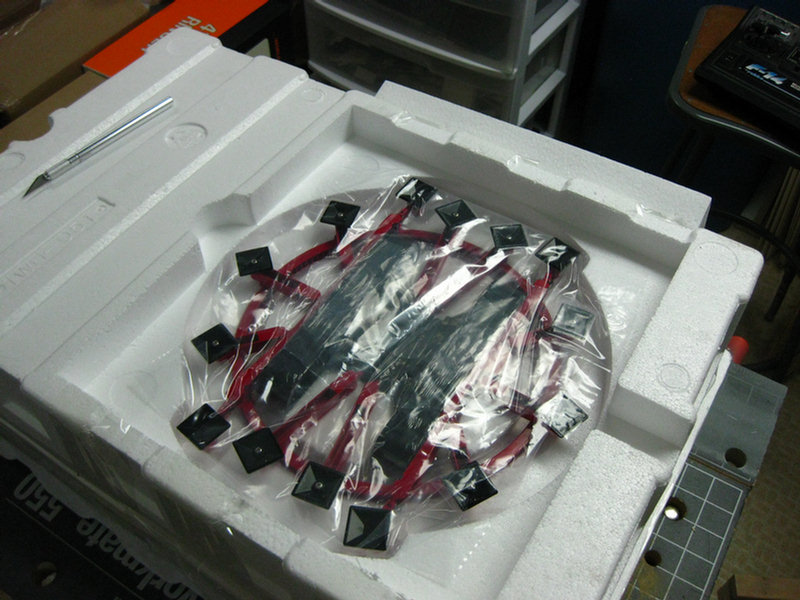
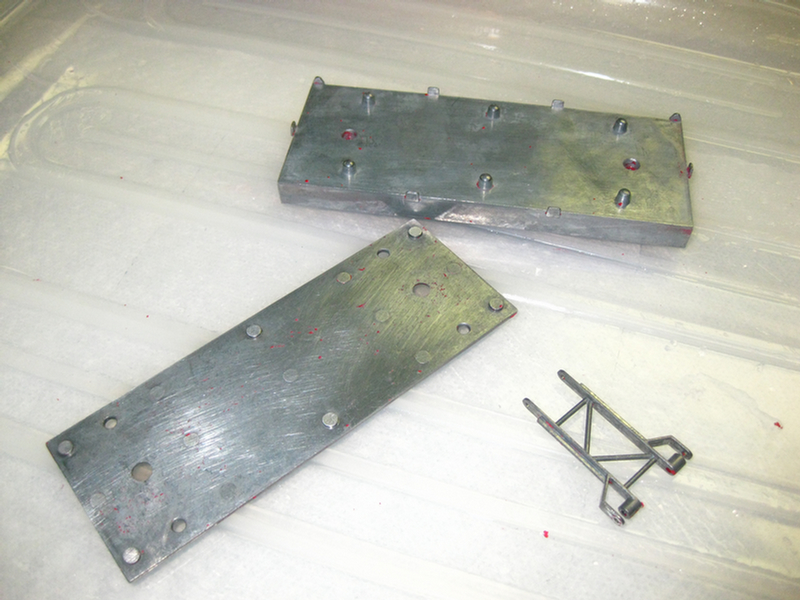
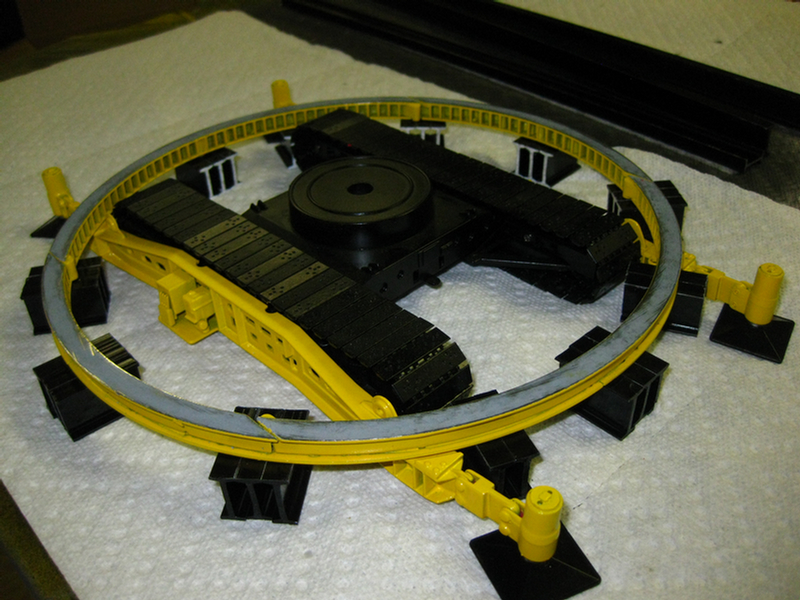
These are the counterweight tray and side frames.
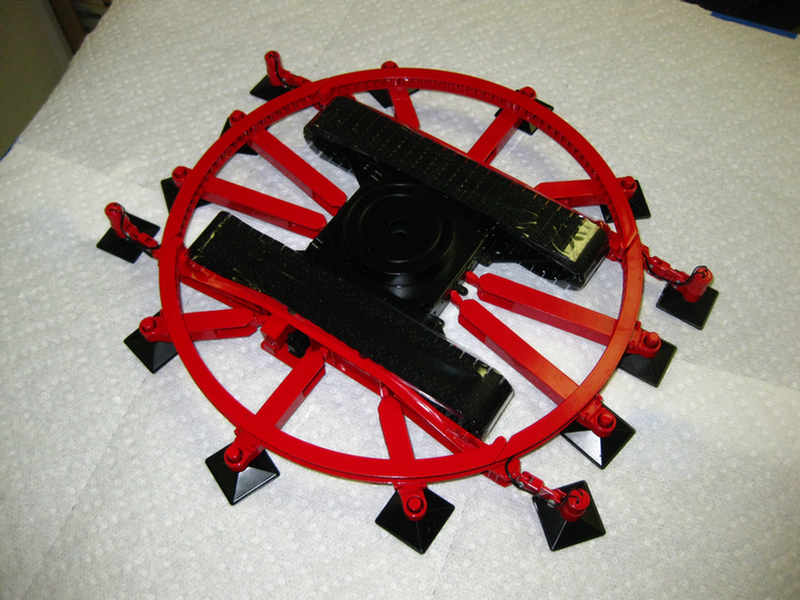
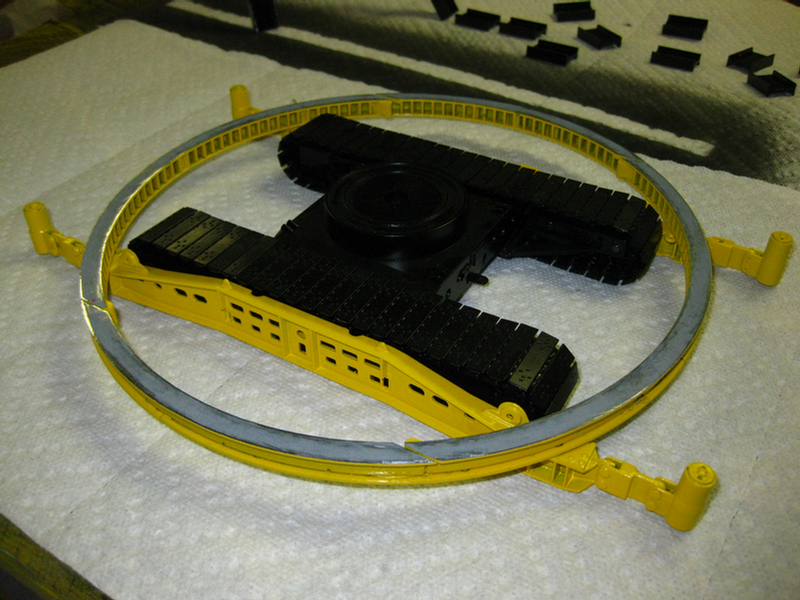
This is the ring and jacks.
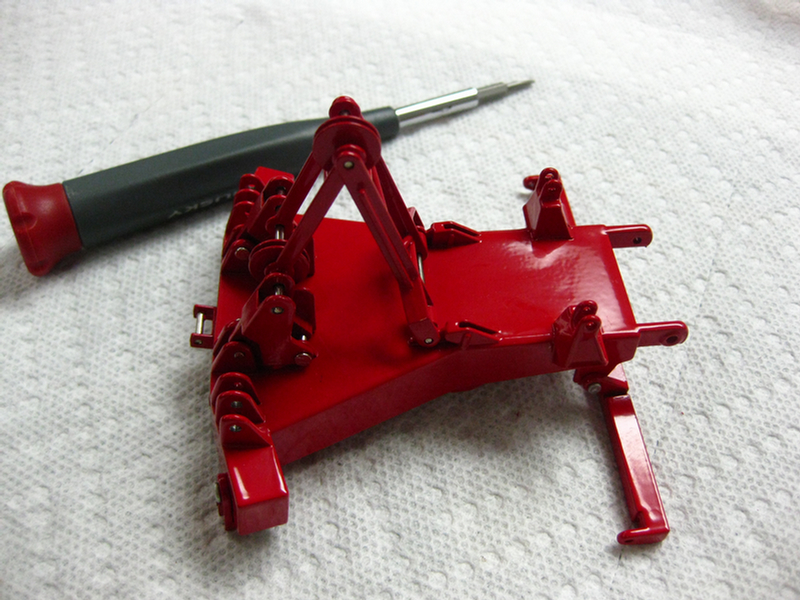
The boom carrier

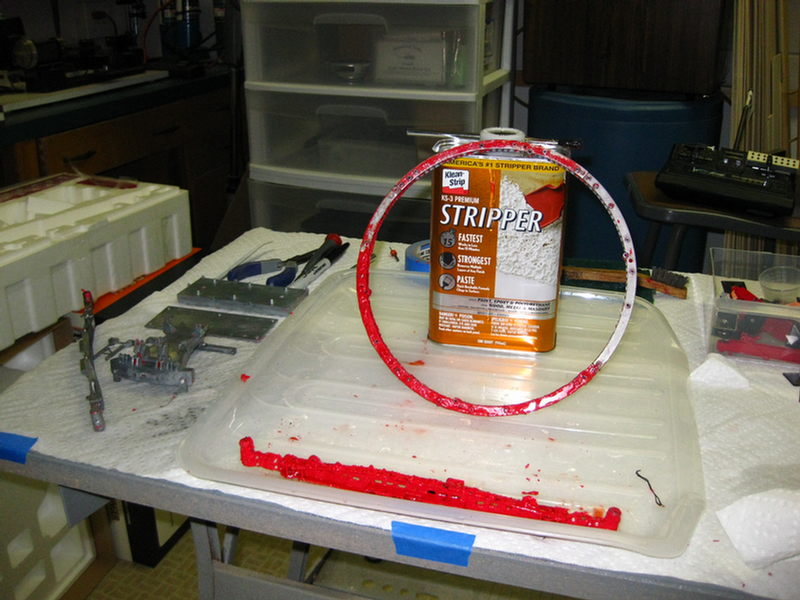
Got the stripper ready.
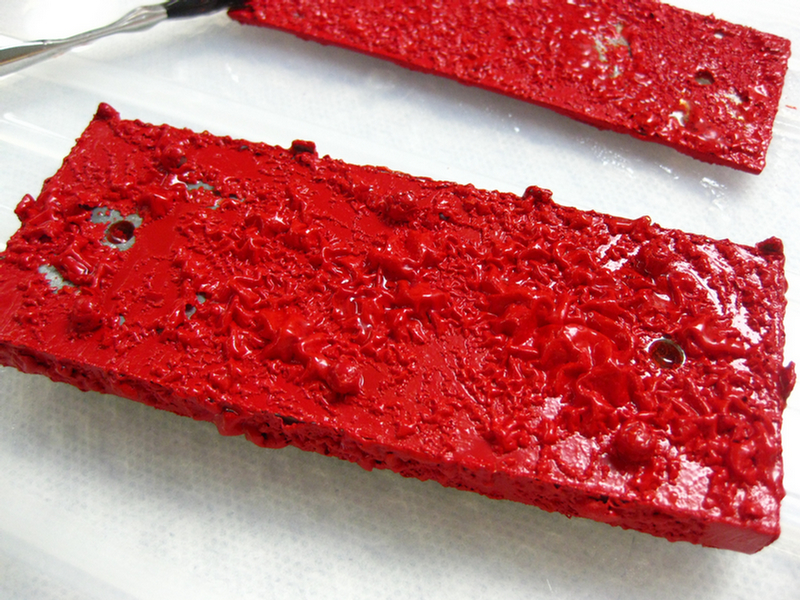
The red paint is no match for the stripper.
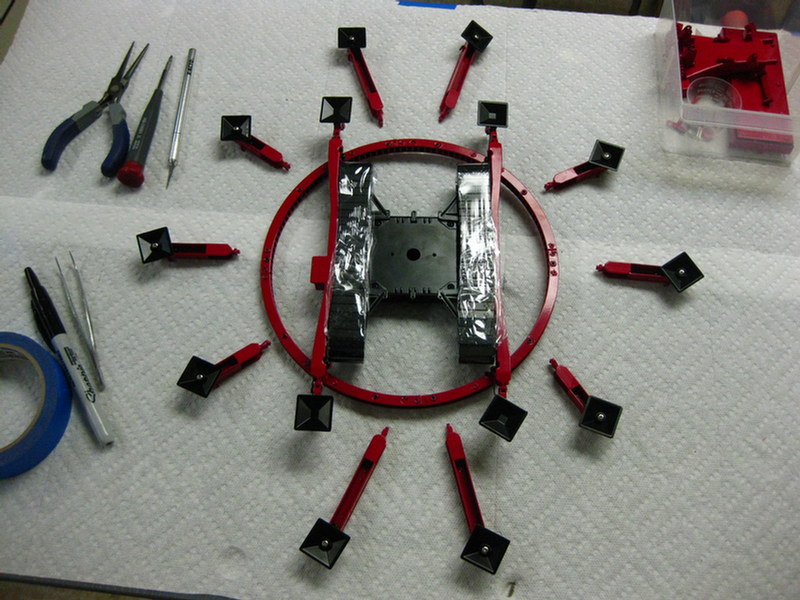
Disassembling the jacks from the ring.

More paint stripping
A few more parts to go.
Pretty clean
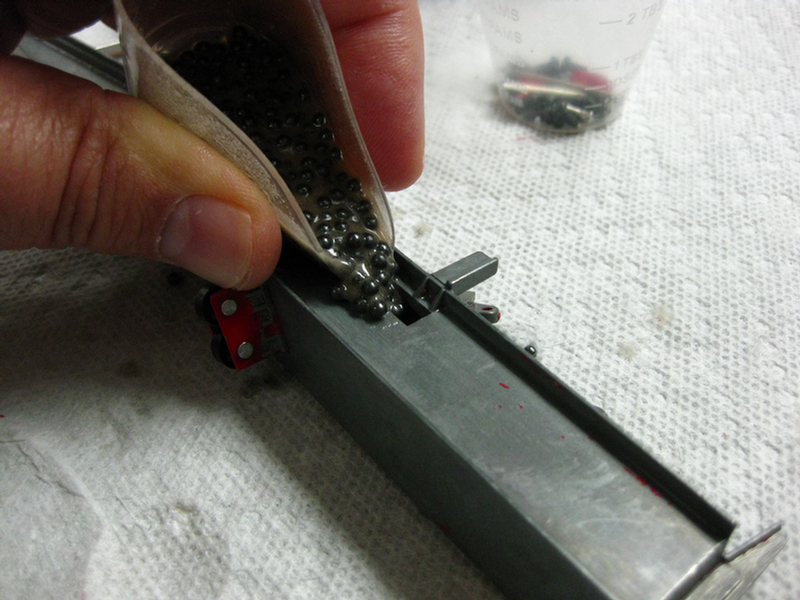
Adding some extra ballast to allow more boom at lower boom angles.
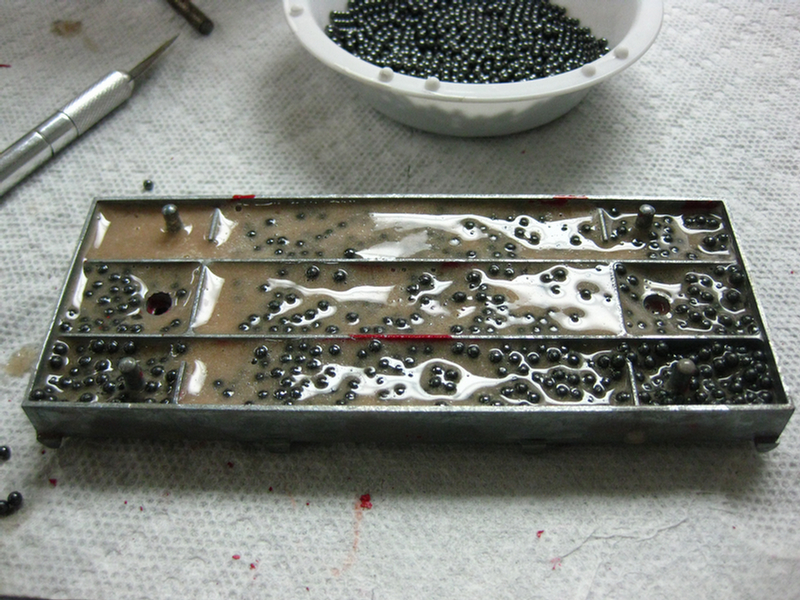
Filled the counterweight tray with shot too.
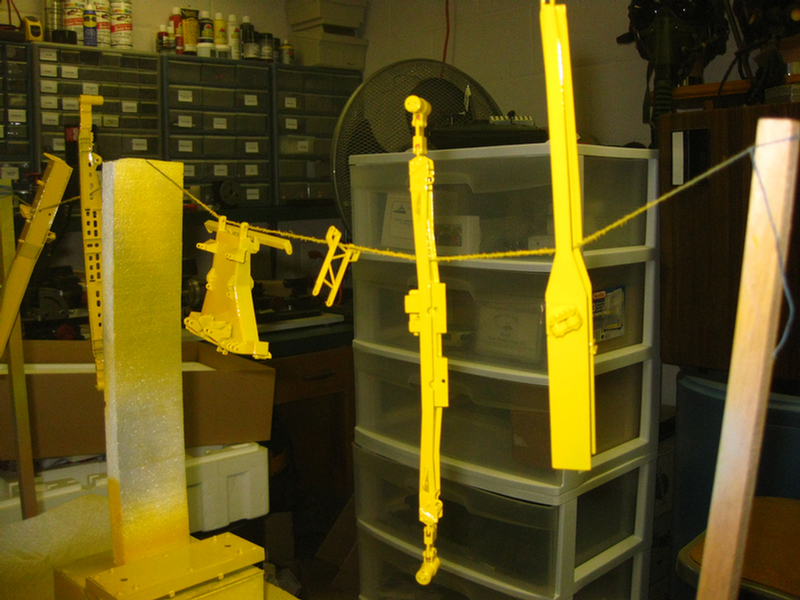
Repainting the stripped and primed components yellow.
Getting ready for re-assembly.
THese beams will be cut down and stacked laterally to replace the original jacks.
Starting to look like a crane again.
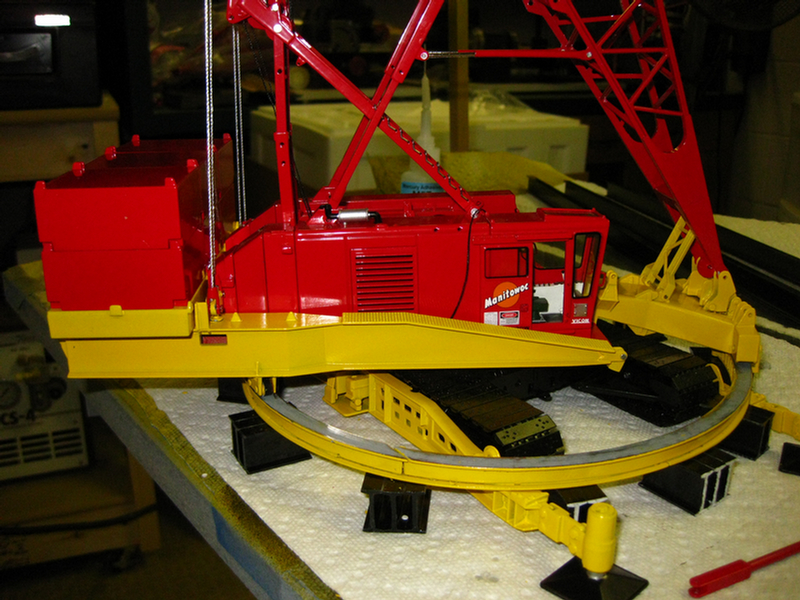
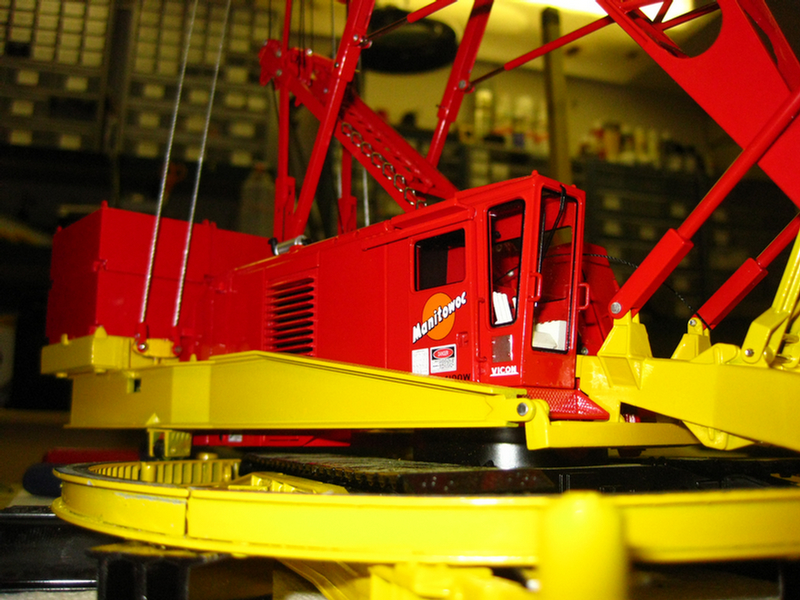

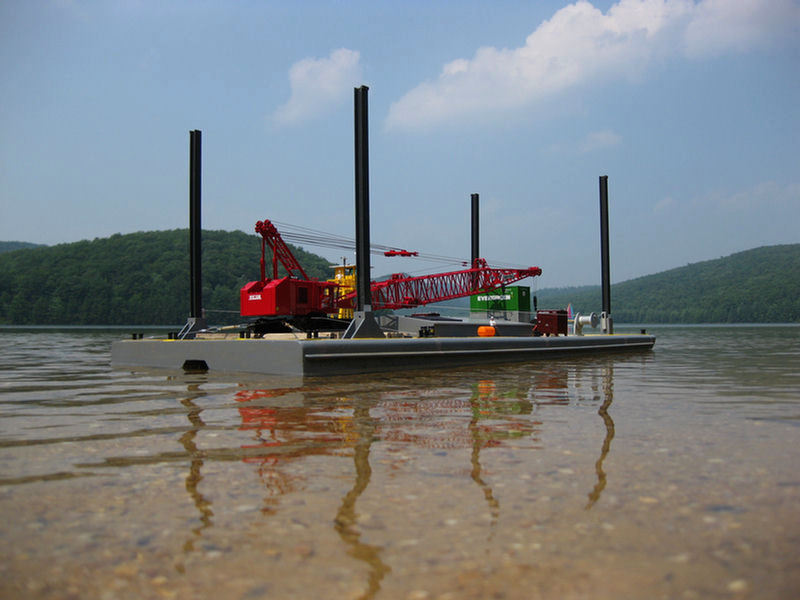
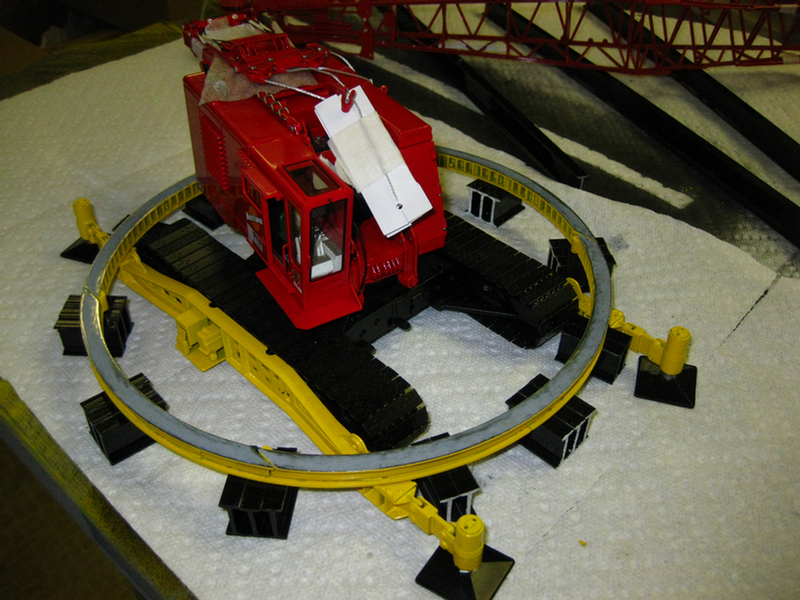
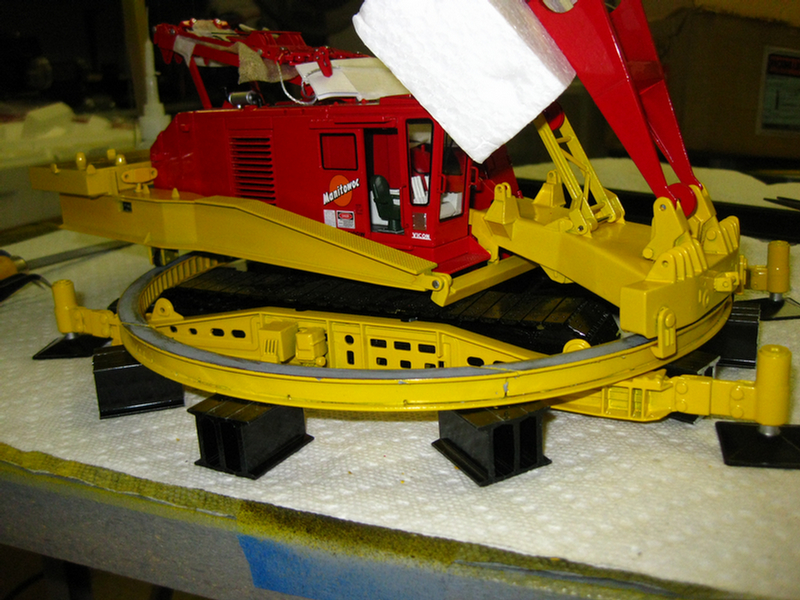
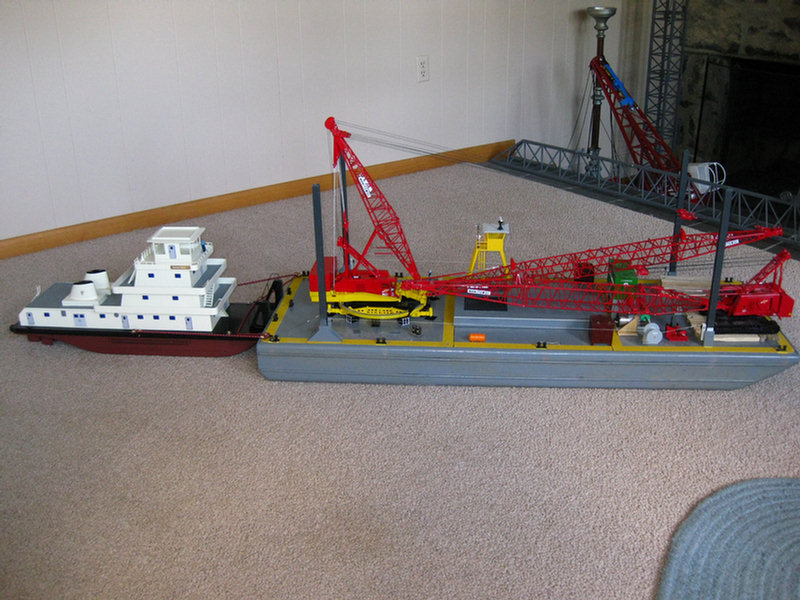
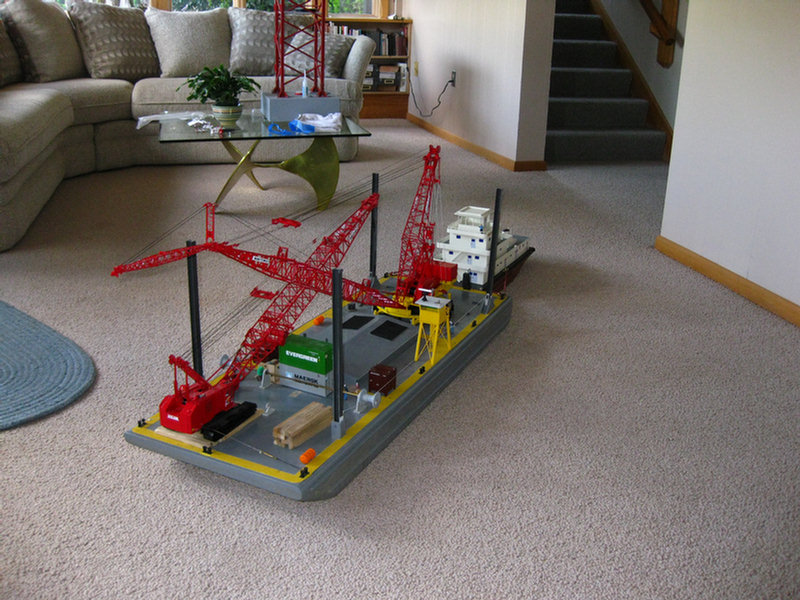
Now I have moved the crane and mounted it to the barge.
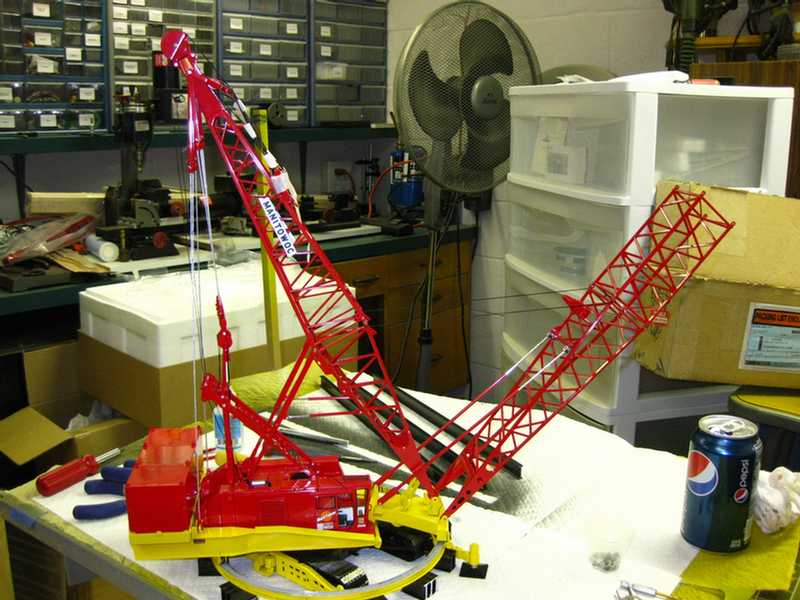
Ringer with original boom length.
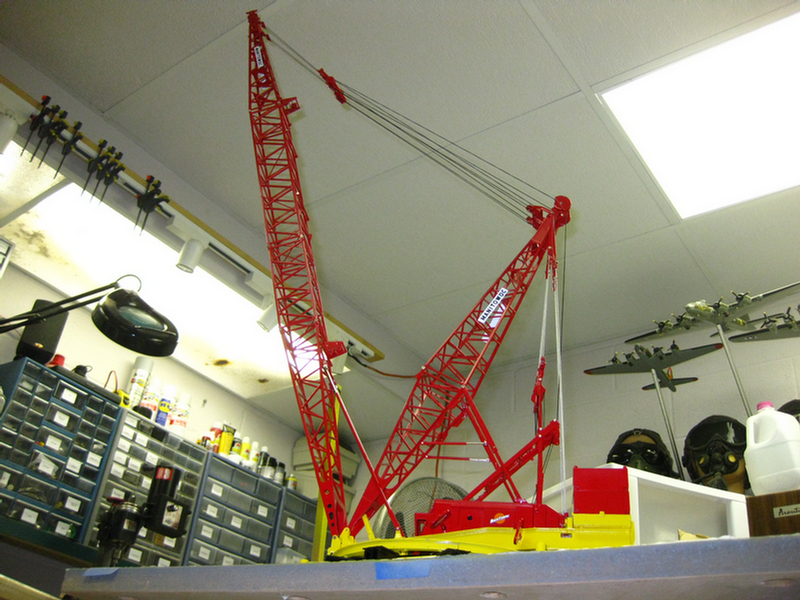
Now has jib installed.
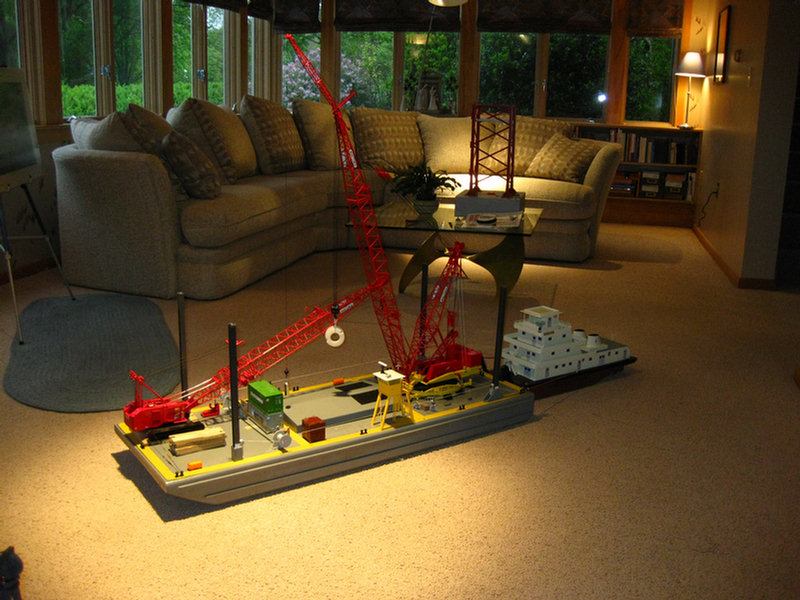
Glamour shot. :)
Headed to the lake!!