Oh my..... still another diversion?
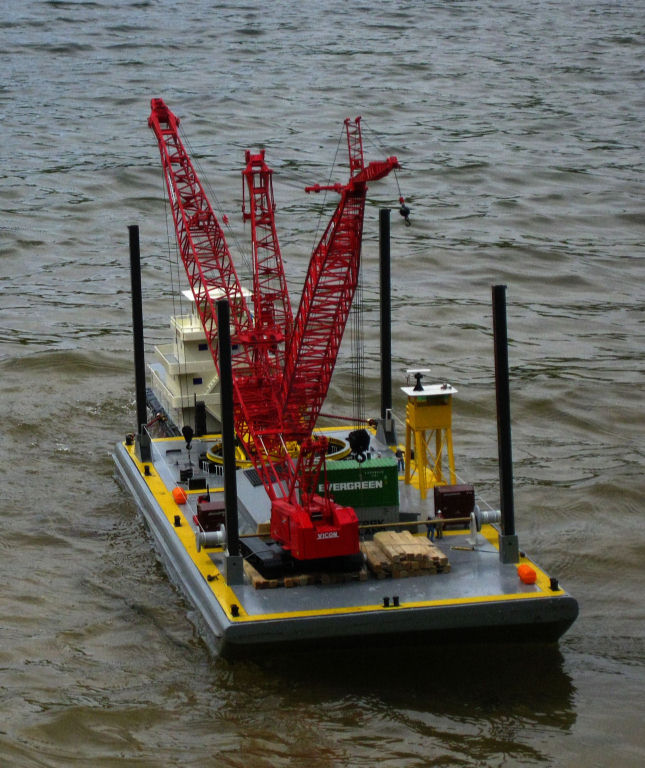
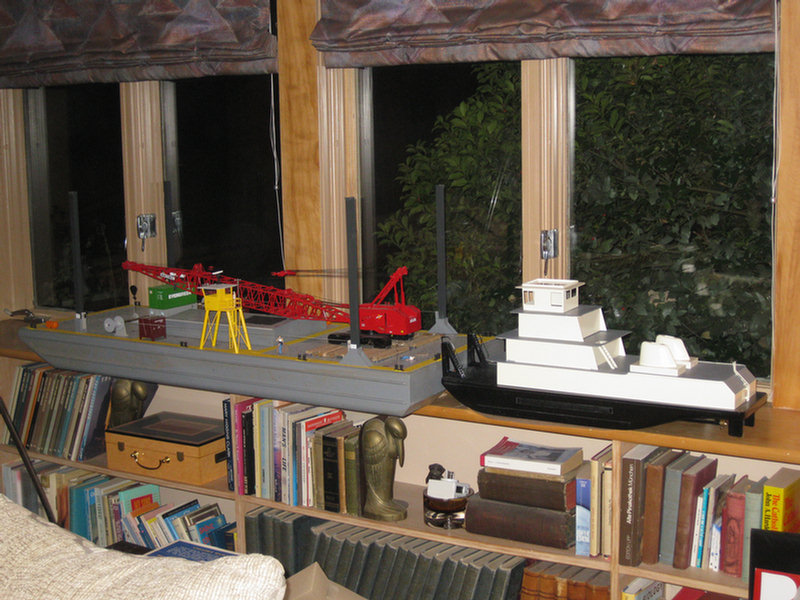
You BET!! A crane barge isn't anything without a towboat to push it around.
Spent a day with "Towboat Joe" In Catlettsburg, Kentucky looking at different towboats. I left with some drawings thanks to Joe, and am ready to start.
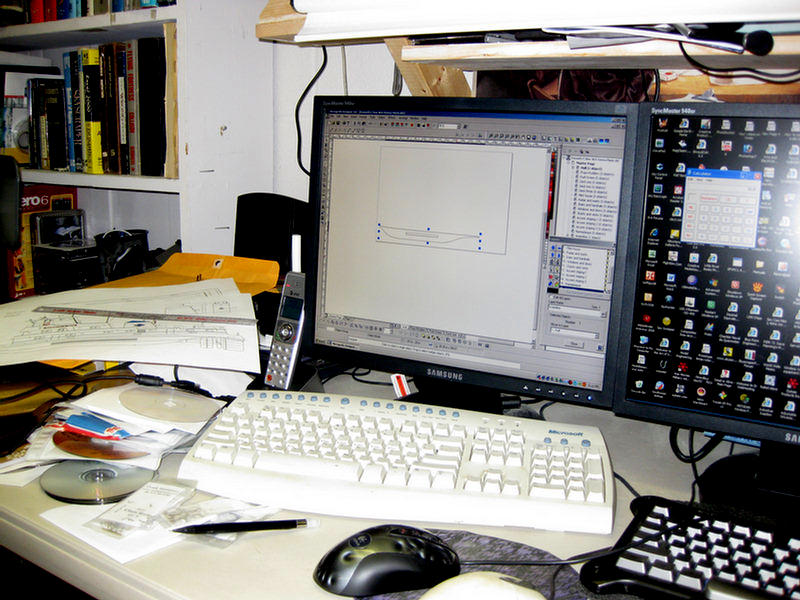
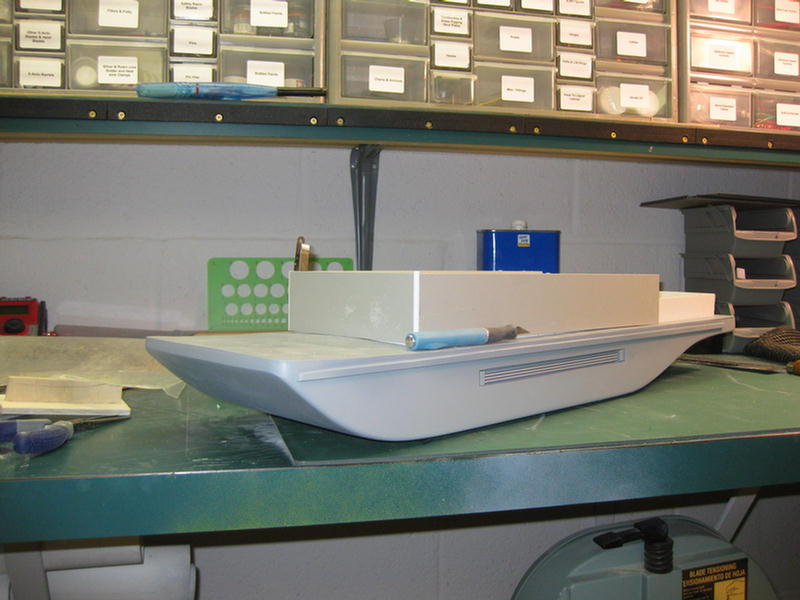
I have decided to make a hybrid based on part of a real configuration and some ideas I have gained from viewing many other boats. So, I drew the basic hull on my computer.
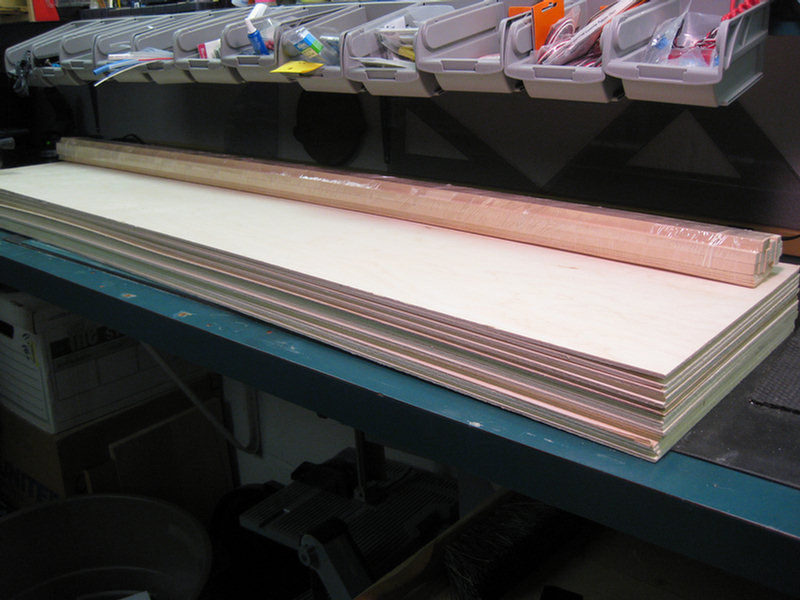
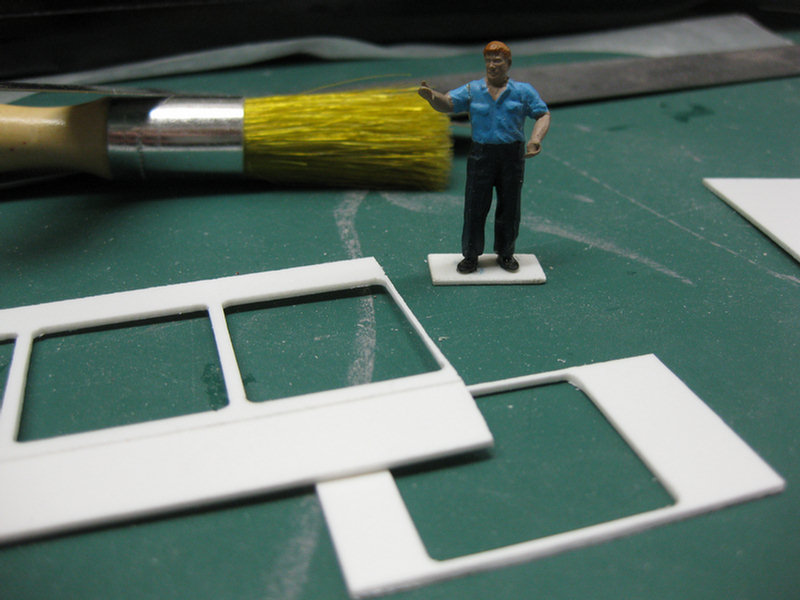
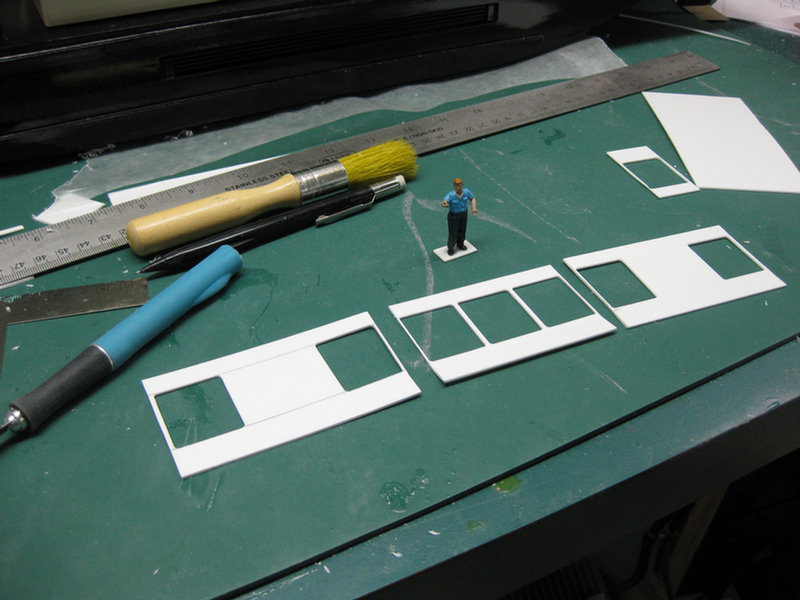
Enough drawing, lets make some dust. First step is to rip out the inner and outer hull sides.
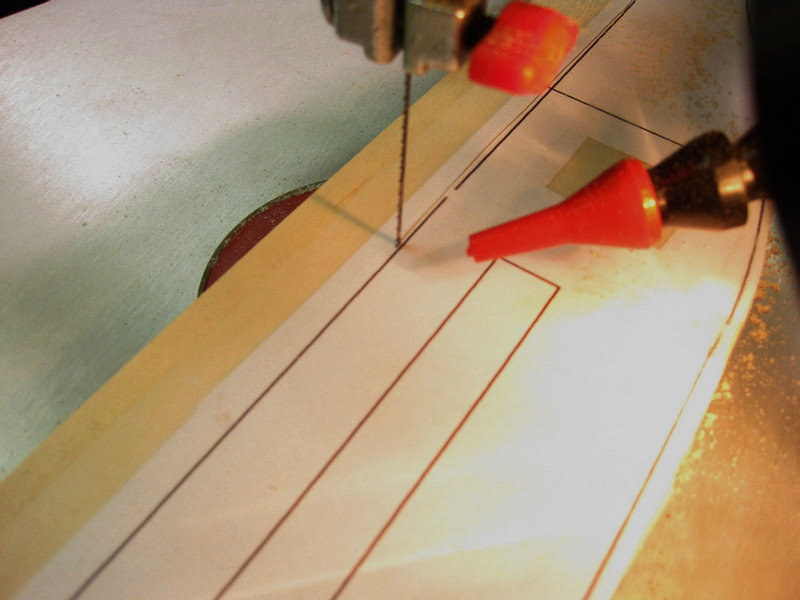
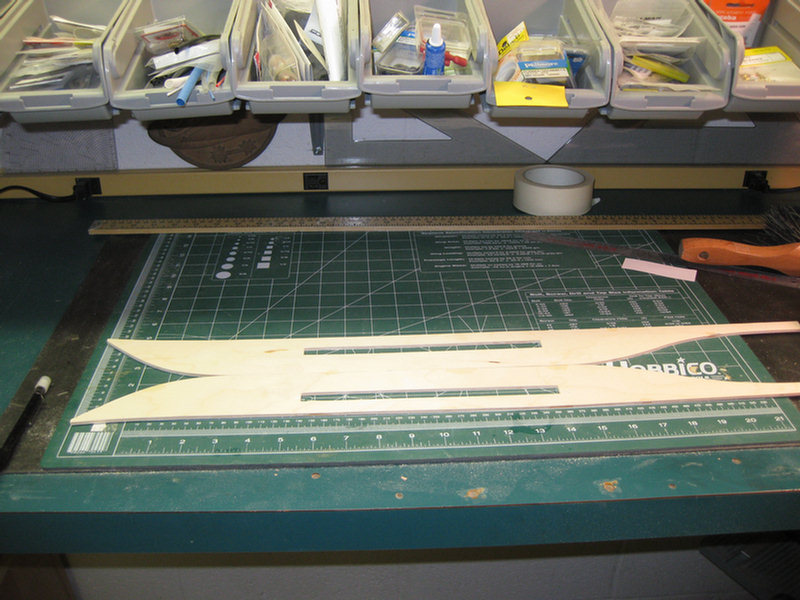
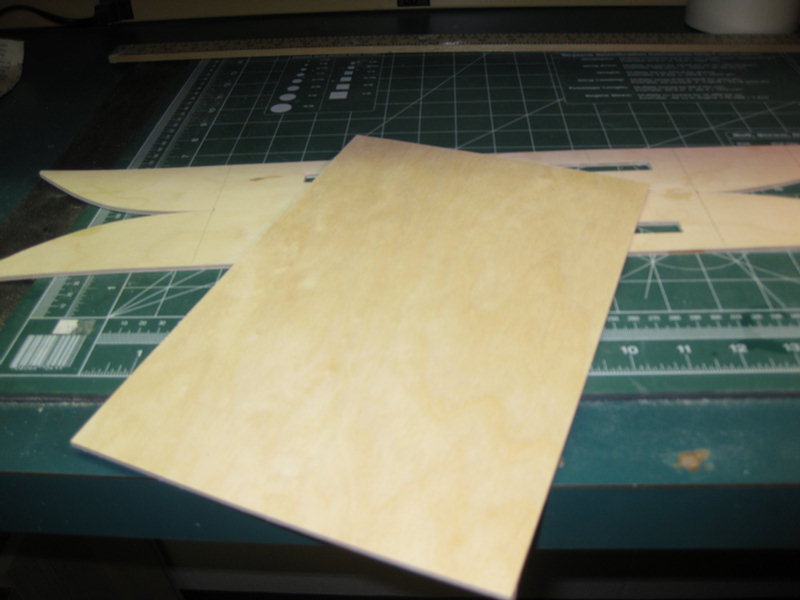
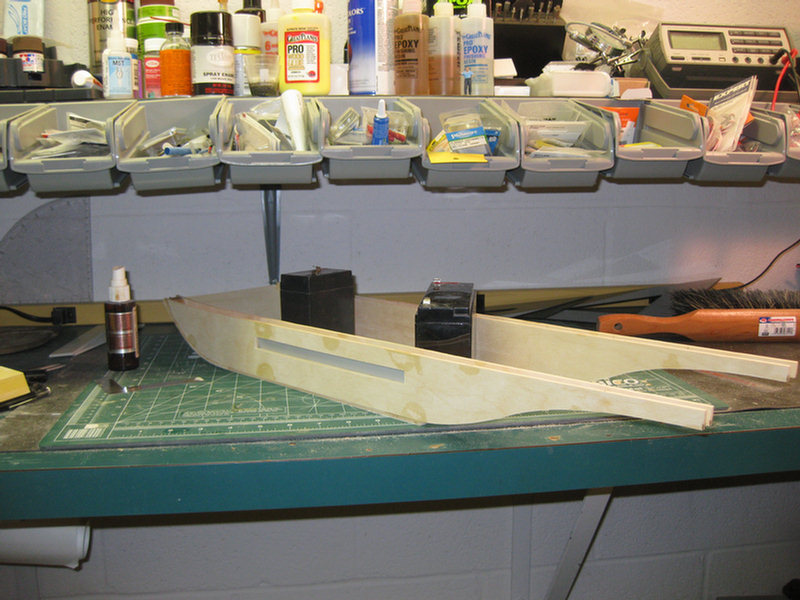
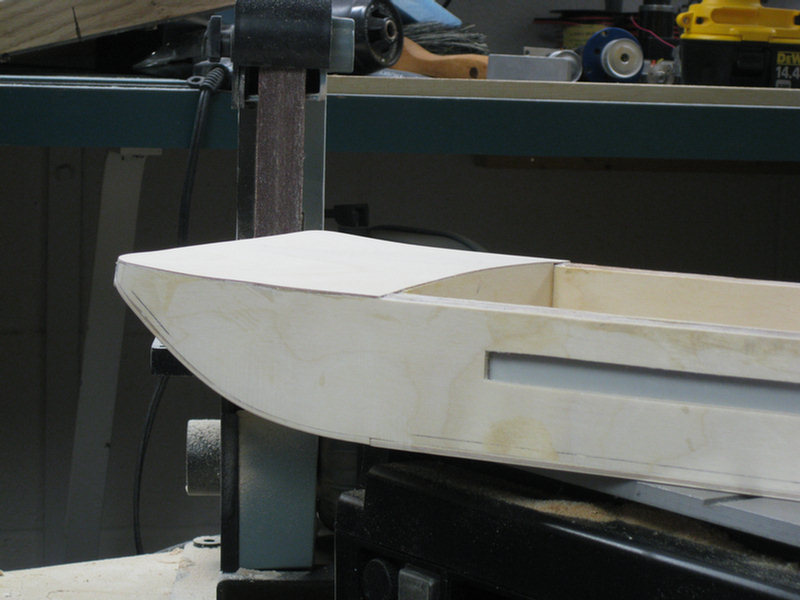
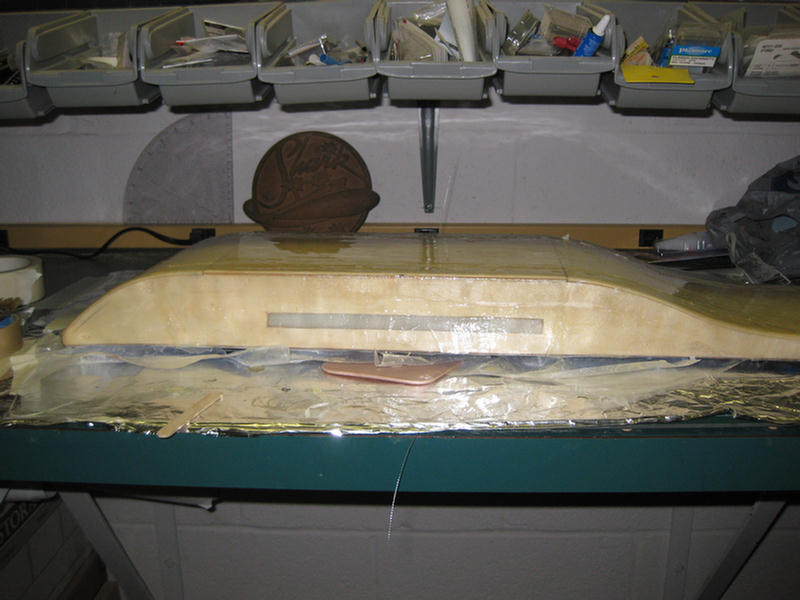
I stacked four pieces of plywood and temporally glued them together. I printed out the hull side drawing and taped it to the top piece of plywood. Then, I started cutting out around the template drawing leaving just a little extra material for final sanding.
Then, I sanded right down to the line on the template.
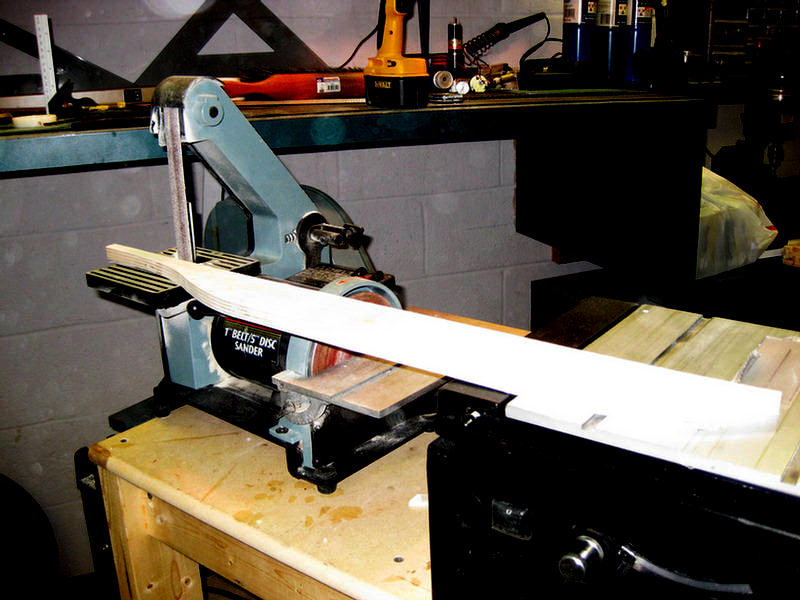
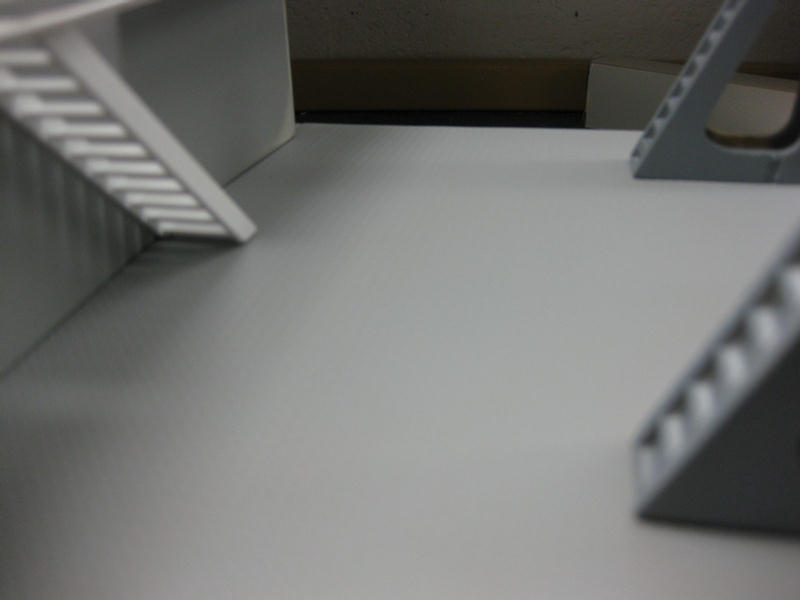
You can see the stacked plywood and the curvature of the stern.
Took a break to checkout what was going on, on the forum.
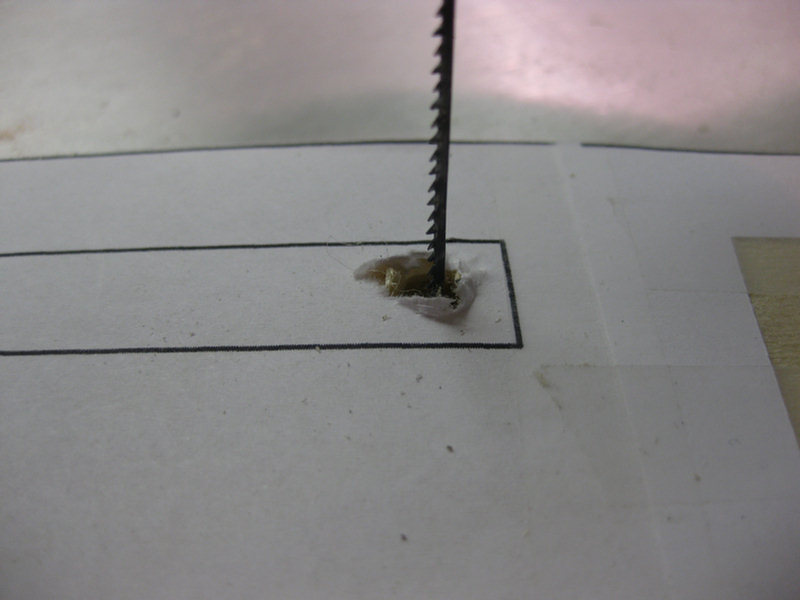
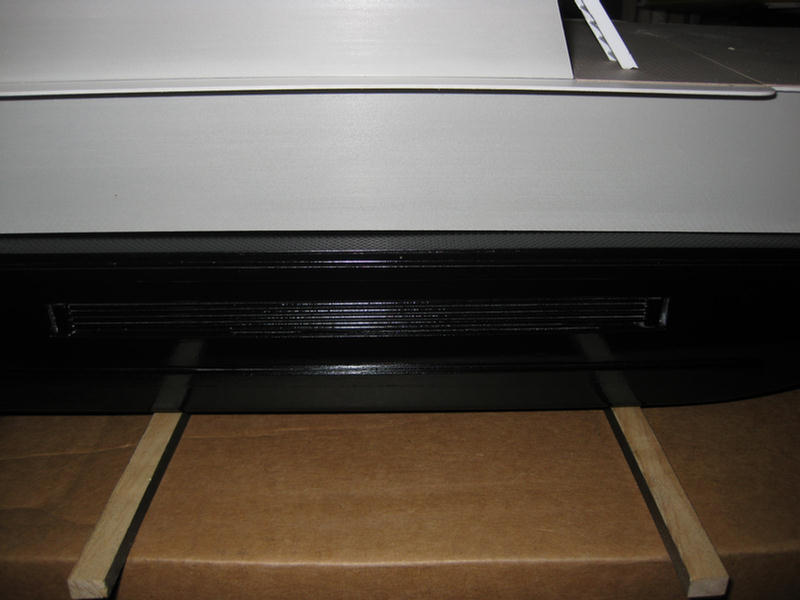
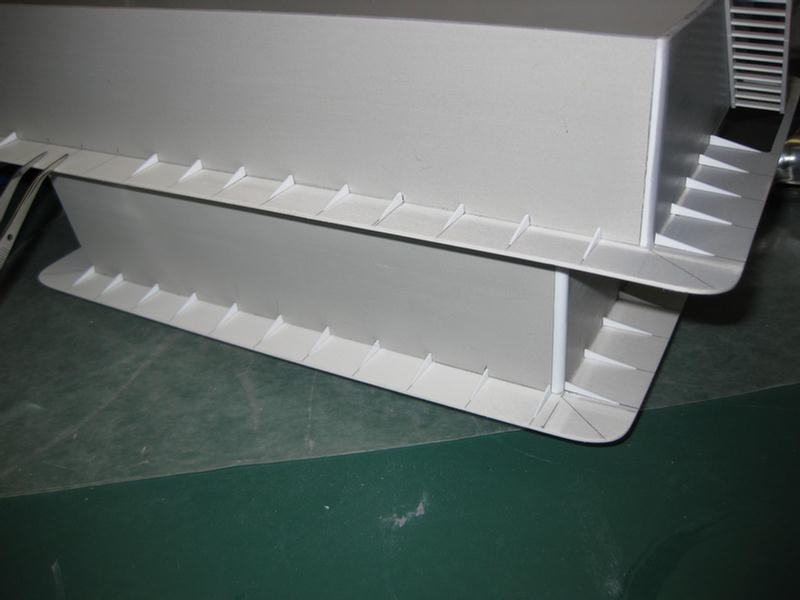
Next, two of the four sides have to have a cooling grid cutout made. This is how the real boats cool their engines and gearboxes. Hot water or oil passes through the grid and is cooled by the river water against the grid.
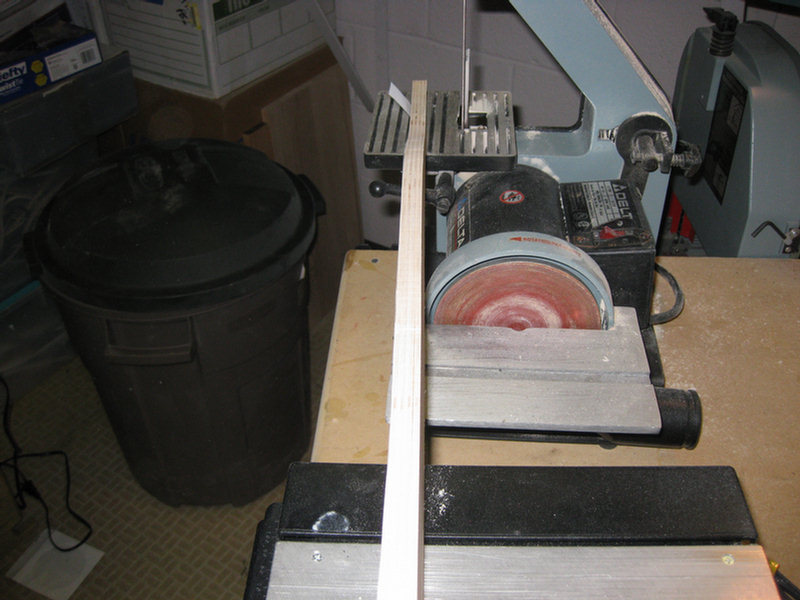
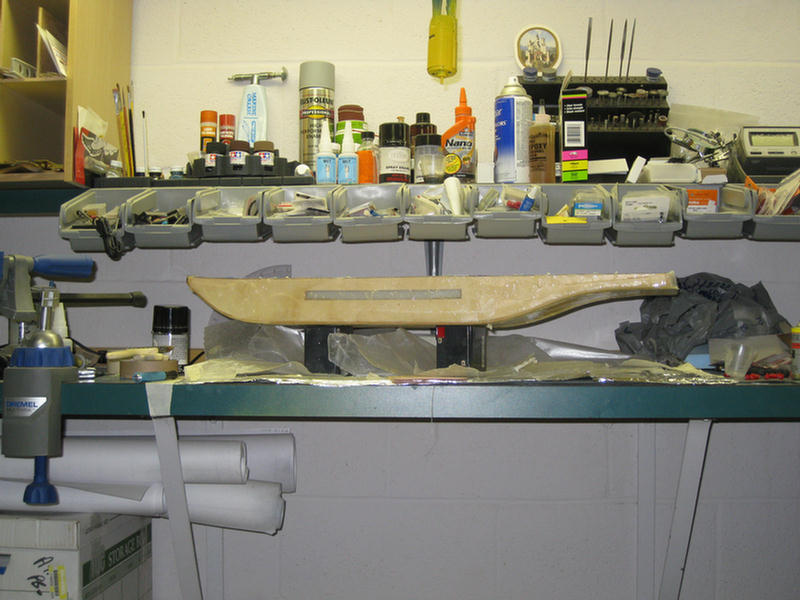
Cuts are close, now to file to finished dimension.
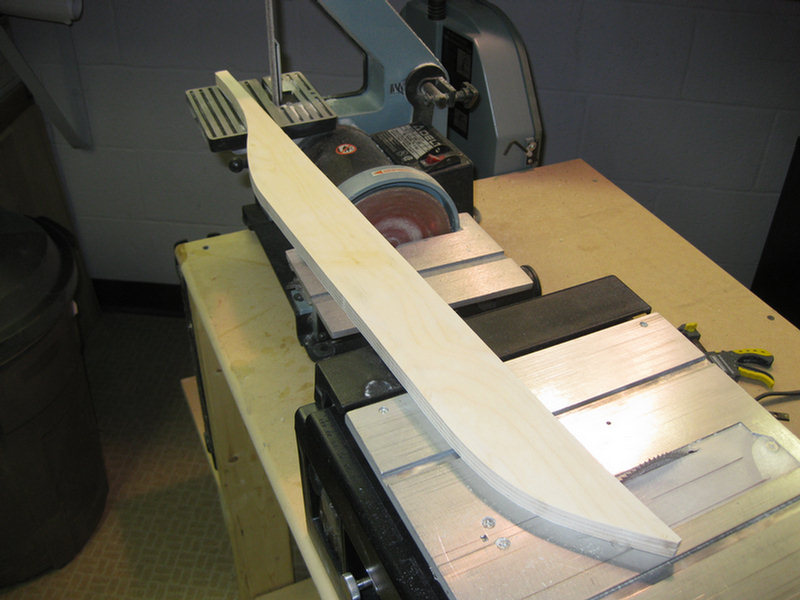
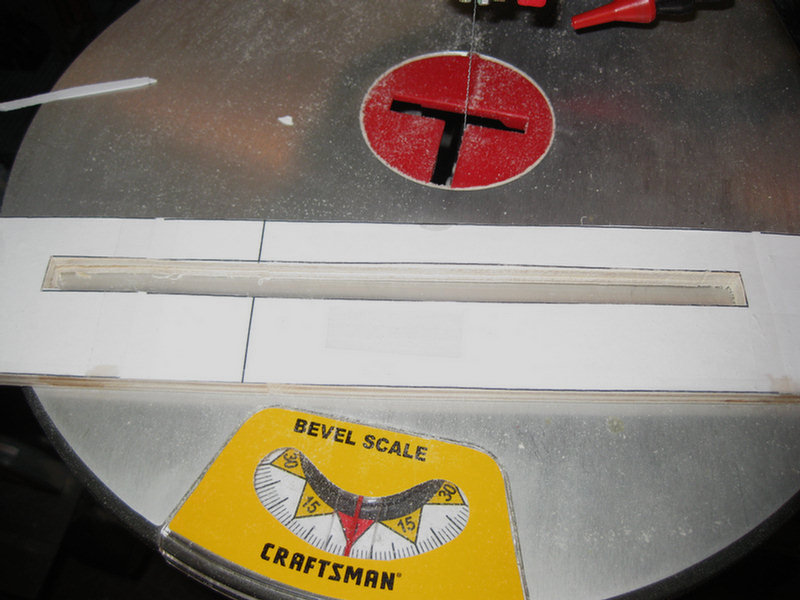
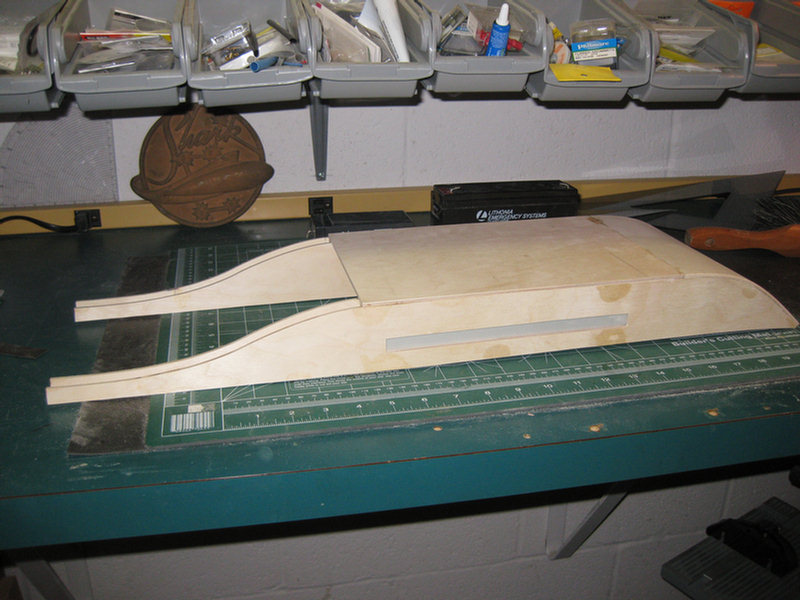
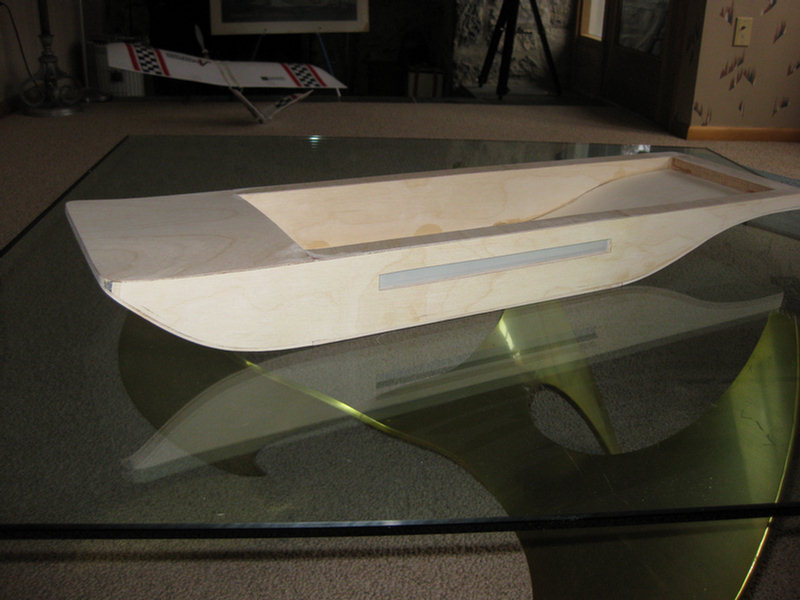
The two outer hull sides with the cooling grid cutouts.
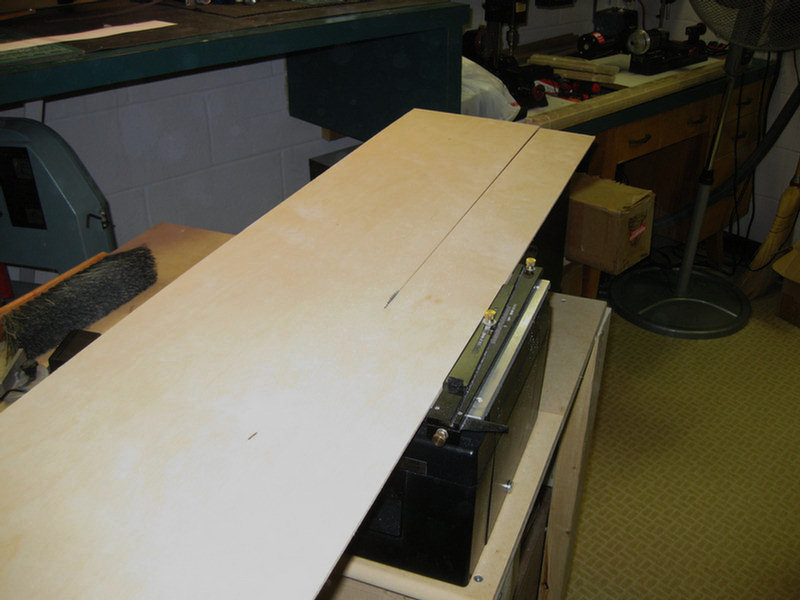
The central hull bottom will be made of hard (birch) plywood. Ready to cut it to width and then it will be glued in place.
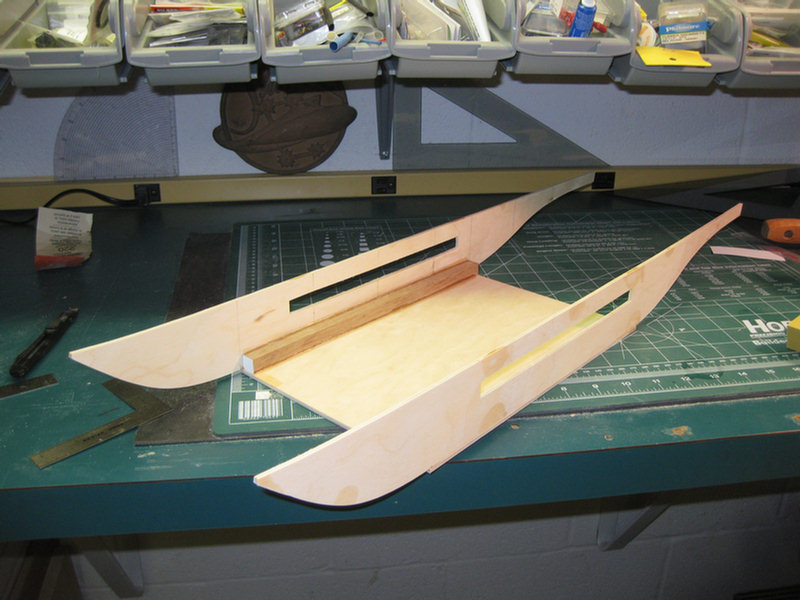
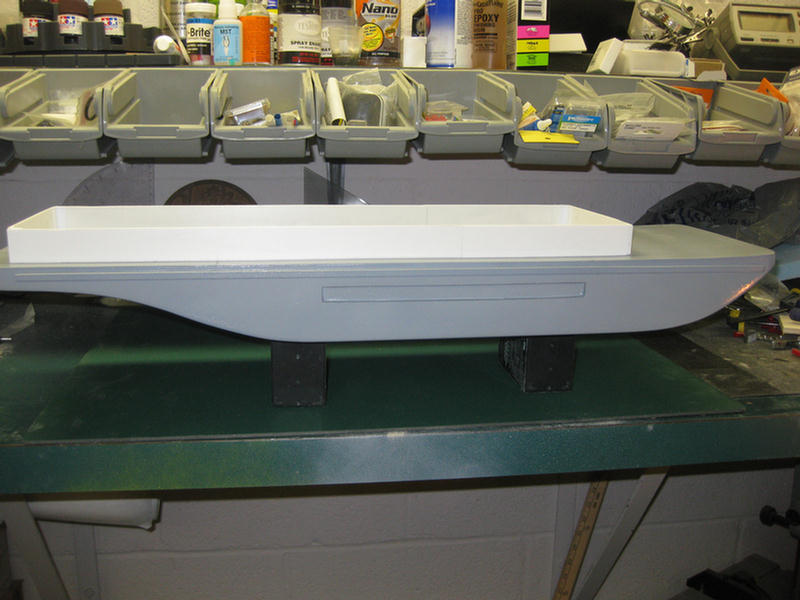
Both outside pieces attached to the hull bottom.
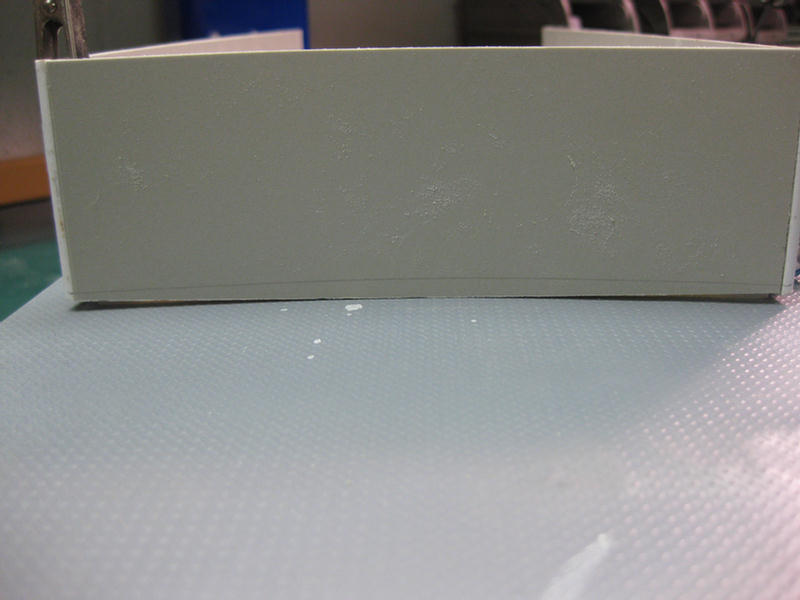
Next the bow is formed using soft plywood gluing it to the hull sides.
Reasonable start. Will add a center stringer later. Another square piece of wood will be formed to the curvature of the bow and be glued in place.
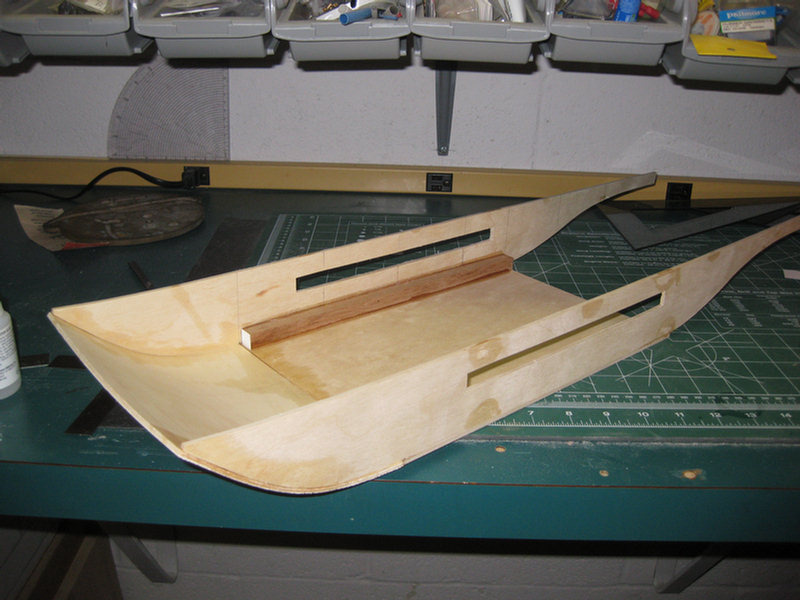
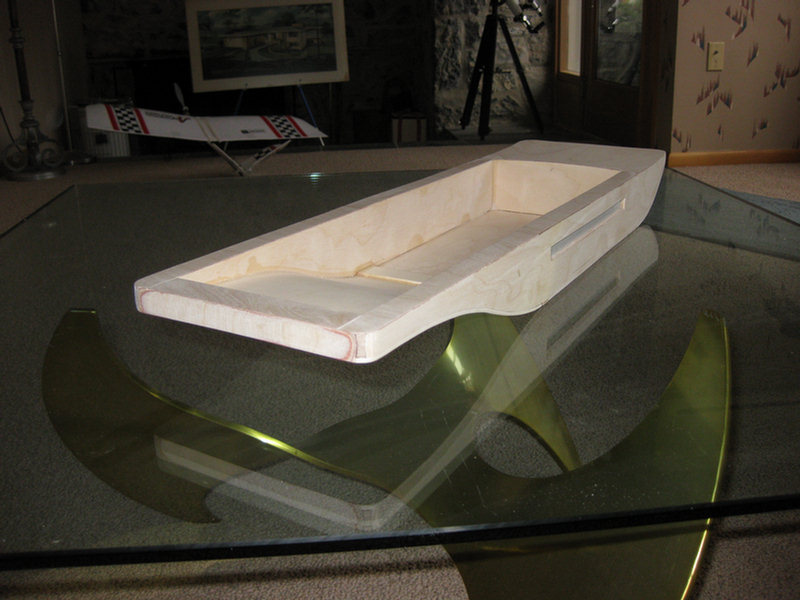
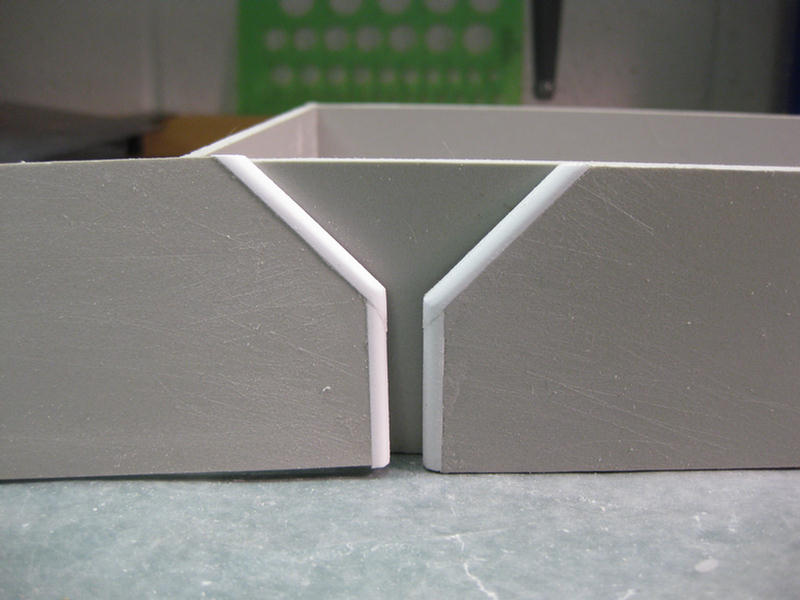
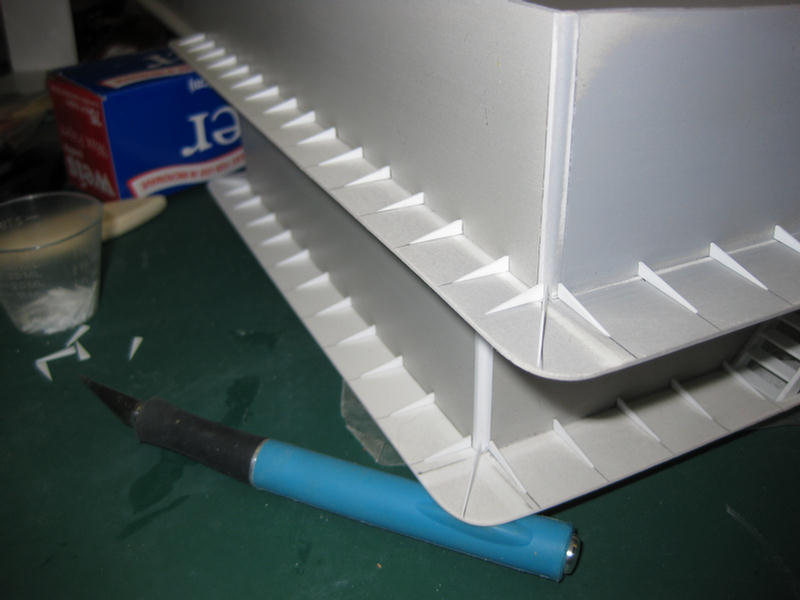
The grid recesses are done and the inner hull sides are attached.
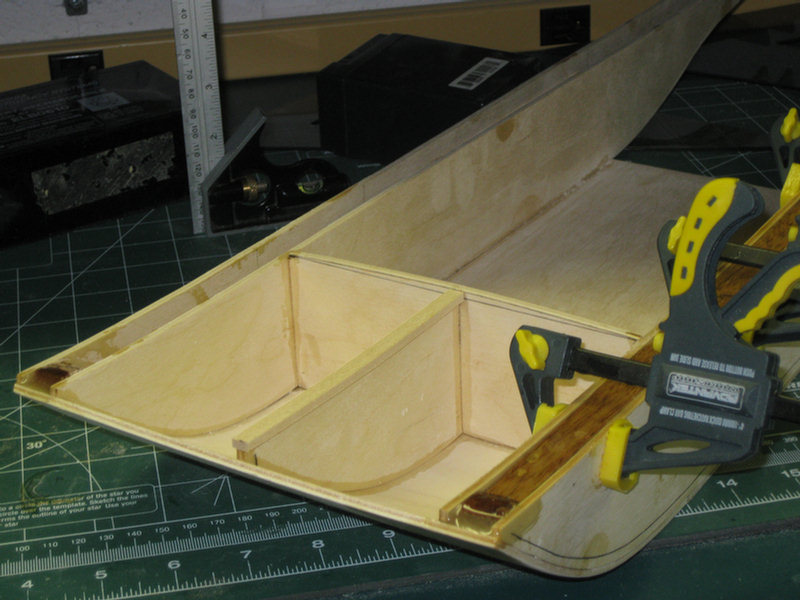
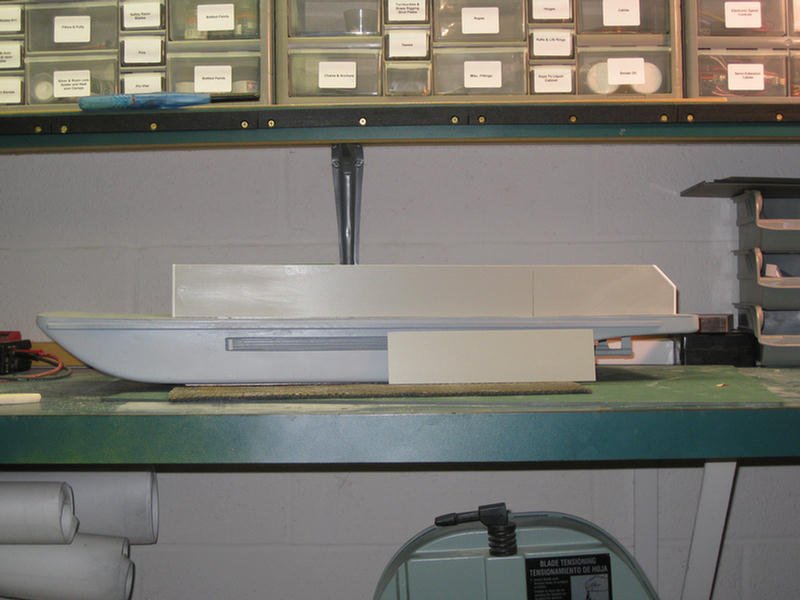
Here the center stringer has been installed and since there is camber to the deck, I added a strip to match the center of the crowned bulkhead. Also being installed is the full length square strip of wood that will allow boats hardware to have a strong support beneath.
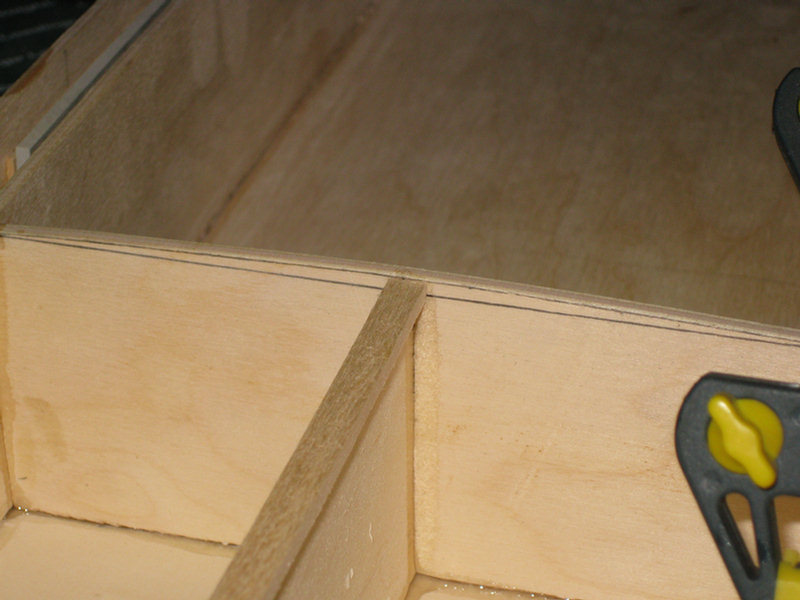
Note the camber on the bulkhead.
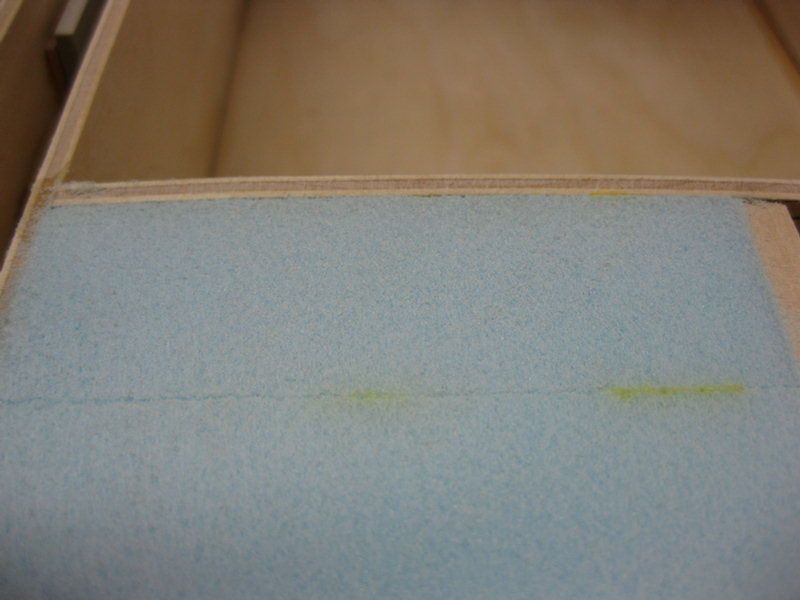
Filled the bow cavity with foam. (Just in case)
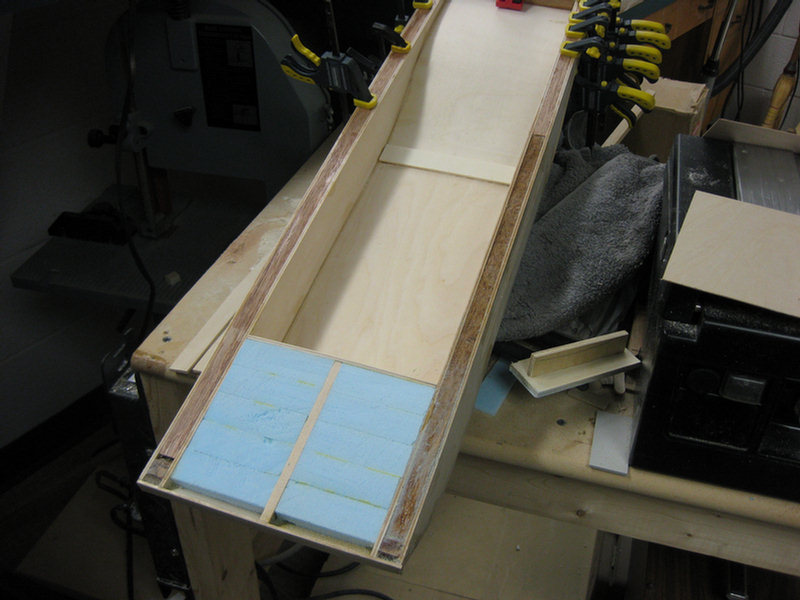
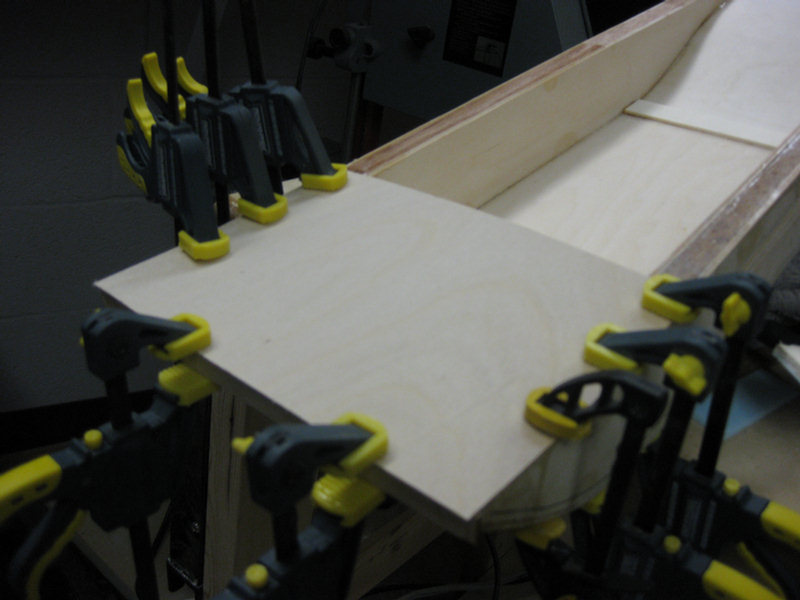
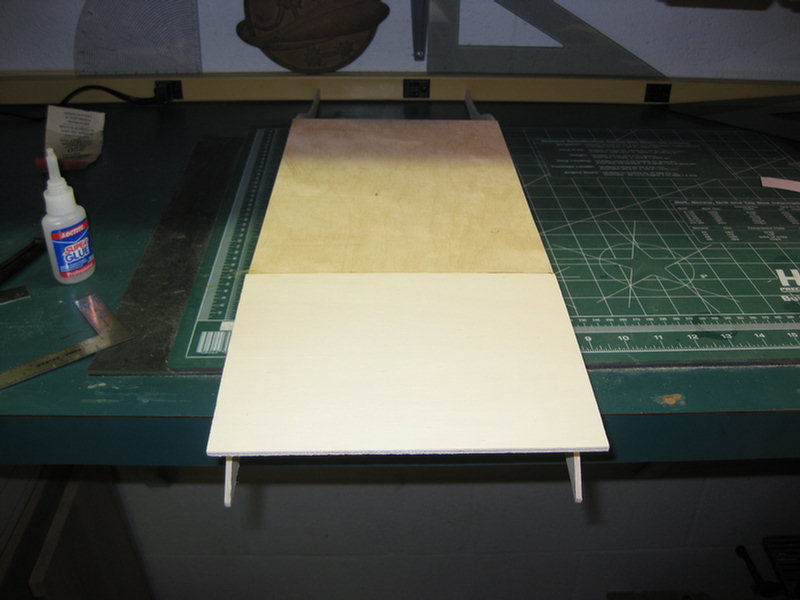
I am going to skin the deck with 1/16" plywood prior to fiber glassing the hull.
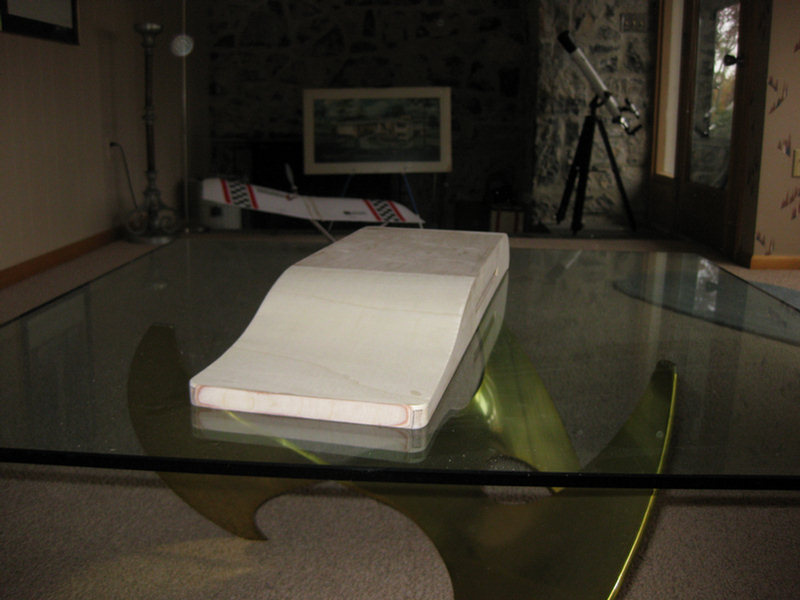
The bow area is skinned.
Note the shear and camber on the bow.
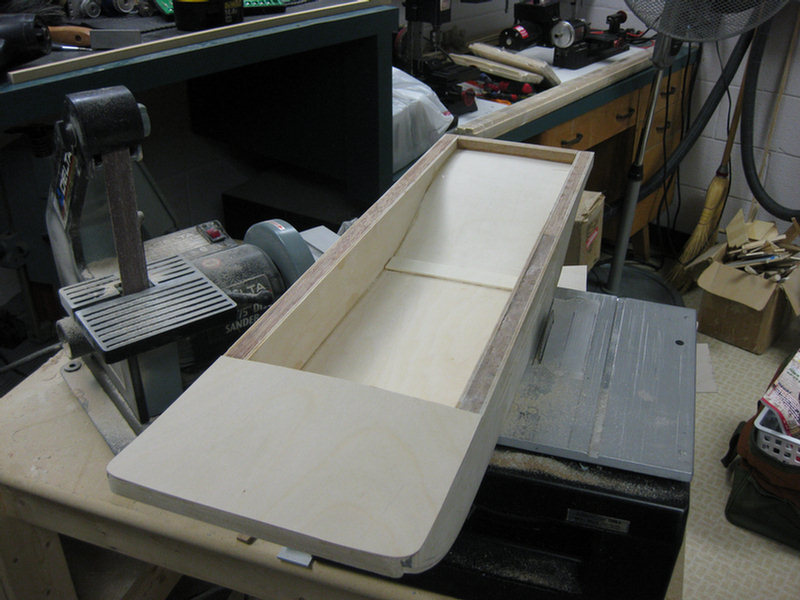
Well, It has been exactly 24 hours since I started. Not bad for a days work.
More tomorrow.
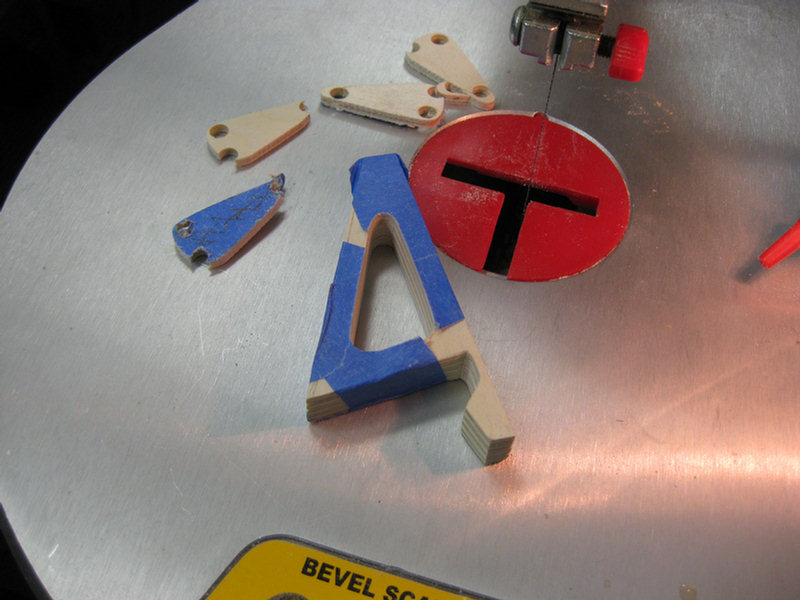
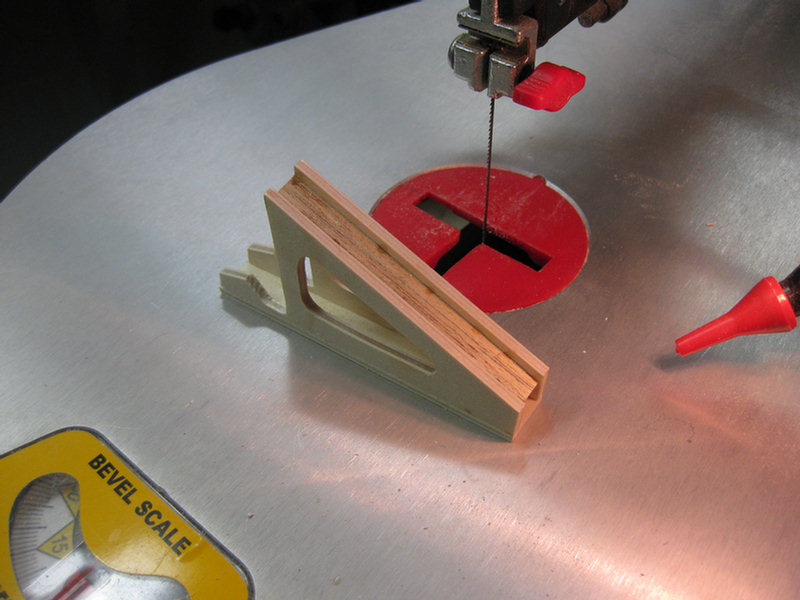
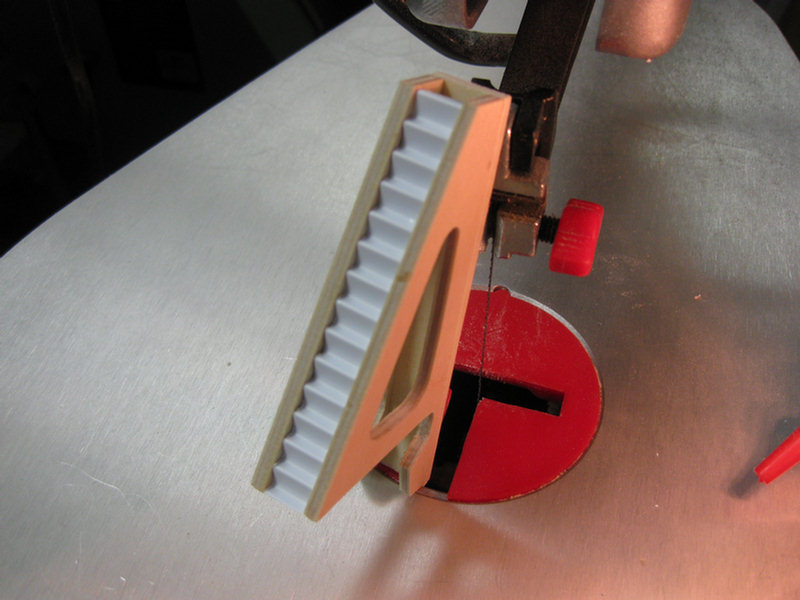
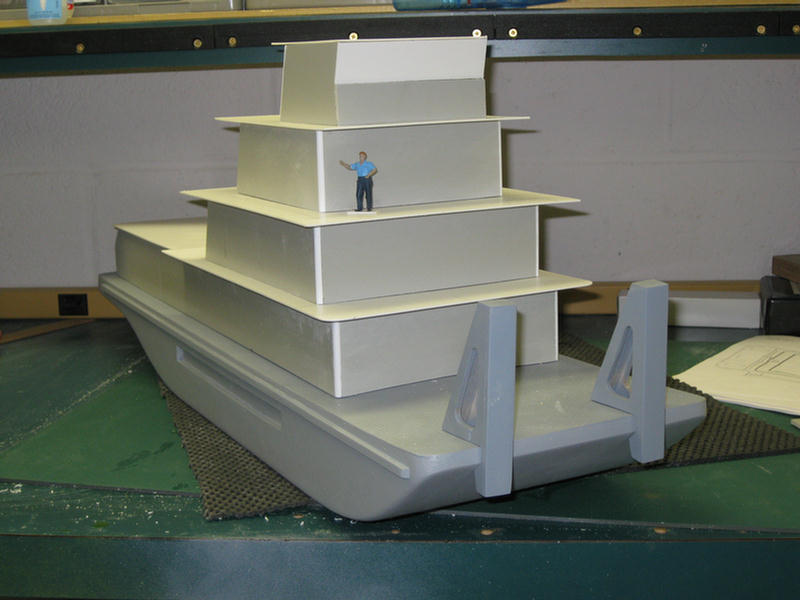
Again, I stacked the wood in able to do all my cutting and sanding at once. These are the push knees for the boat.
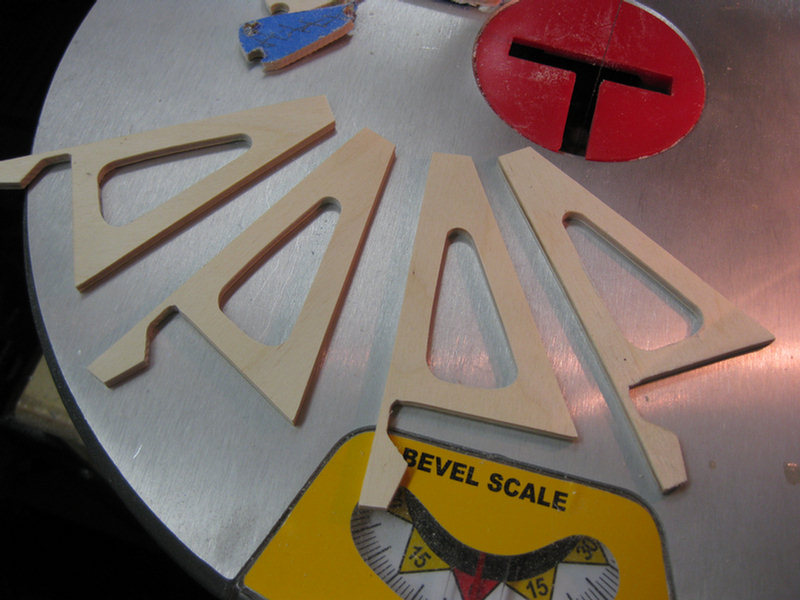
All four knee sides cut and sanded.
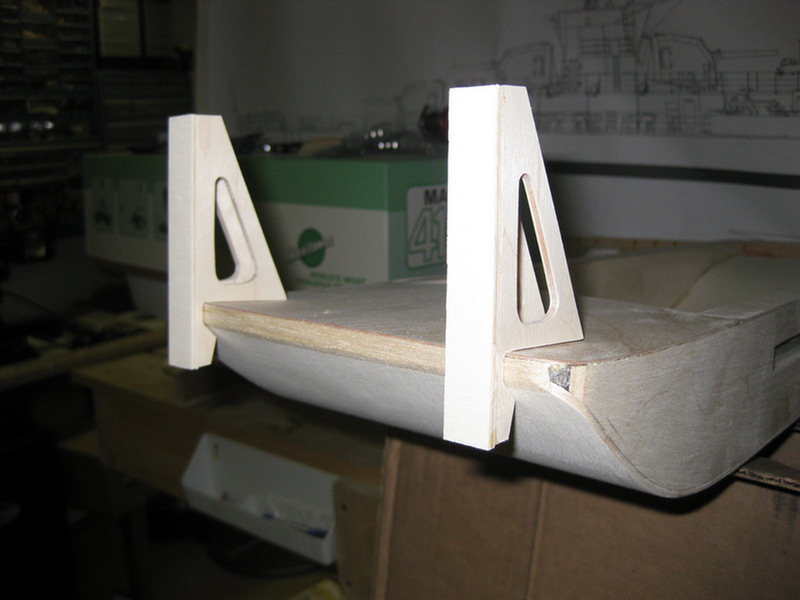
Basic knee is assembled and the trial fit up is good.
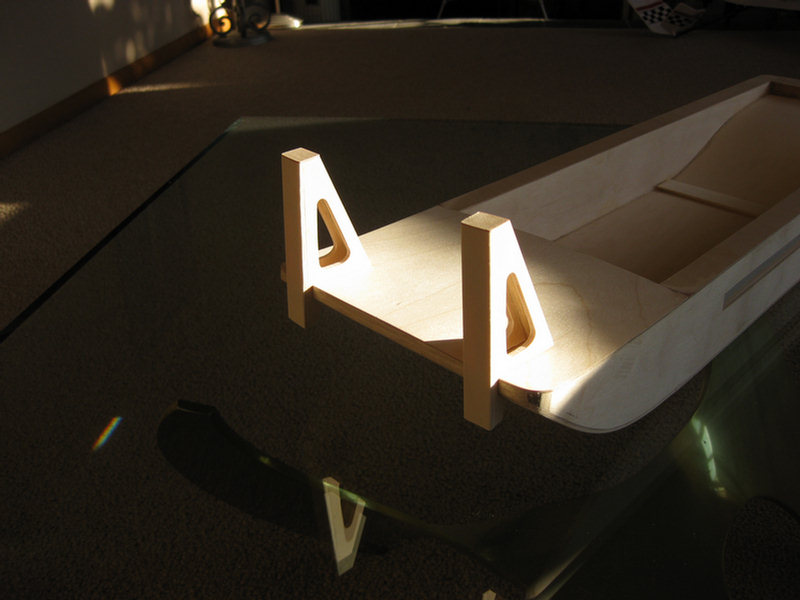
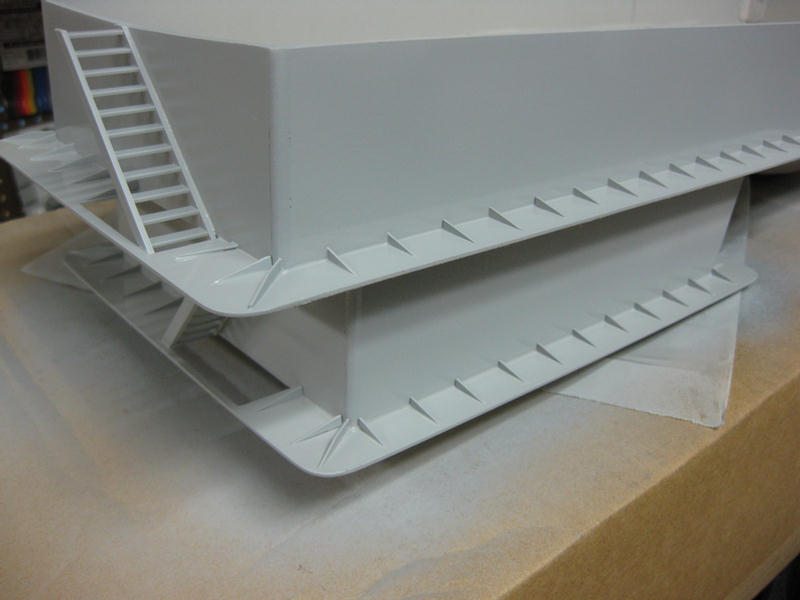
Backing plate to support the steps.
Steps installed. Will leave handrail off until later in the build.
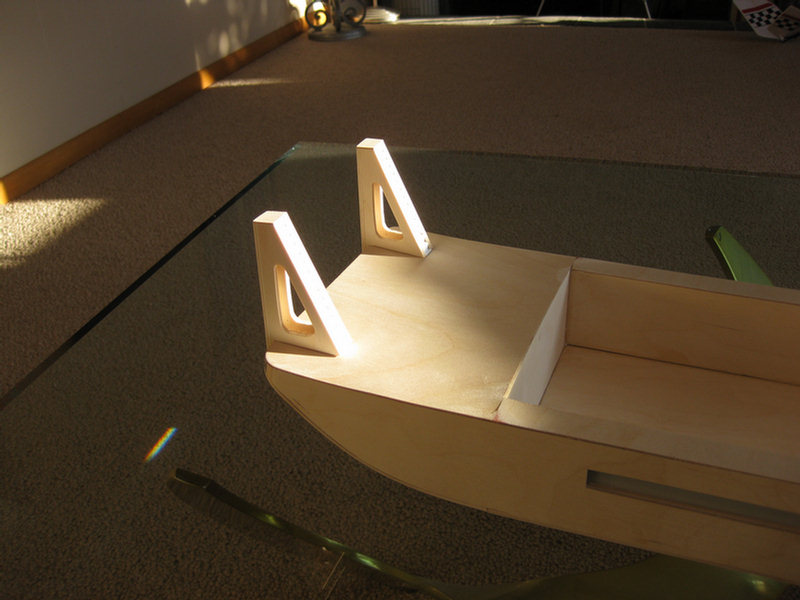
Knees in set in place.
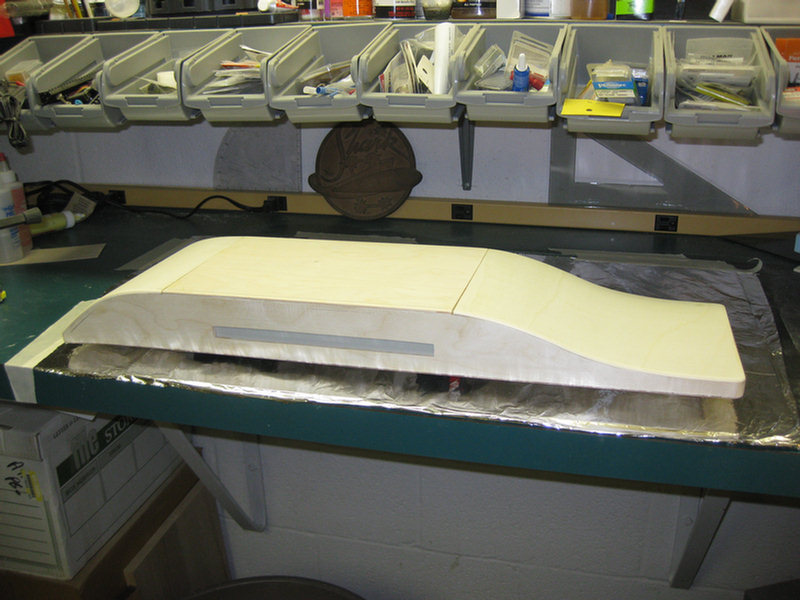
It's time to fiberglass the hull.
Hull sanded and wiped down with tack rag.....CHECK
Plenty of chit brushes.....CHECK
West Systems epoxy resin.....CHECK
Fiberglass cloth.....UGH!! Have mat, but no cloth! :(
So, now I wait until the local (100 mile round trip!) hobby shop is open. I can gamble and be there when the doors open to save time. Or, I can wait 2 hours and 15 minutes to call first to make sure they have it. Where are my keys, I'm going to gamble!! :)
My friends, this was not pretty. I was at the hobby shop when it opened. I picked up the only glass cloth they had. I might as well has bought burlap. This stuff was so coarse and stiff, it would not wrap around edges or compound curves. It just wouldn't lay down. I ended up cutting out many bubbles and had to cover the hull in several steps requiring much sanding. Glad I have the power sanders or this would have been an elbow killer.

The inside was easy as all that is required is to brush on the epoxy resin.
Yikes! Hope I like sanding.
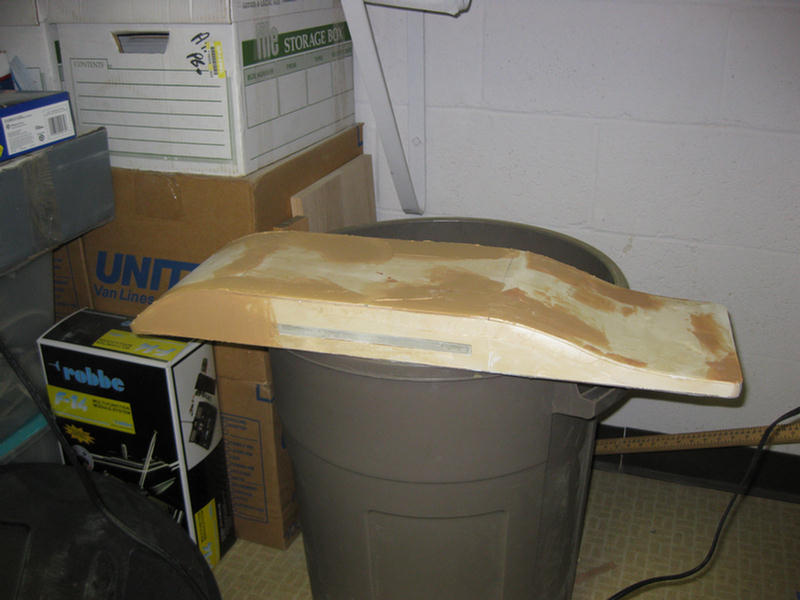
Well, I have got it sanded down to the point of filling in the low spots. I'm gaining on it now.

First coat of primer will show smaller imperfections. I will fill these, sand some more then cut out the cooling grid recesses. Something tells me these are going to be tricky to sand to square as there is little room to work. Guess I should be glad they stay underwater. :)
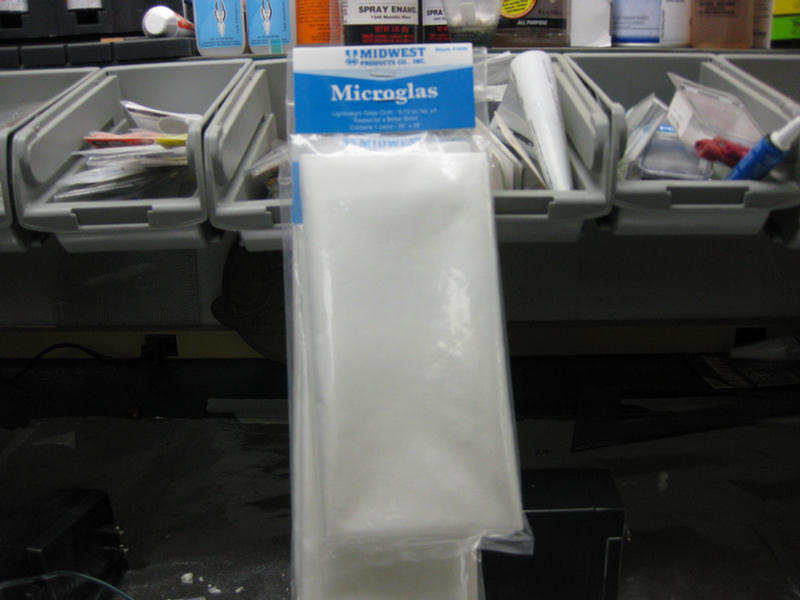
Oh... Look what I found hidden under a cardboard box. Not one, but two packages of fiberglass cloth light enough to have worked on all of the curves of the hull.......
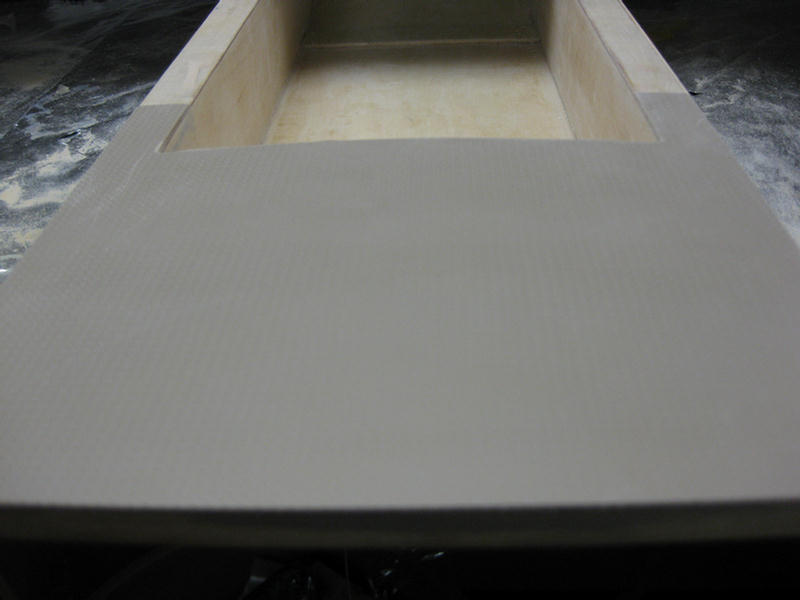
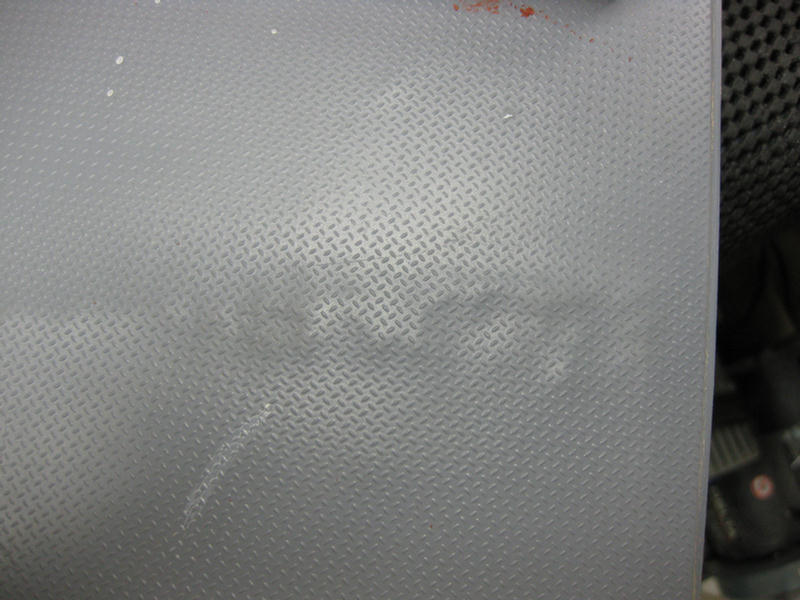
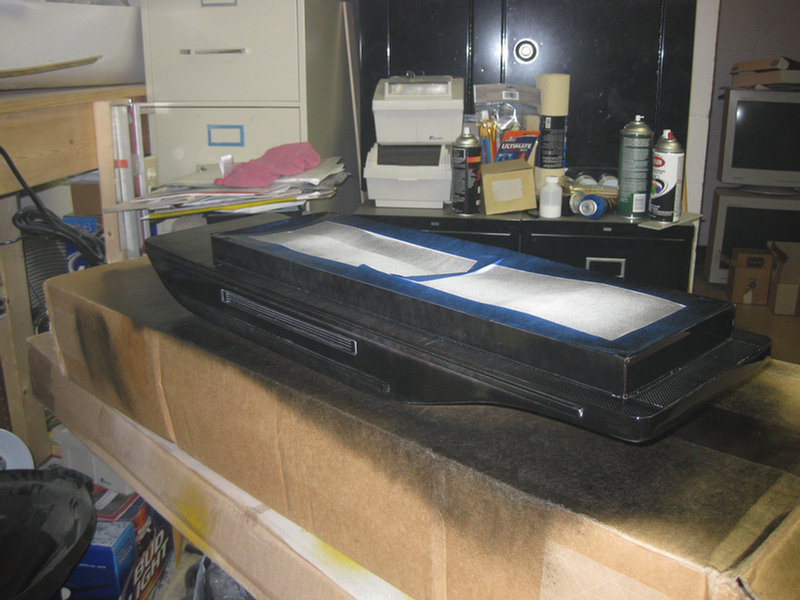
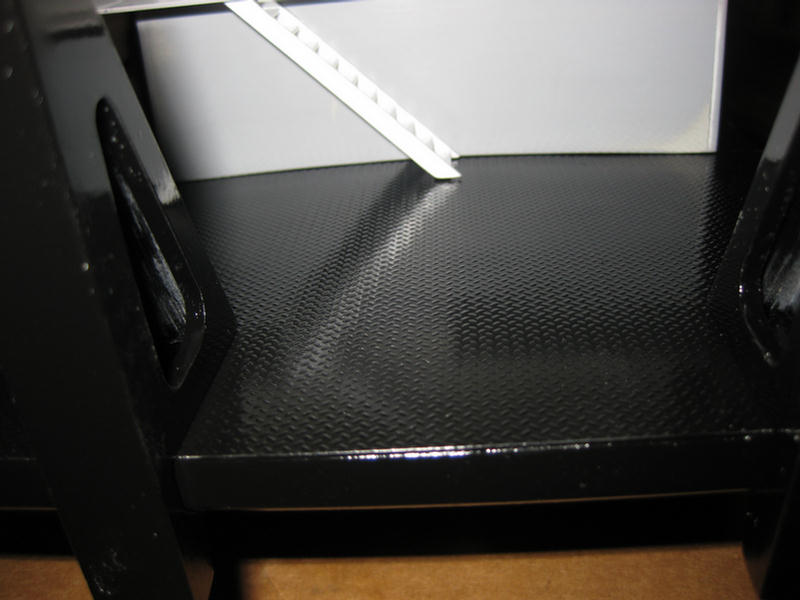
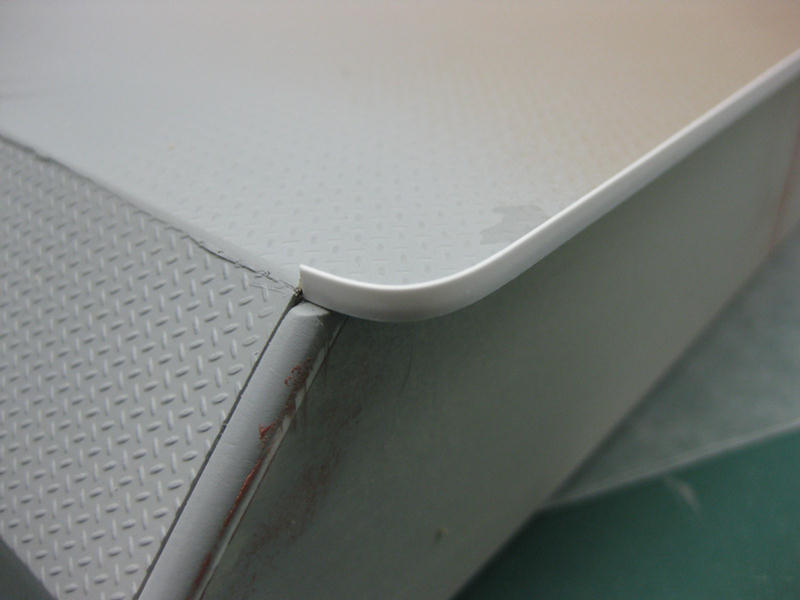
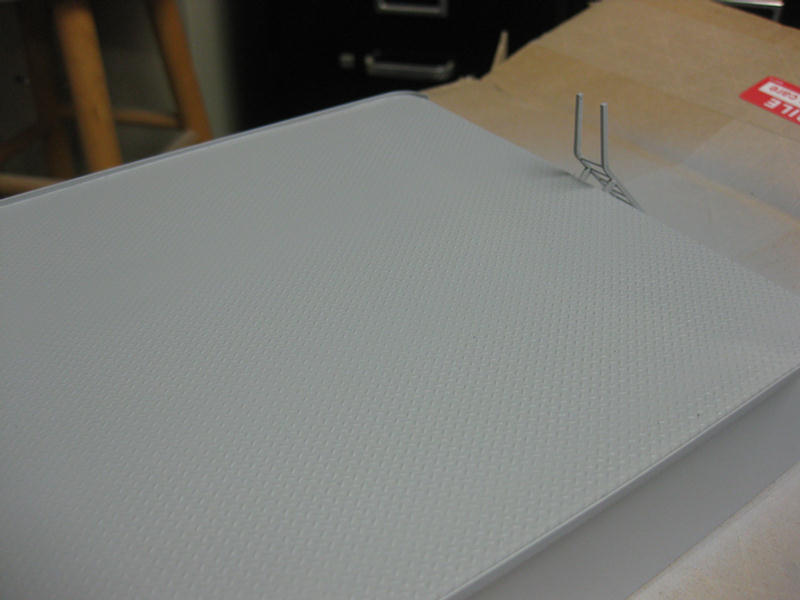
Starting to skin the deck with four-way skid resistant plate.
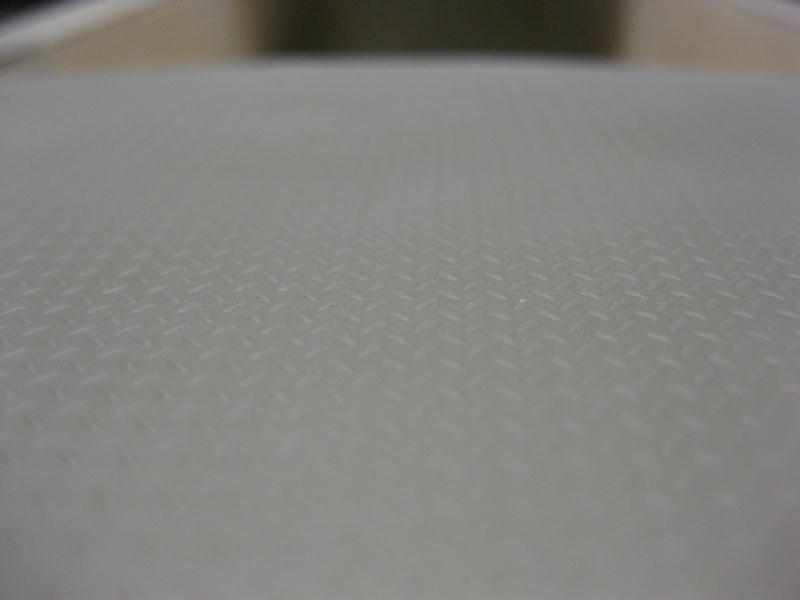
You can see the skid resistant pattern here.
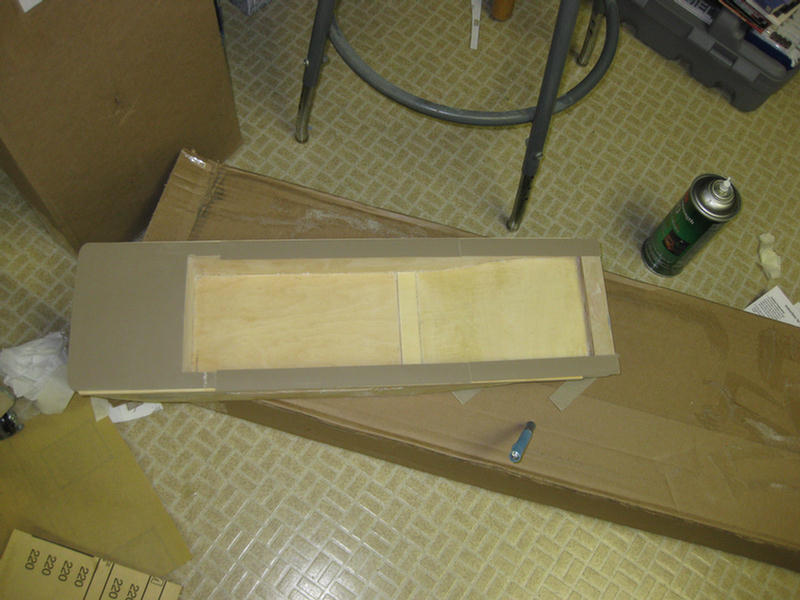
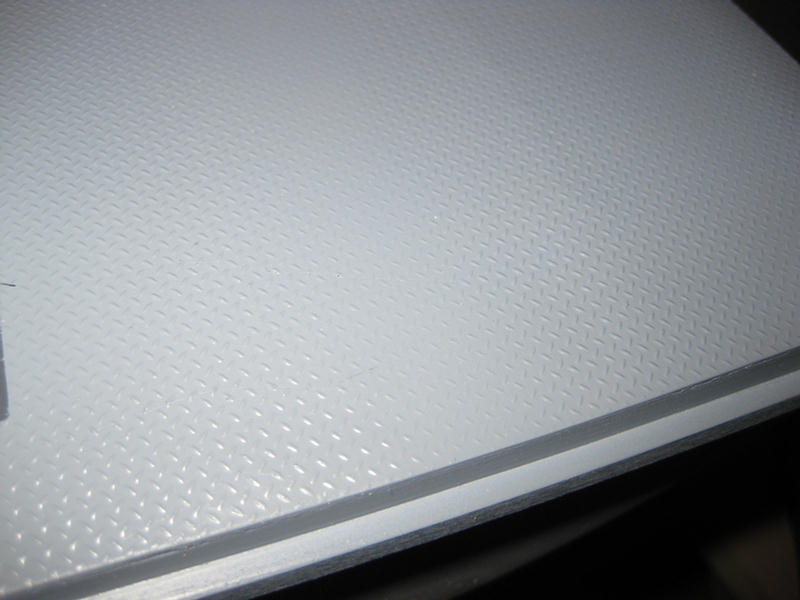
Some trimming and one more piece to add to the stern.
Here the deck is primed.
I used Sintra to form the coaming. This is to keep water out of the hull when it washes over the side.
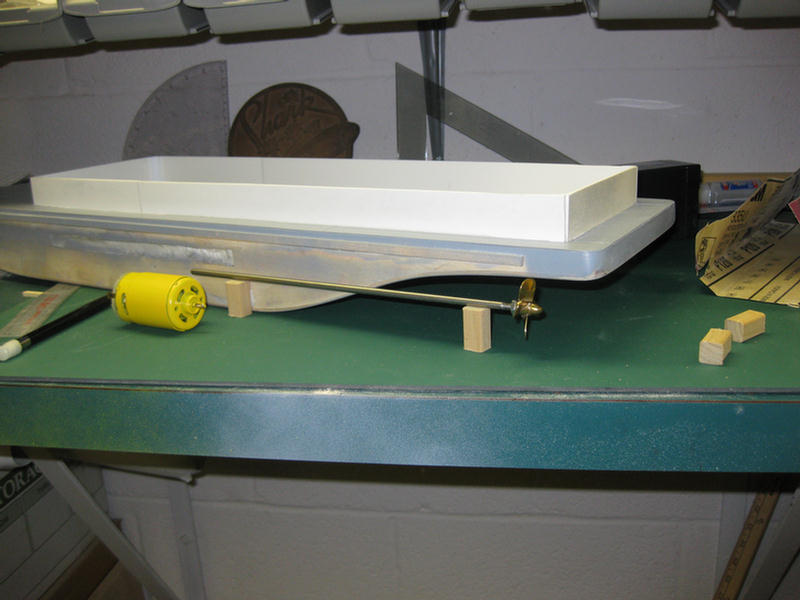
Time to measure for the drive train.
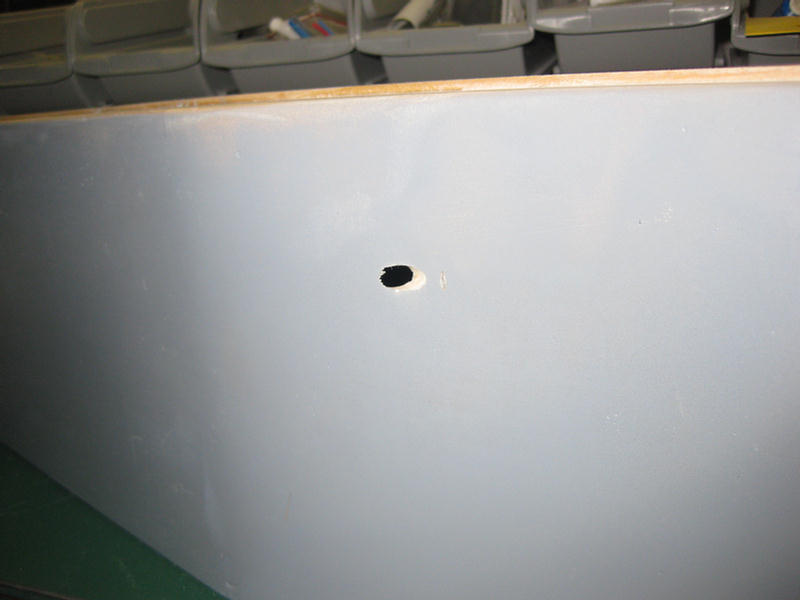
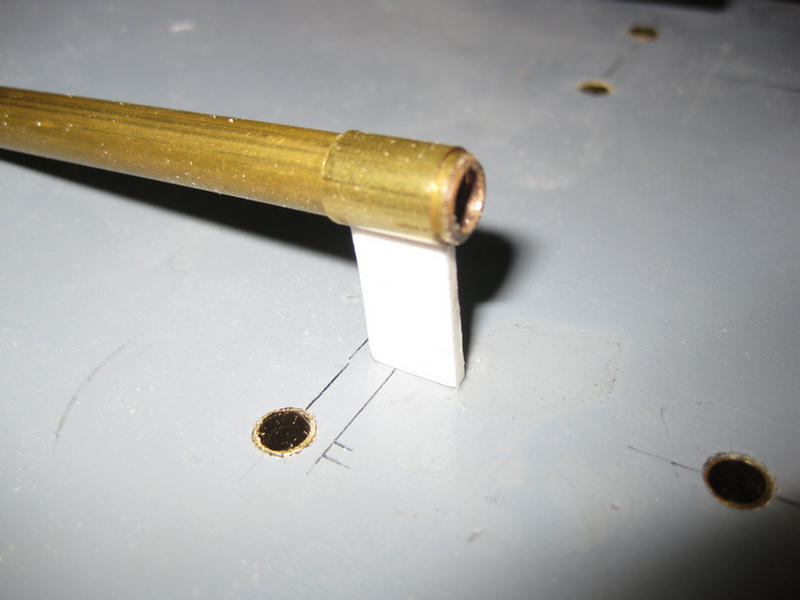
First hole through the hull.
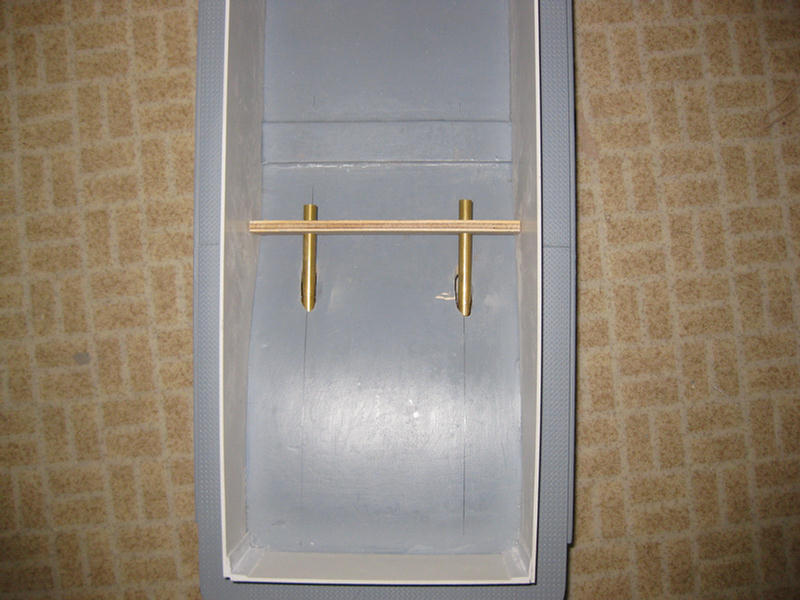
Used a template to keep the stuffing tubes parallel and square.

Roughed up the hull floor to prep for the epoxy.
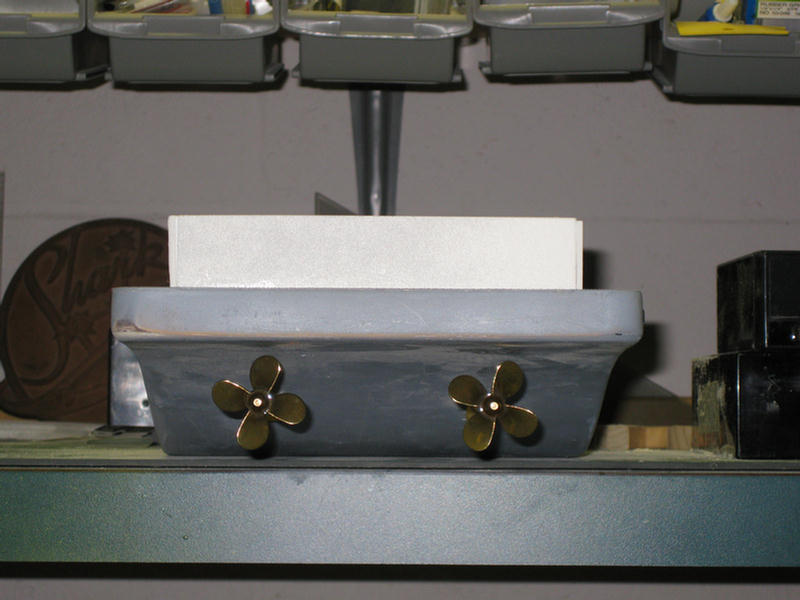
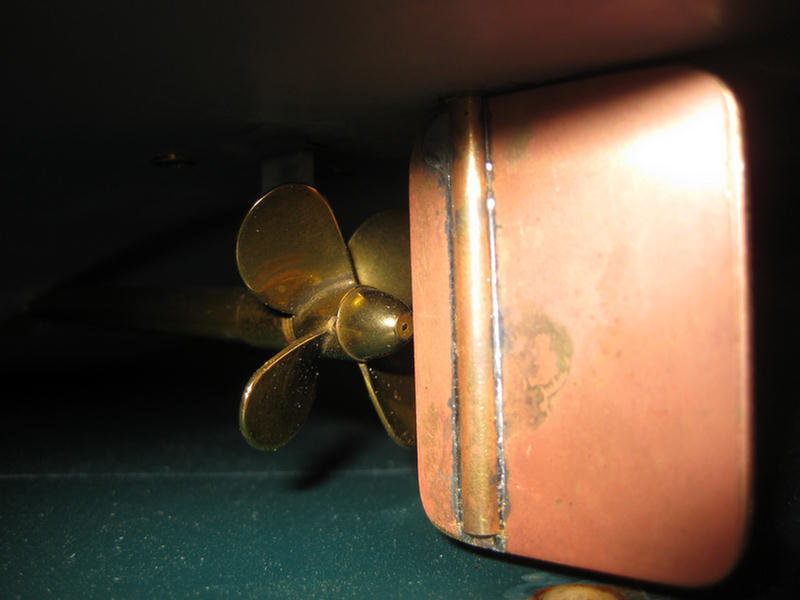
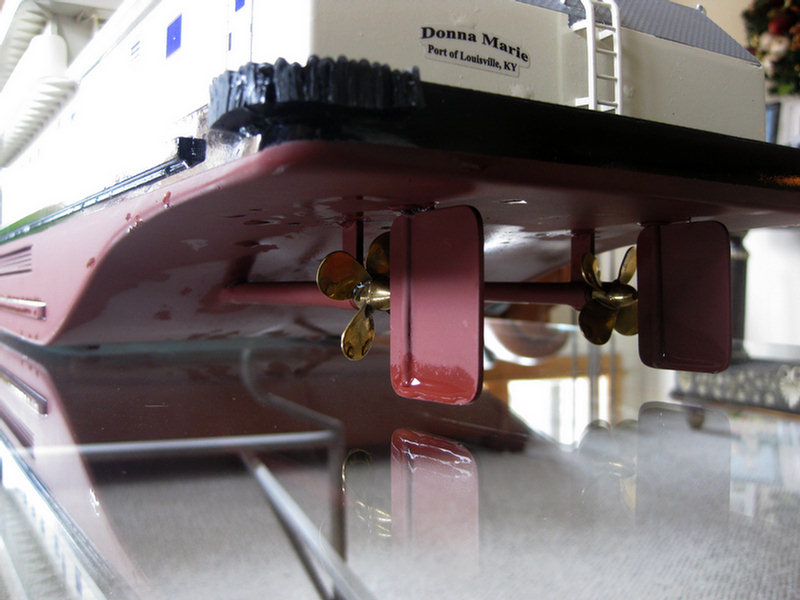
Both shafts in place.
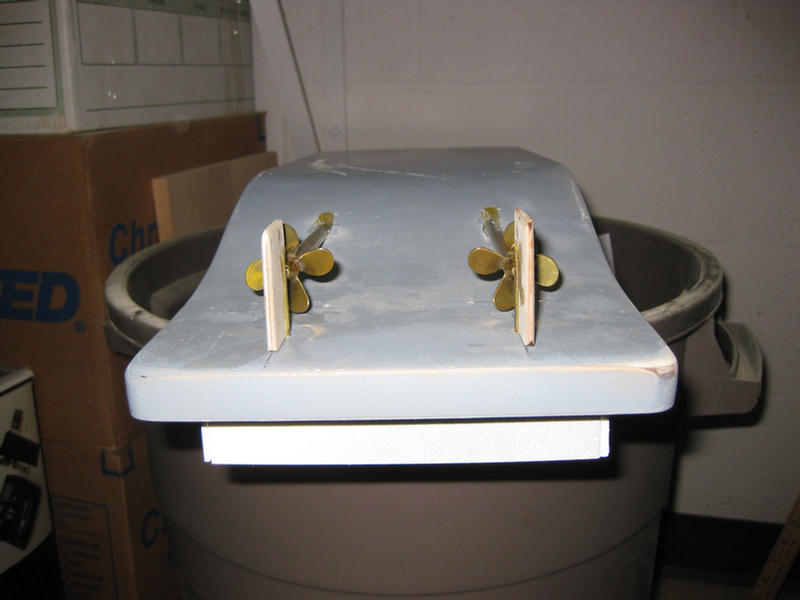
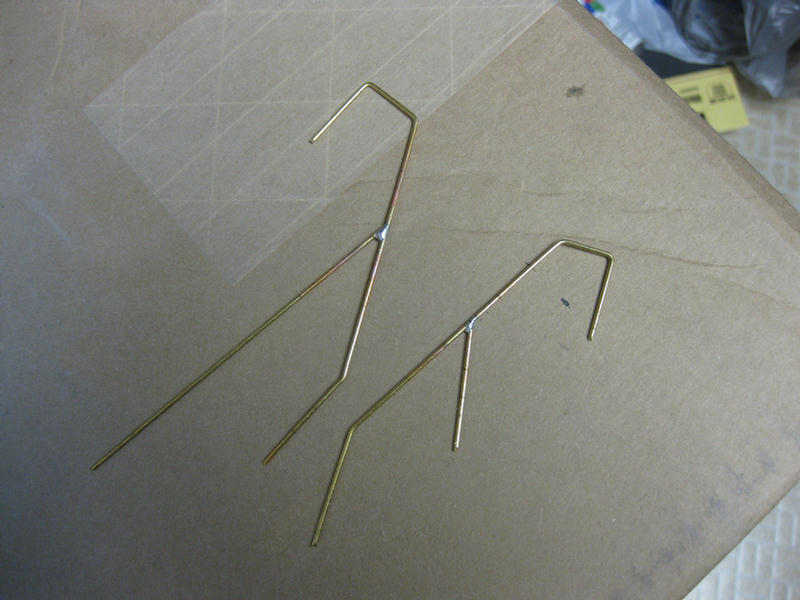
Working on the steering rudders.
I'm not happy with the rudders. Will scrap them and start over. This time in brass.
The rear stuffing tube brace.
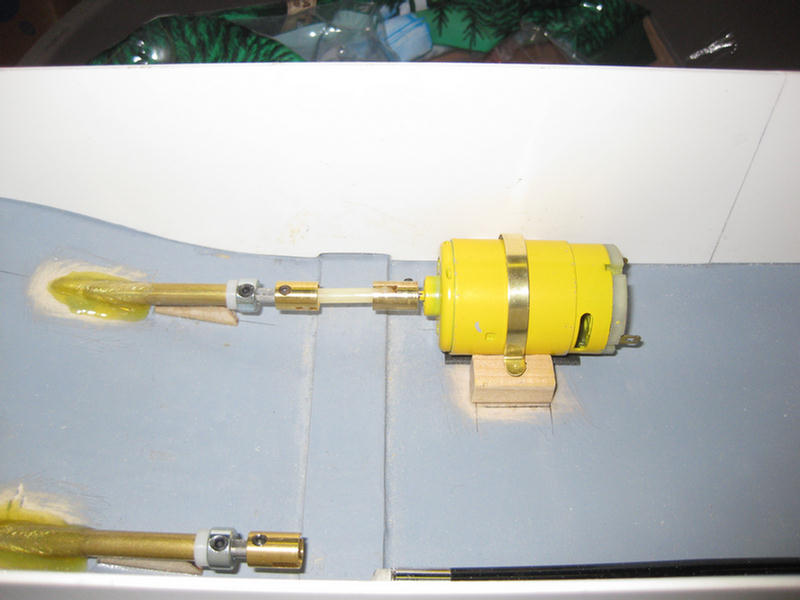
One motor installed.
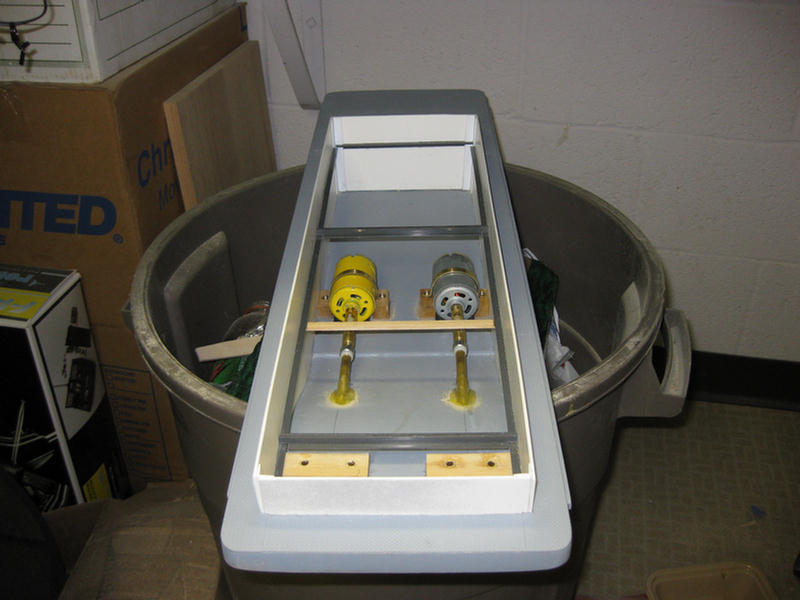
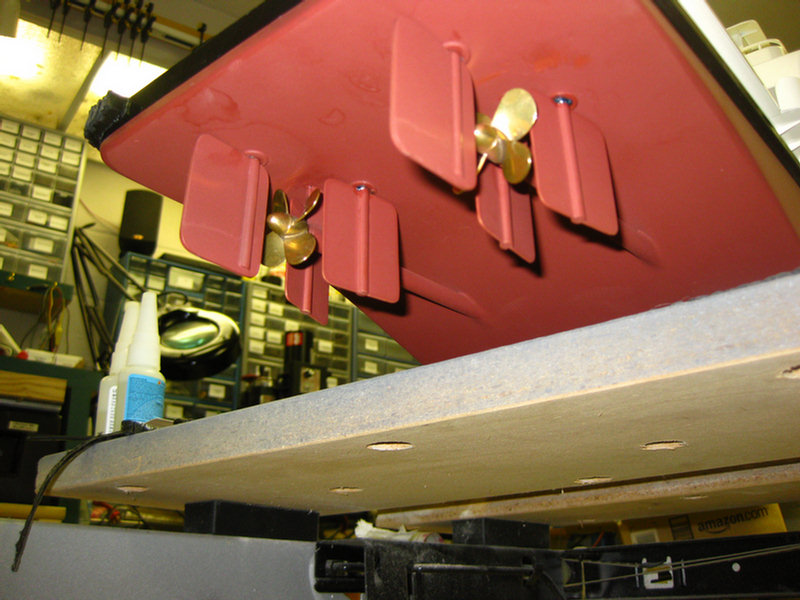
Both motors installed. Still need to paint the second one. You can also see the doubler plates for the steering and flanking rudders.

First plating to cover the rudders in place.
Second plate to cover motors (engine room) in place.
Engine room and forward battery room covered.
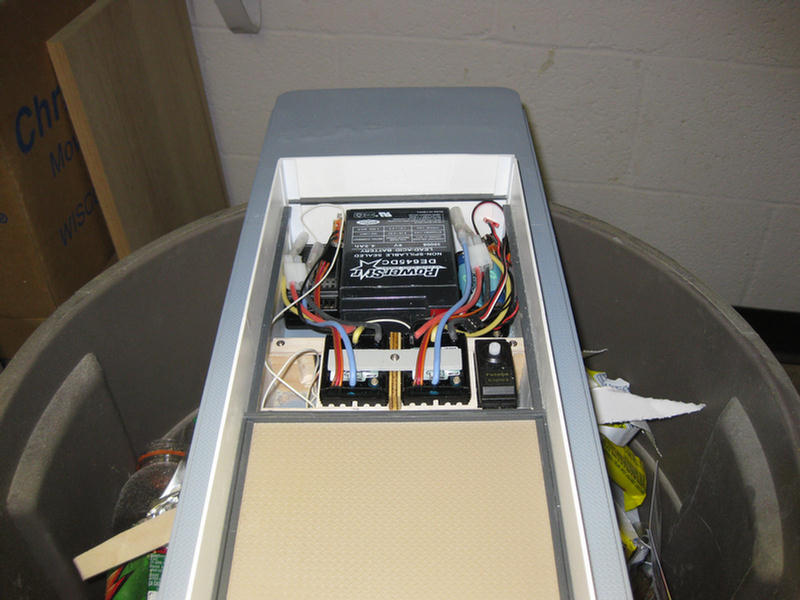
Things are a little tight, but I think all of the electrics for the power train will fit in the engine room under cover. Will install two fans to circulate air out the stacks.

Time for the steering linkages. there is allot going on in a small amount of room. This is going to give my multiple thumbs trouble. I am raising the steering stuffing tube up above the waterline.
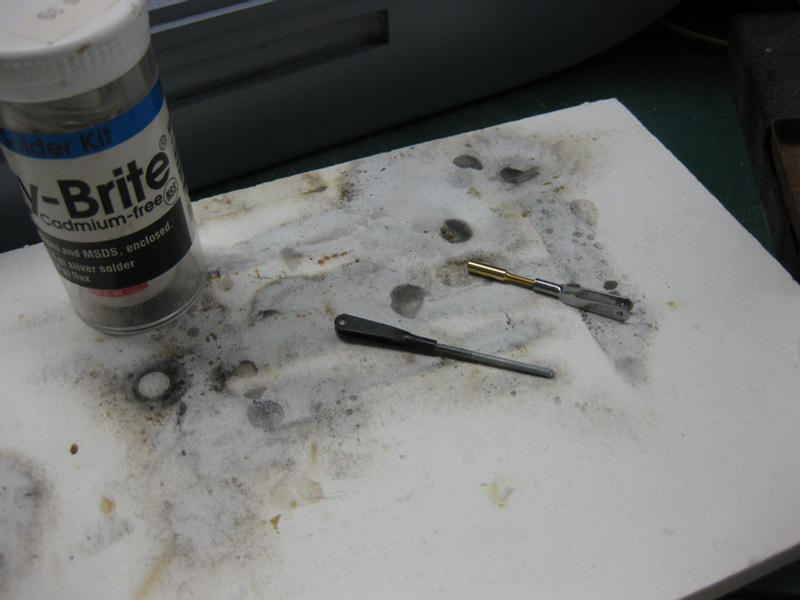
Silver soldering some linkage together.
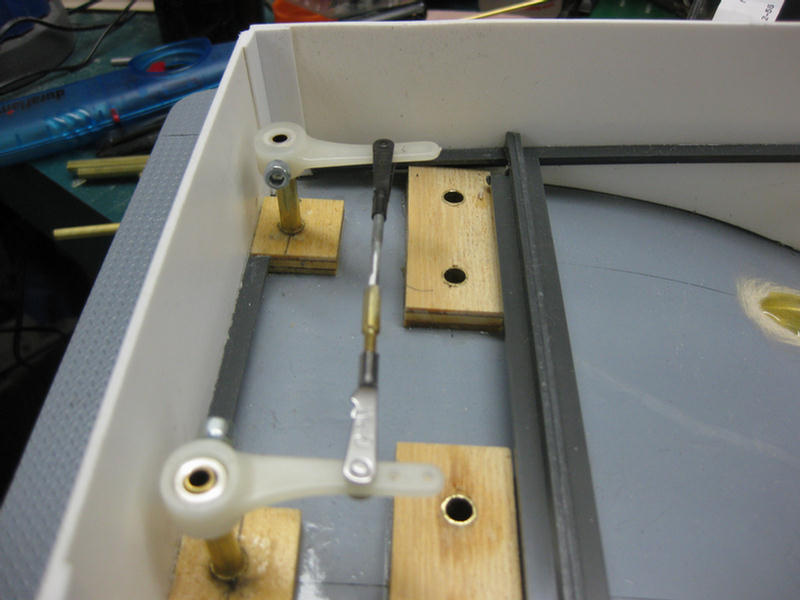
The linkage to tie both steering rudders is in place.
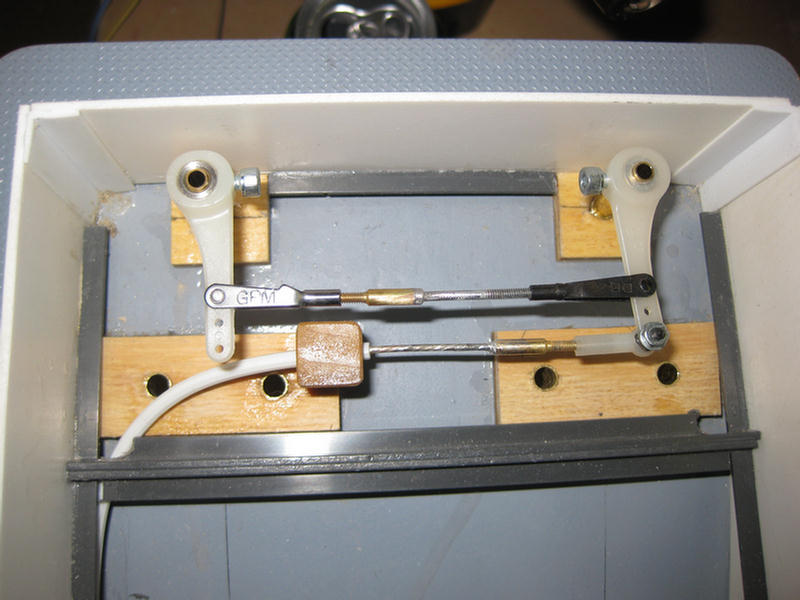
Here the flexible cable is attached. The other end connects to the steering rudder servo.

The flanking rudder flex cable tube is installed.
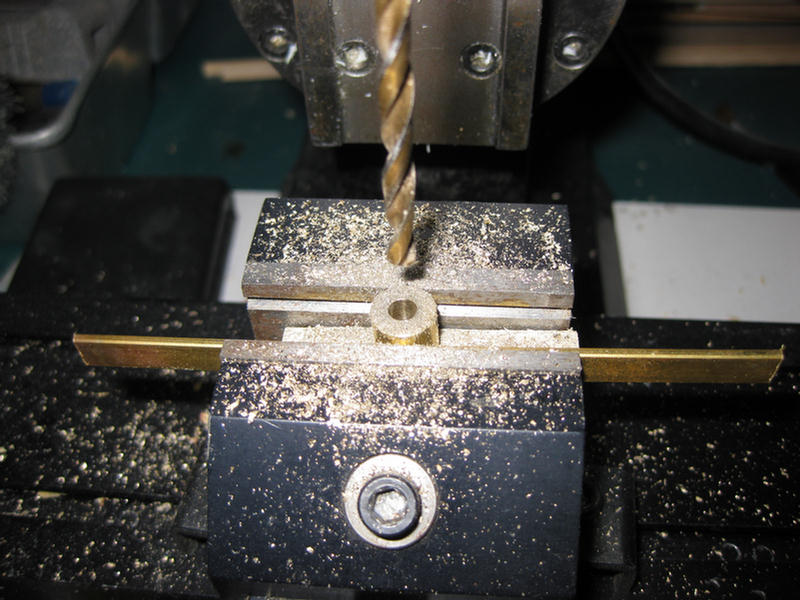
I had to drill out some 1/8" steering arms to accommodate the 5/32" steering shafts.

Well, here it is all connected. Two steering rudders and four flanking rudders. I decided to scrap all of the other rudders and start over. This time in brass. Oh, and I'm pretty sure I can forget about trying to get that rudder cover back on. Too many notches and cut outs required!!
Had to "stand down" and clean up the shop. Had such a mess I could not find anything. Too embarrassed to show the before pictures, but here is one of the after's.
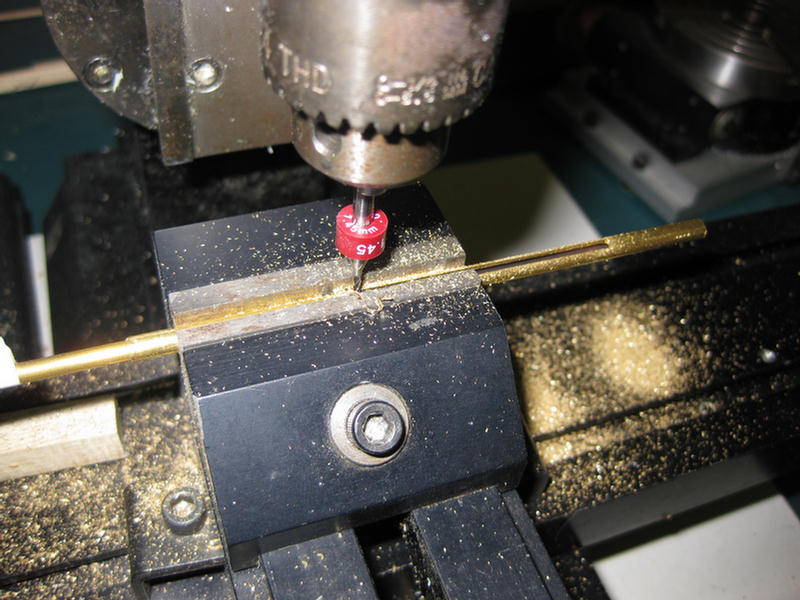
Milling a slot in the rudder stuffing tube.
This is more like it! This rudder looks and feels more like the part. Now to make another one of these and four flanking rudders.
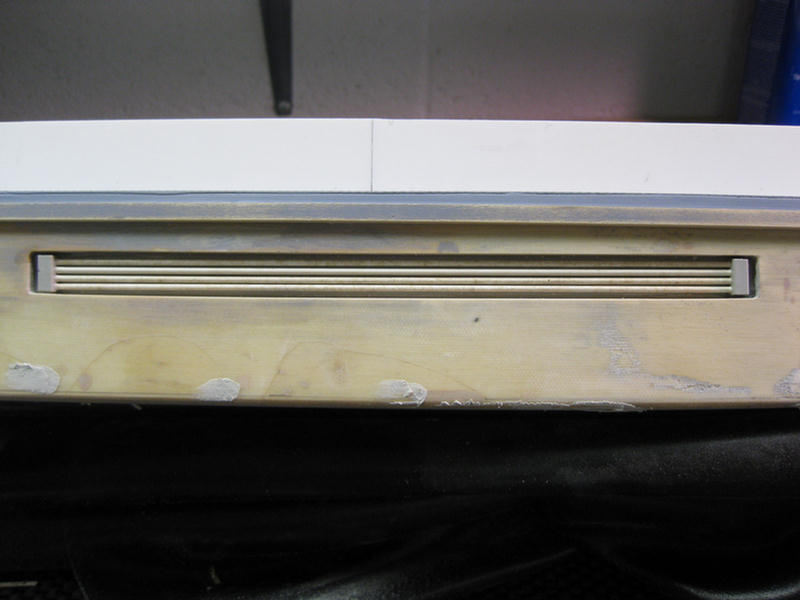
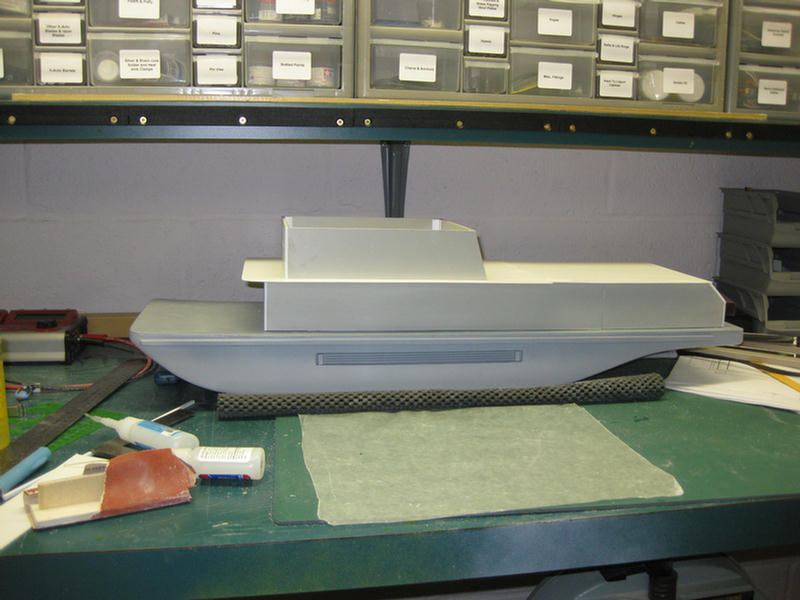
Got ruddered out for awhile so I decided to build the cooling tubes that are recessed into the side of the hull. turned out pretty good. Hot engine water is circulated through these tubes and the river water cools it on its way back to the engine.
I'm bouncing all over today getting a little done here and a little done there.
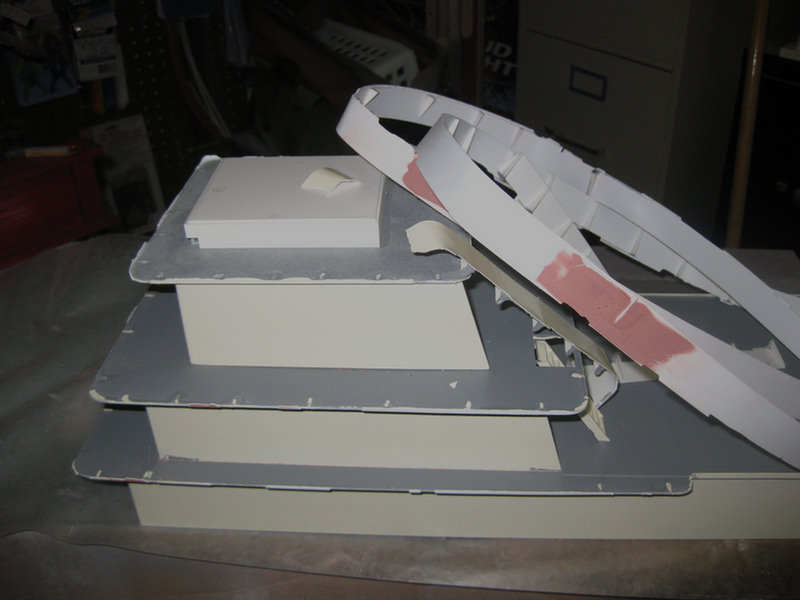
Some interesting sanding needs to be done to have the wall meet the first deck. Check the fit in later pictures.

Gluing up some quarter round to each corner of the first deck.
Here the quarter round is rough sanded to shape.
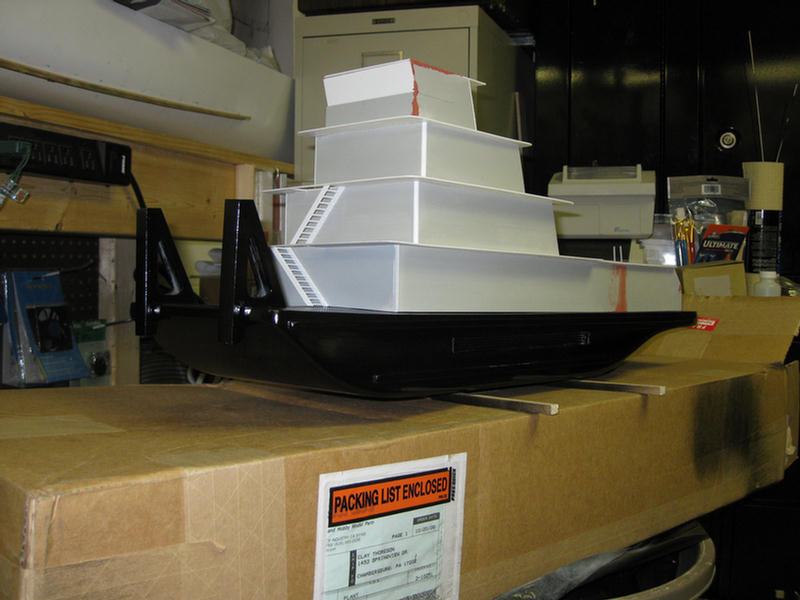
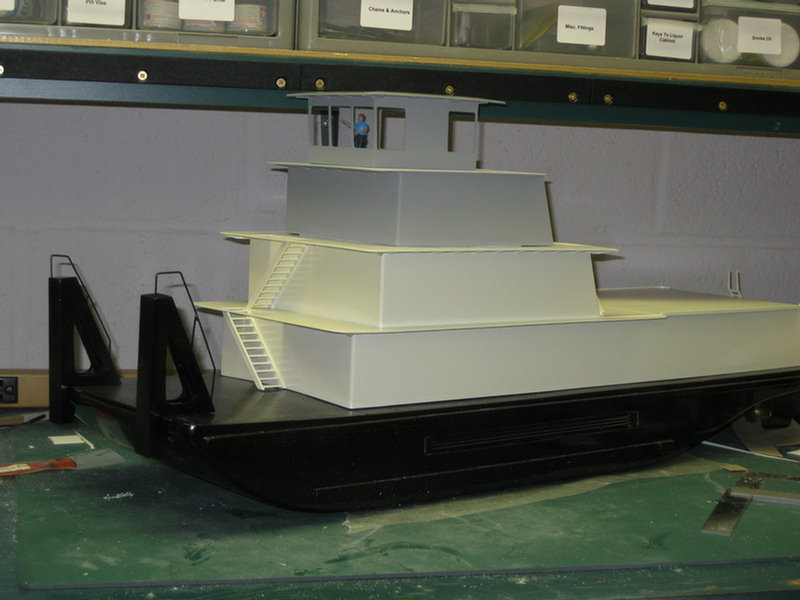
It is starting to look like a boat. Well maybe not quite yet.... :)
Call 911, I'm stuck!
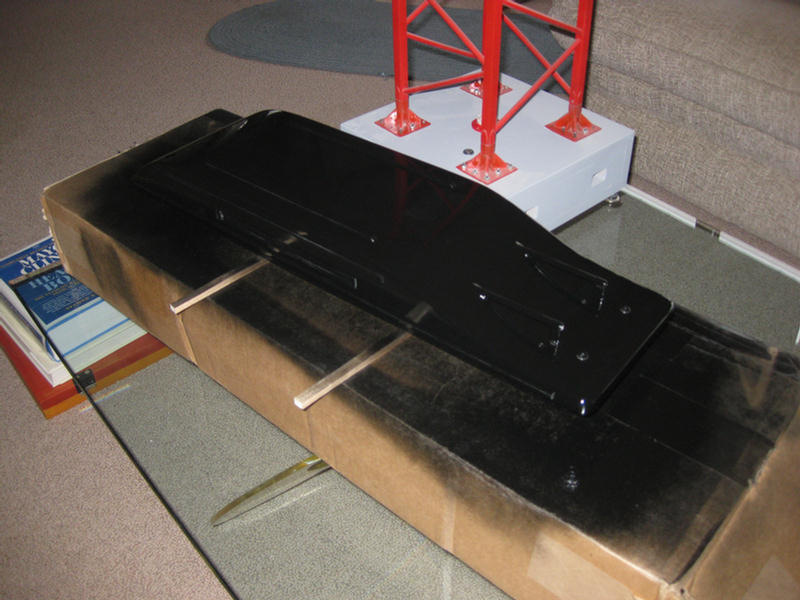
Deck plate on.
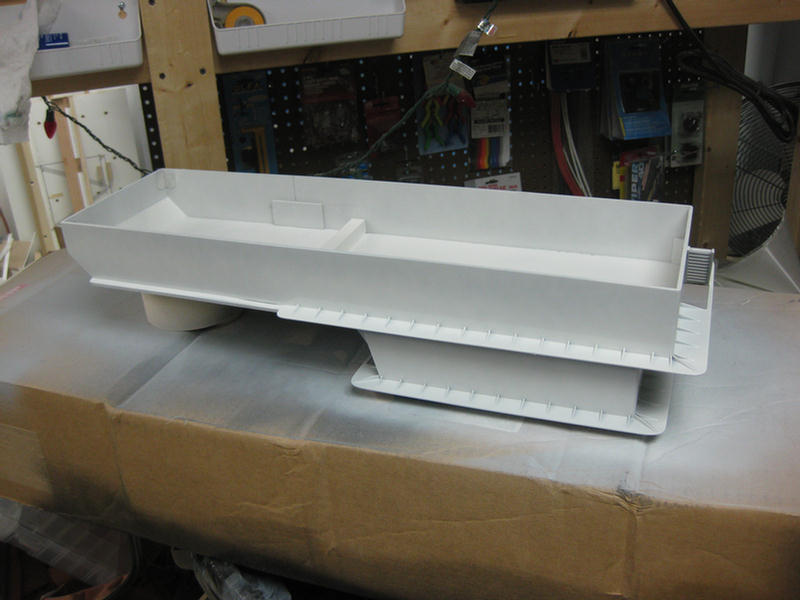
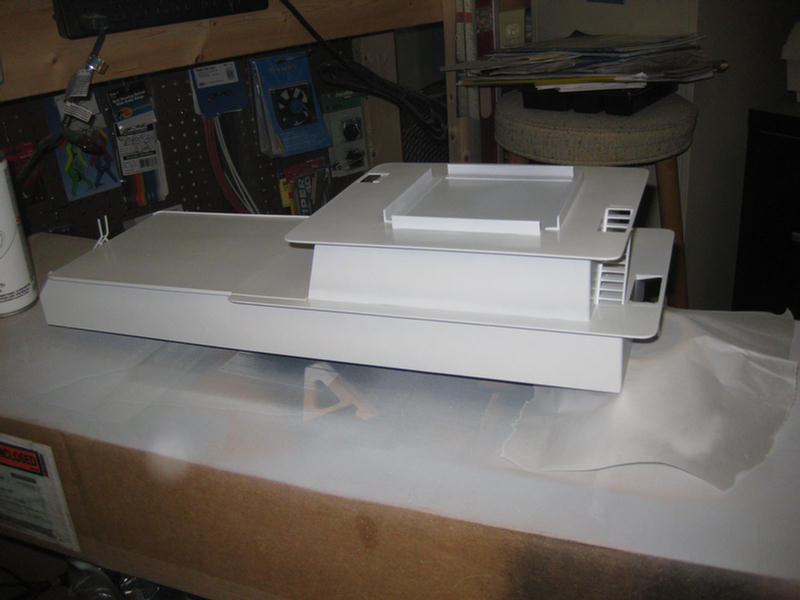
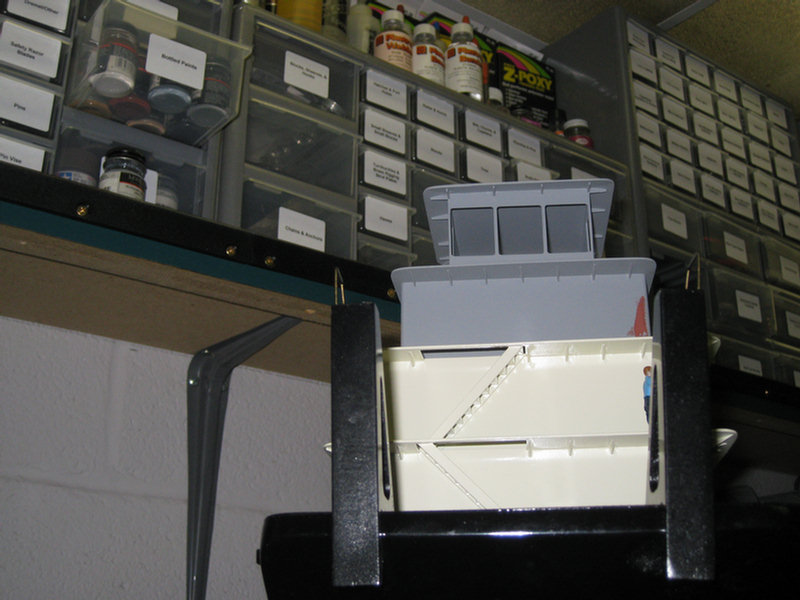
Start of the second deck.
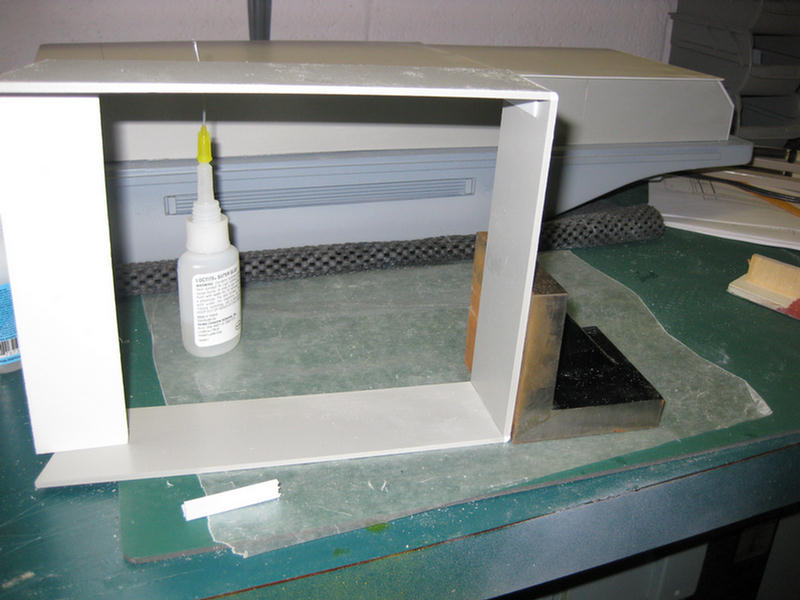
Keep it square!!
Second deck in place.
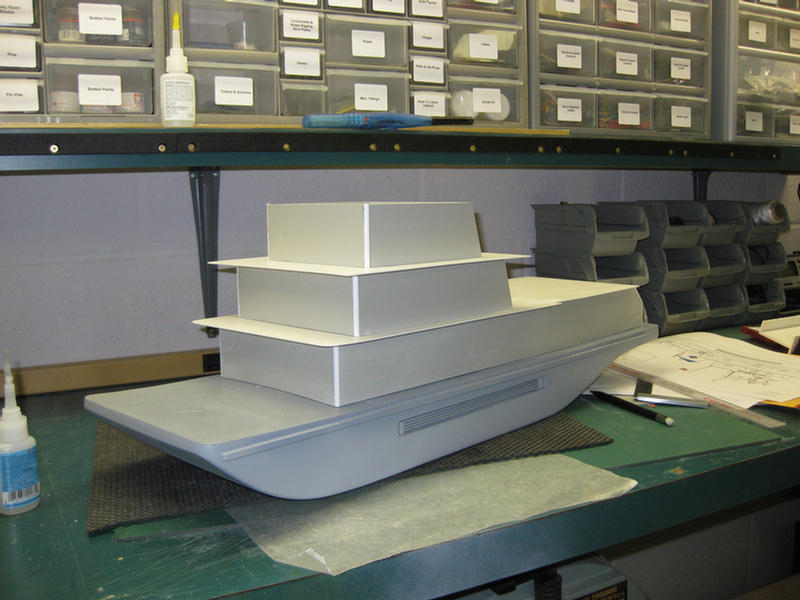
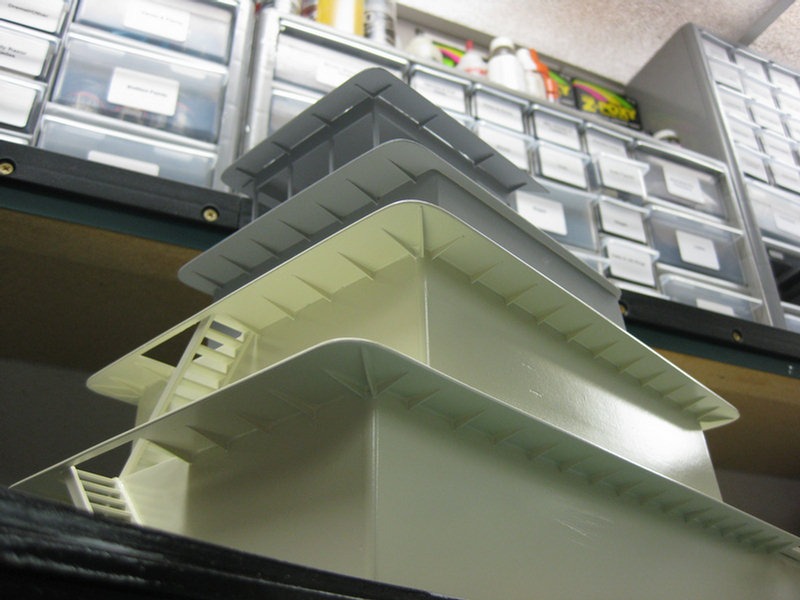
Third deck (also called the Texas deck) being added.
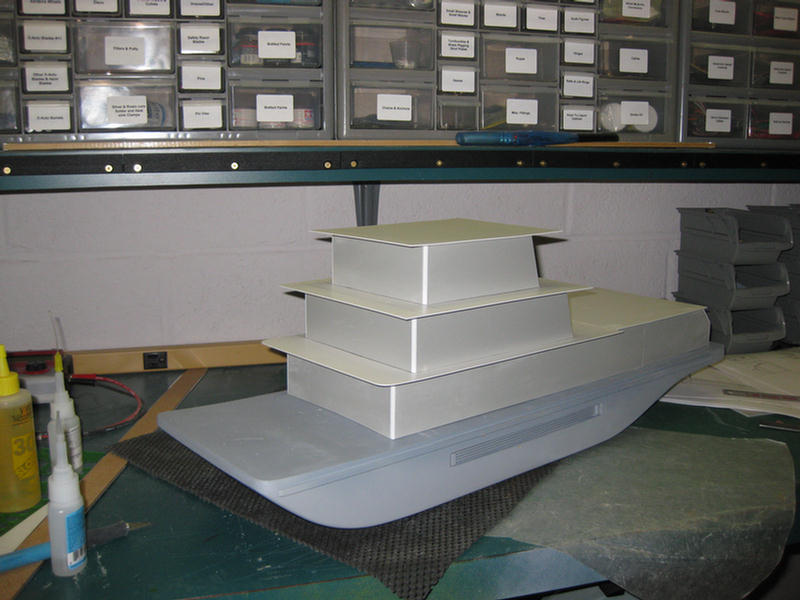
More deck plating.
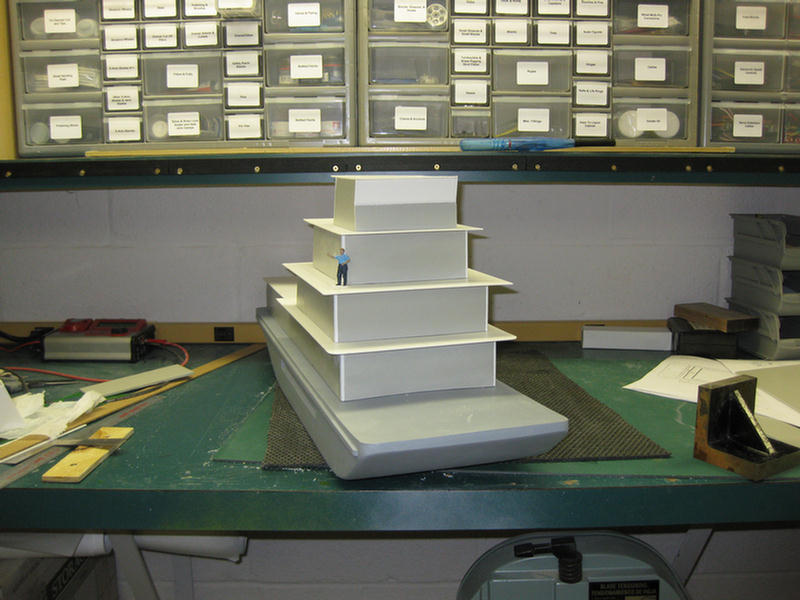
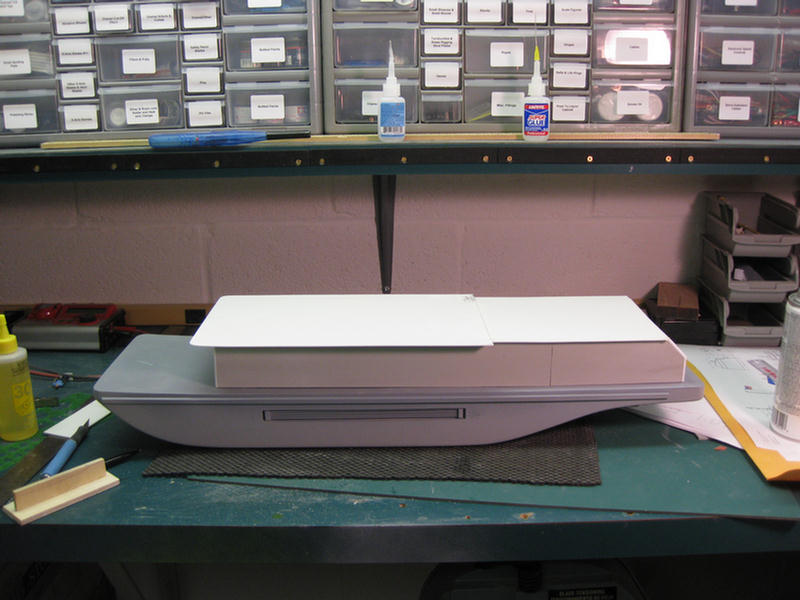
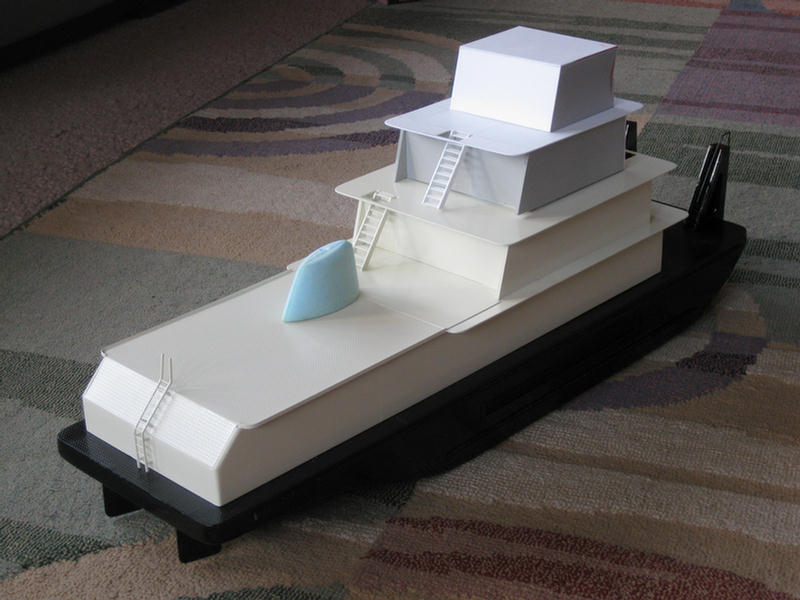
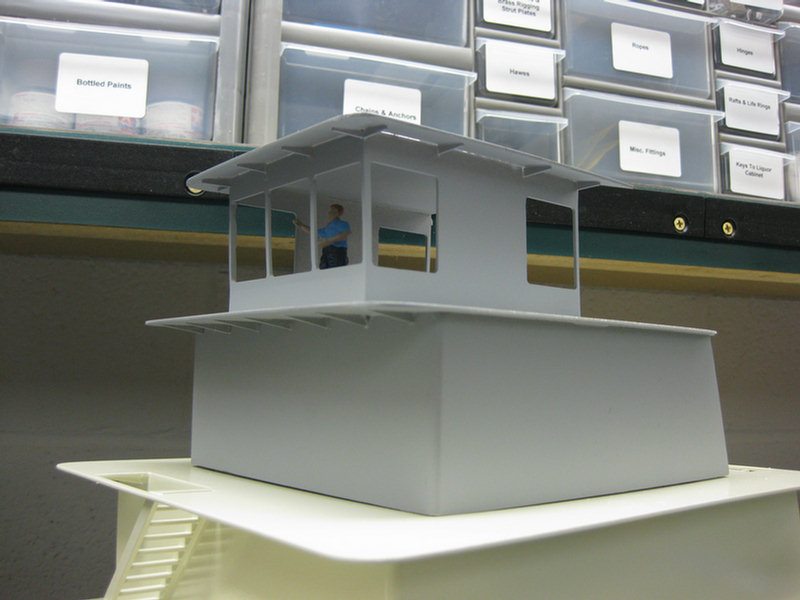
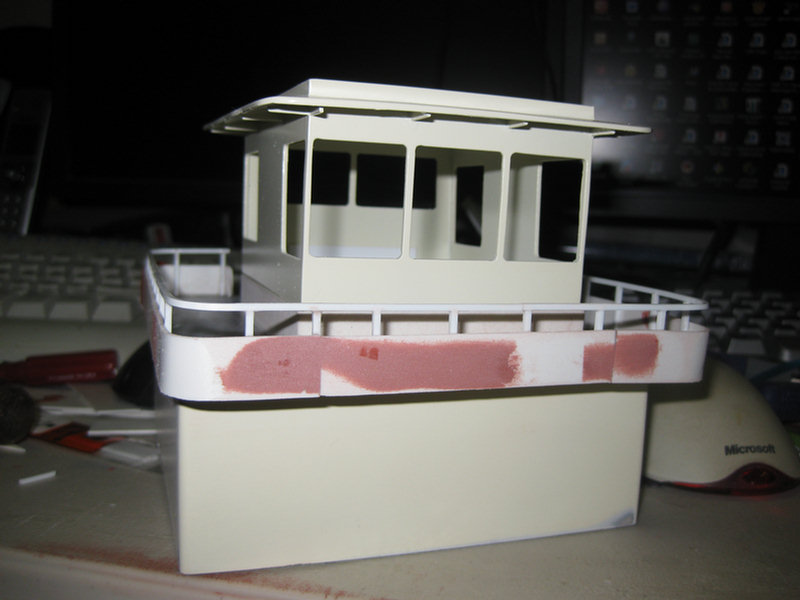
The pilot house is setting in place.
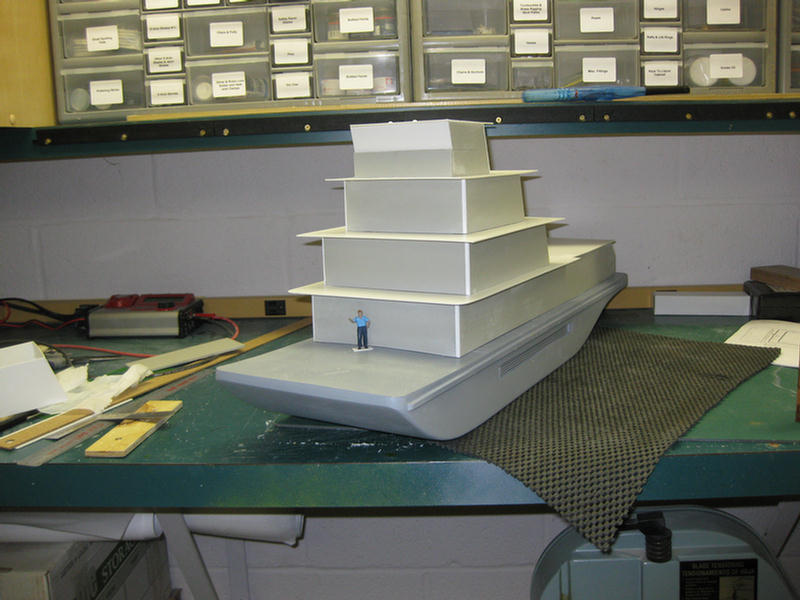

Starting to look like something now.
Trouble in paradise! A line of bubbles has appeared on the deck at the bow. This was flat when I applied the deck, but has since grew to the point, I have to do something about it. So, off it comes!!
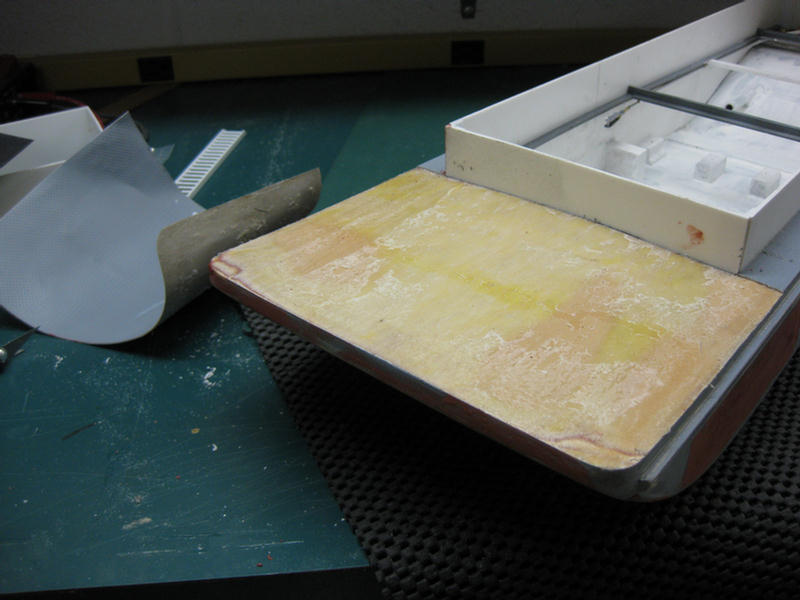
It was on there pretty good! In the spot where the bubbles formed it looked like there was a build up of the spray adhesive, and the extra adhesive looks like it attacked the plastic. Oh well, time to clean the deck up and try it again, being careful not to let any excess adhesive build up.
New deck in place and all looks well. So did the other one, for awhile. Time will tell. In the mean time I will next start skinning the stern.
The inclined rudder room cover turned out pretty good. Will finish this area off with a ladder at the stern.
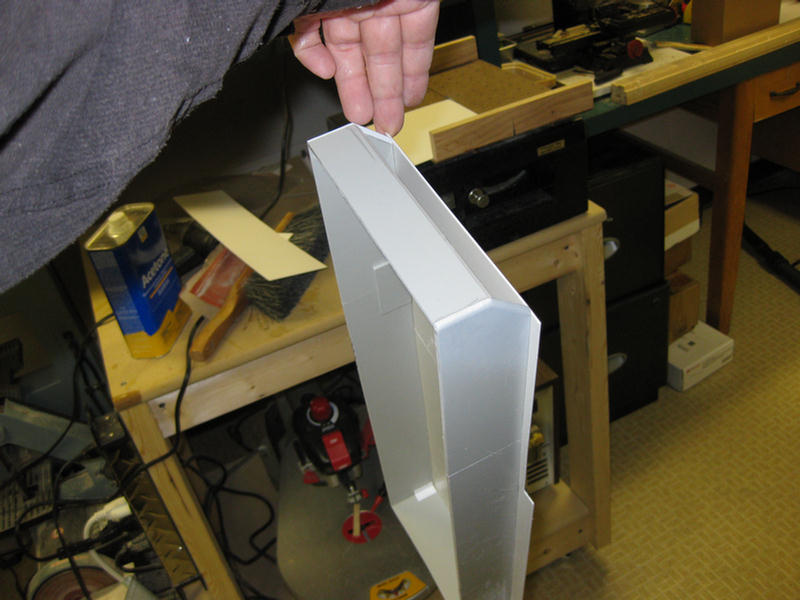
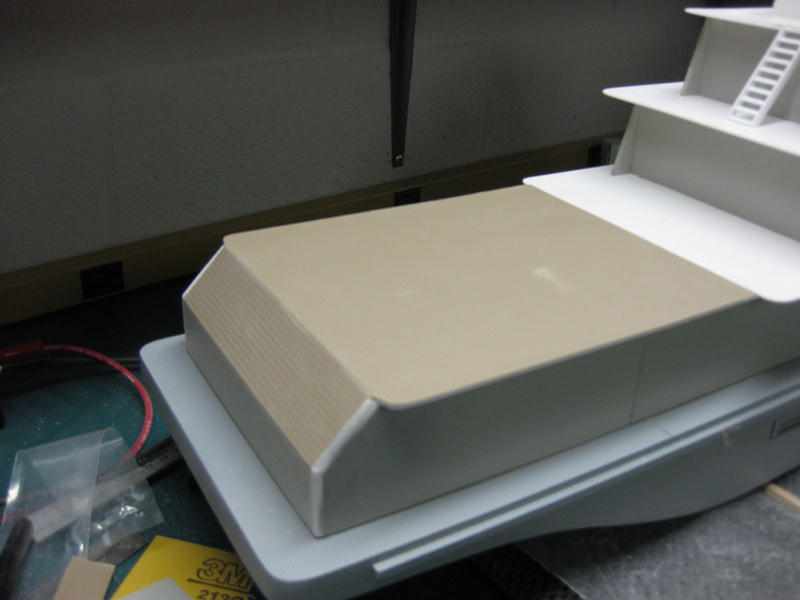
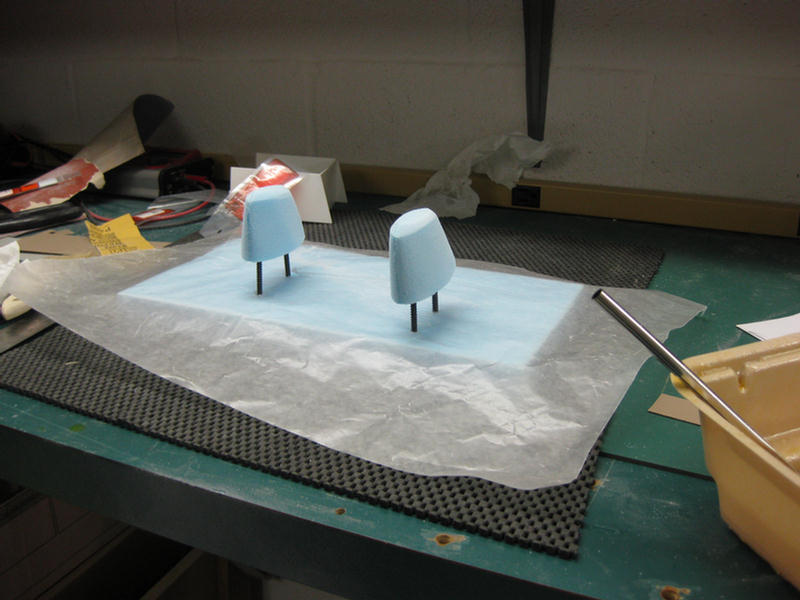
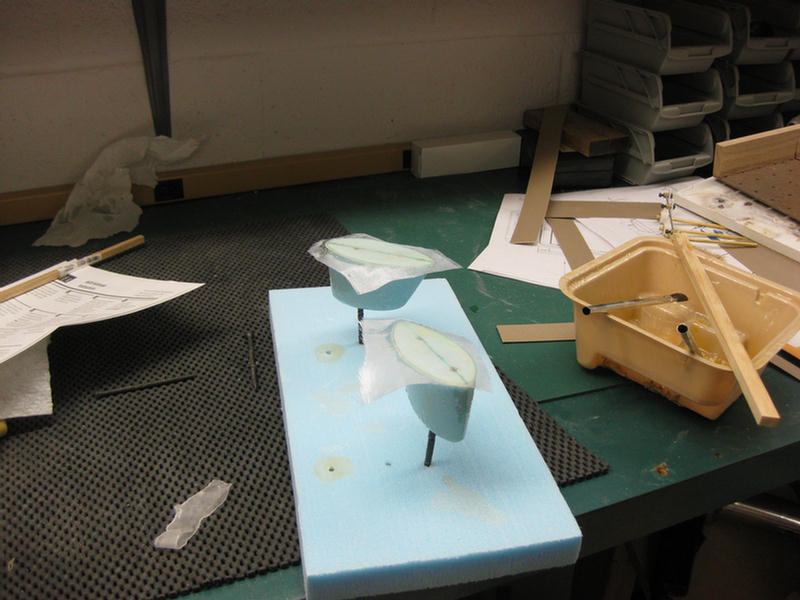
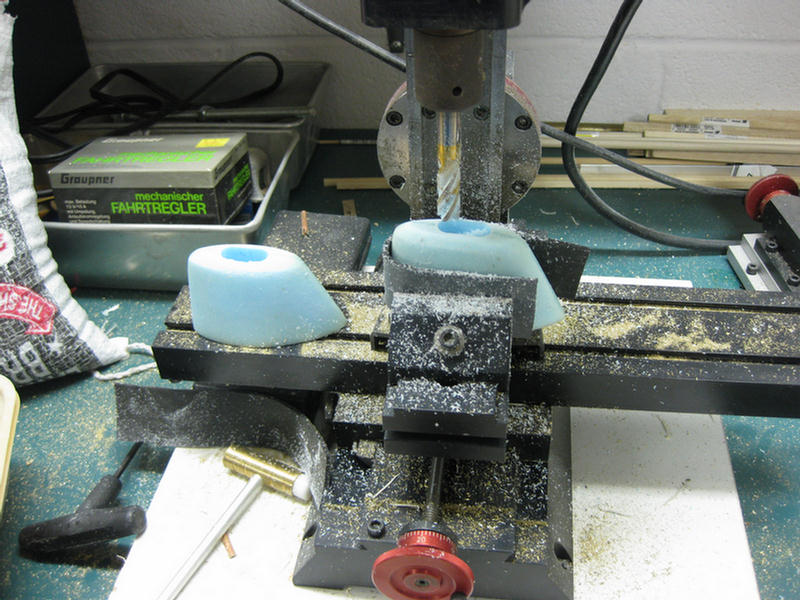
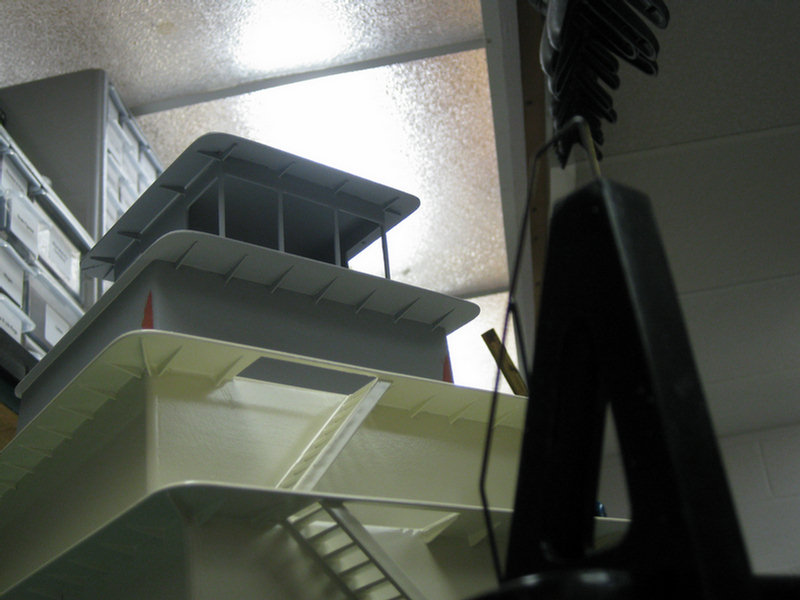
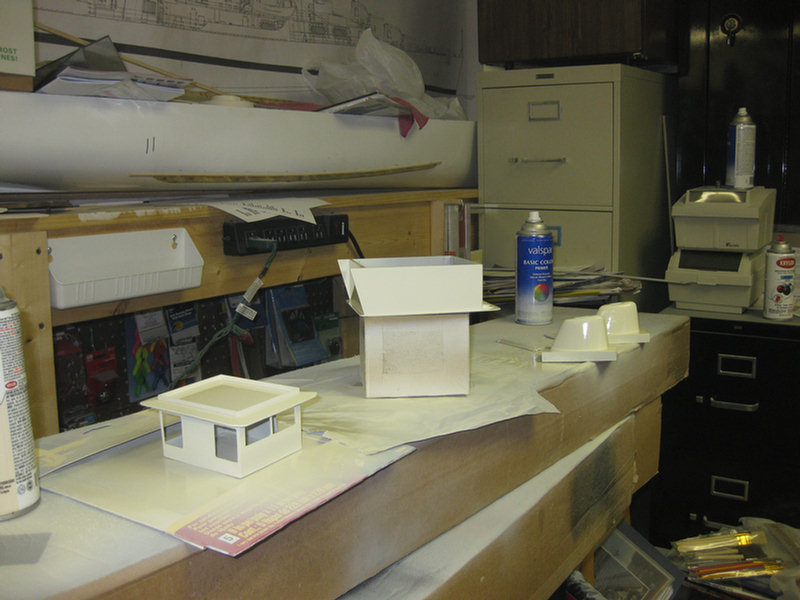
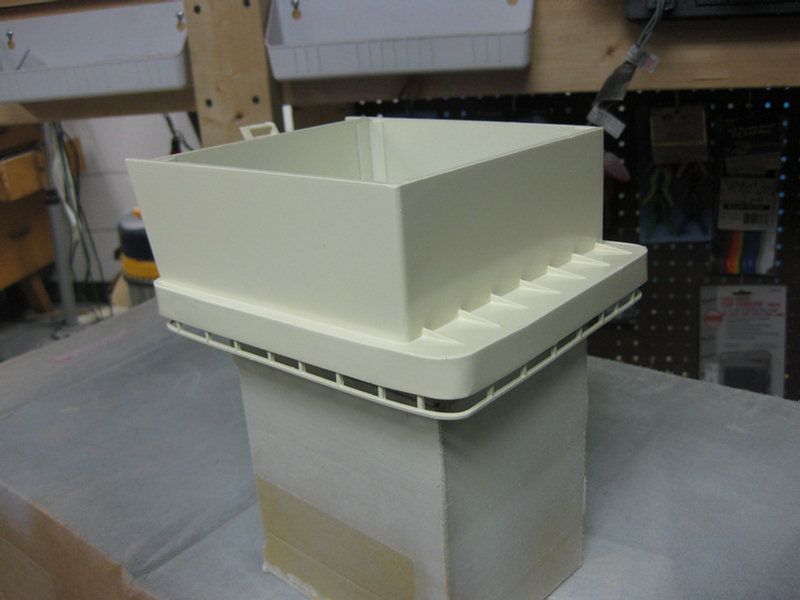
Time to make some funnels. The funnel serves two different functions. the engine exhaust (in it's own pipe) and hot engine room air is exhausted through the funnel via fans. Above I have to glue two pieces of foam together sine the funnel is just a little thicker than one piece.
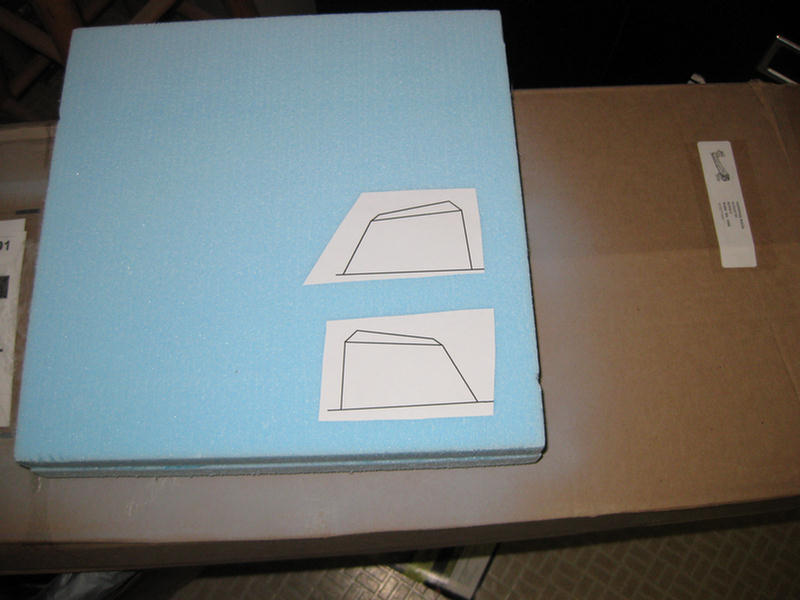
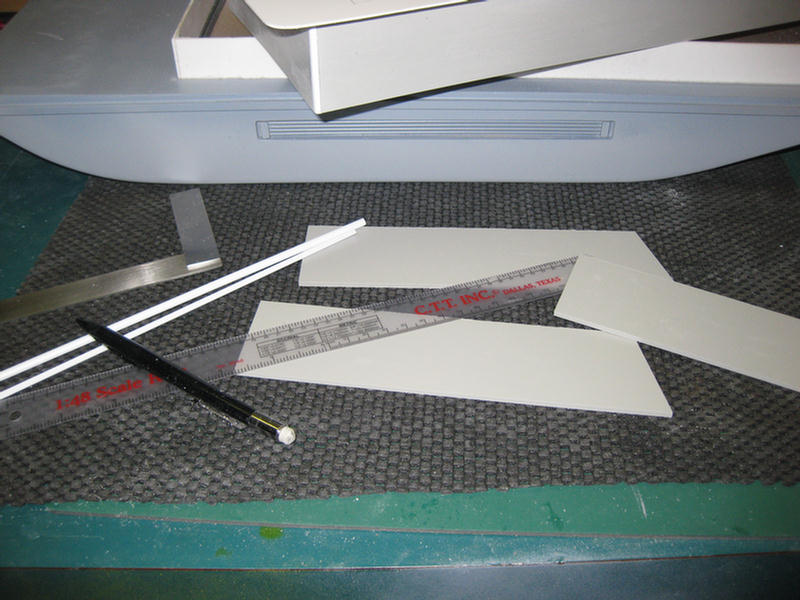
I laid out the basic shape of the funnel using a CAD program. Then I printed and glued them to the foam board.
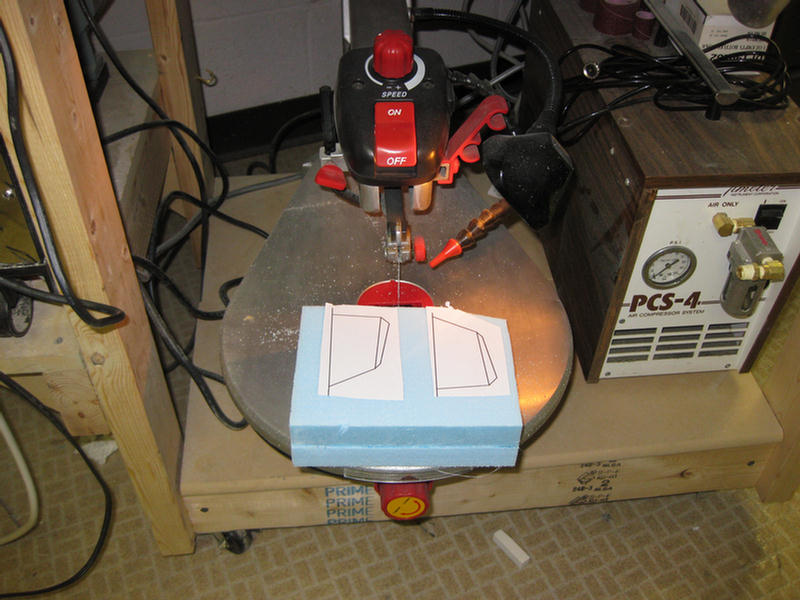
Time to cut out the basic shapes. Man! this stuff cuts like ...err...foam.
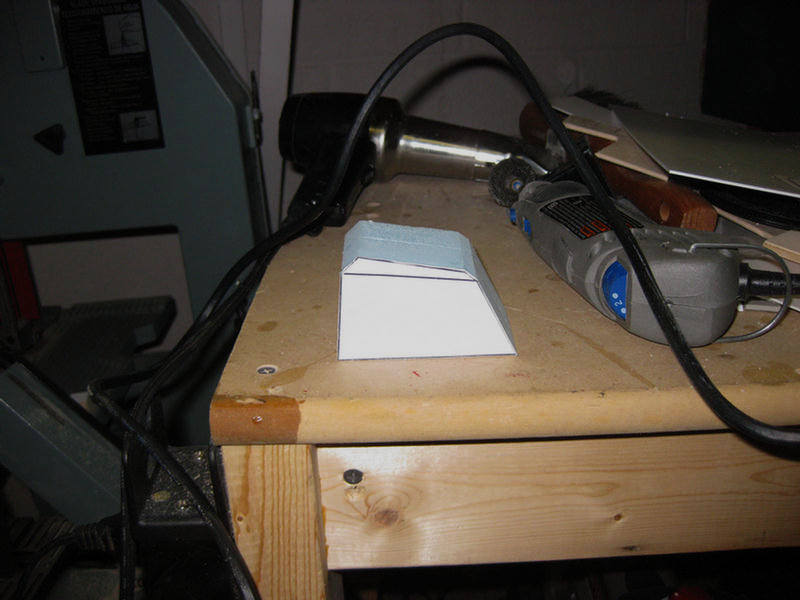
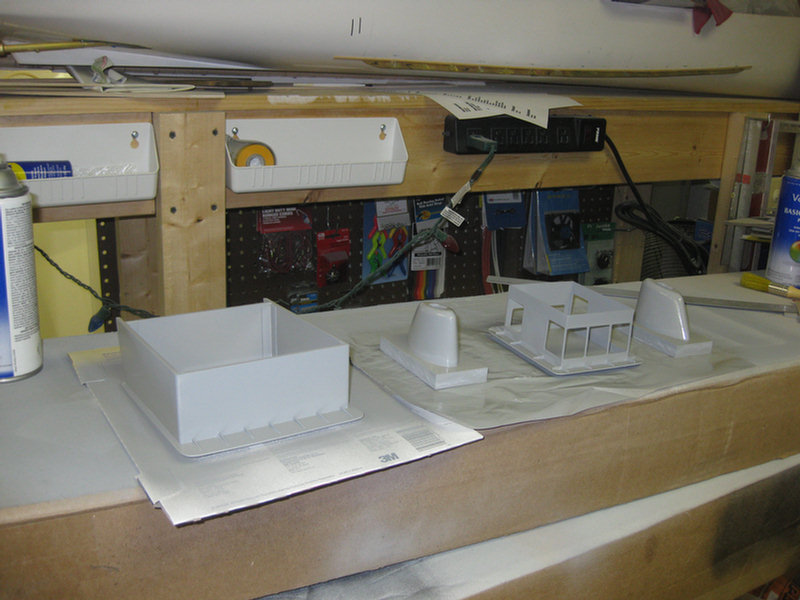
The basic funnel cut out.
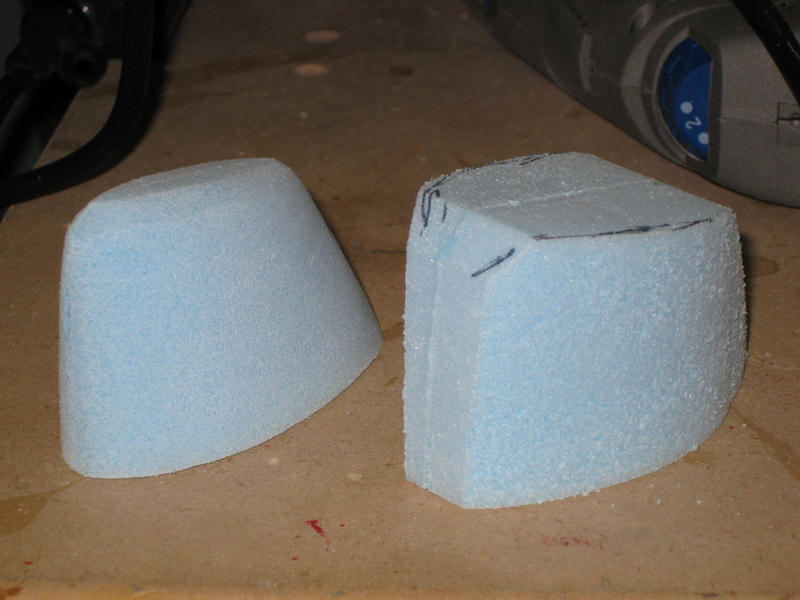
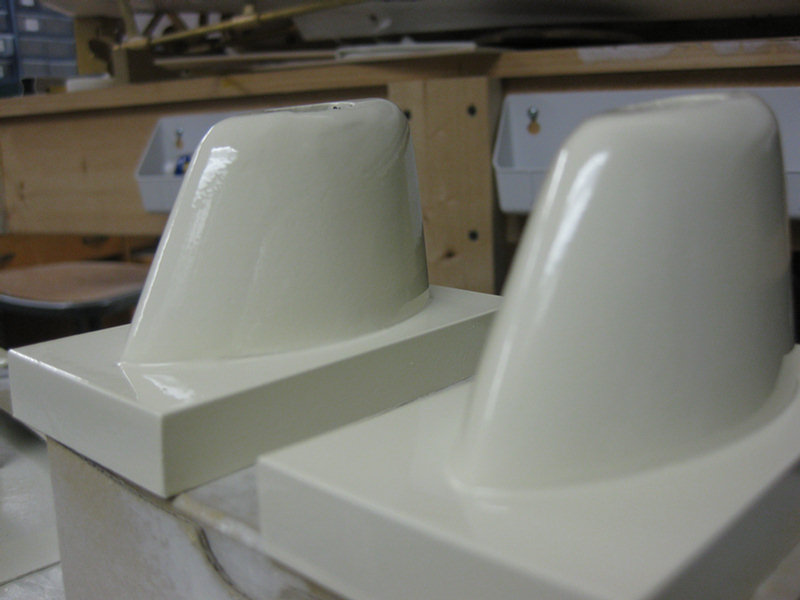
The first one was easy. The hard part is making two alike. So far they don't look much alike.
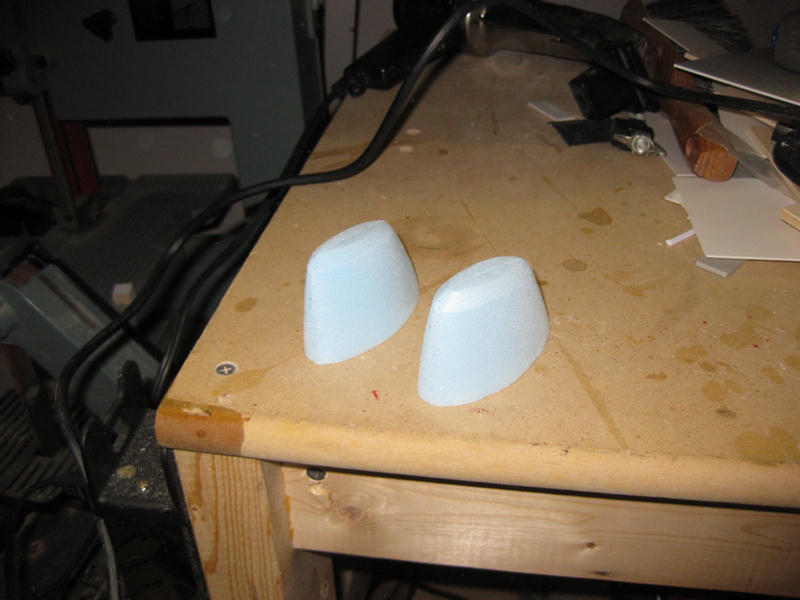
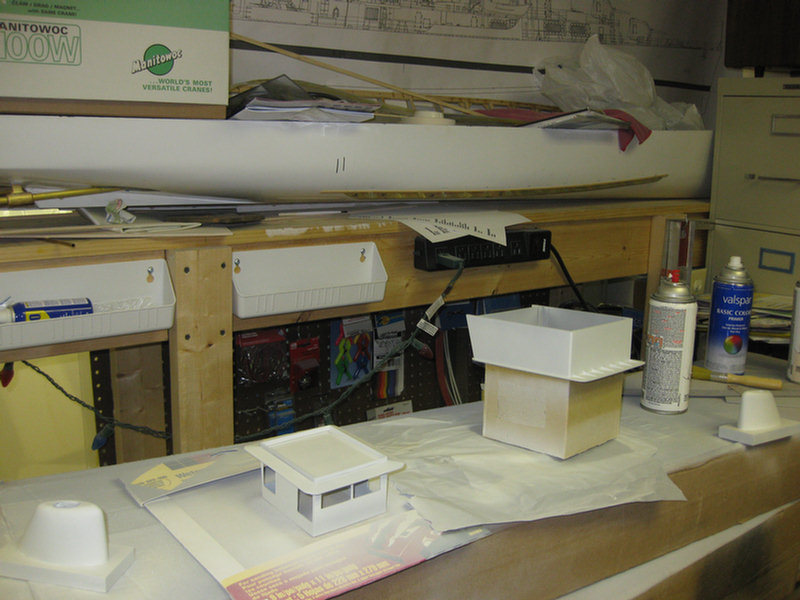
But now we are getting closer.
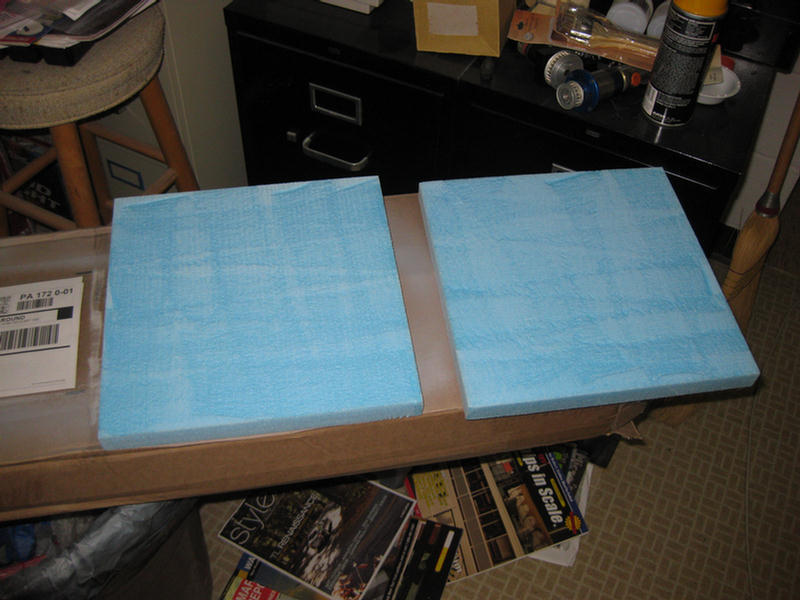
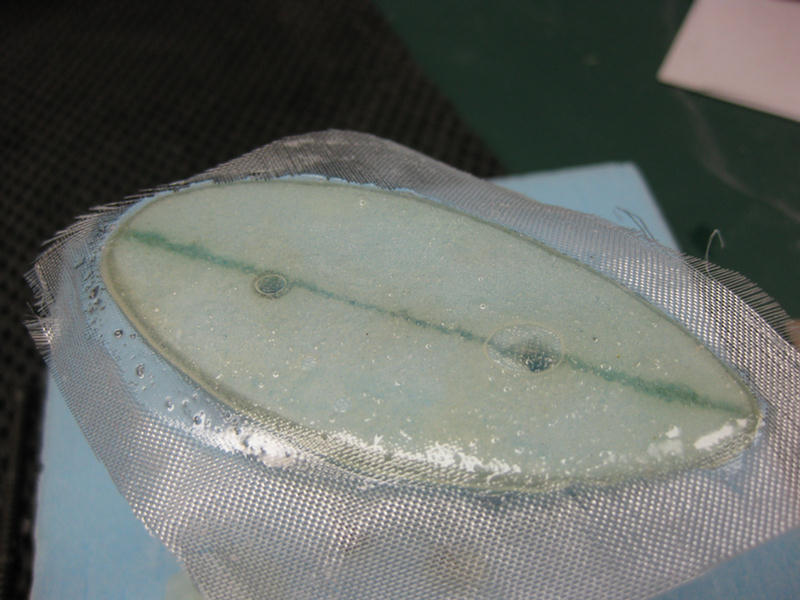
Now to cover them in fiberglass.
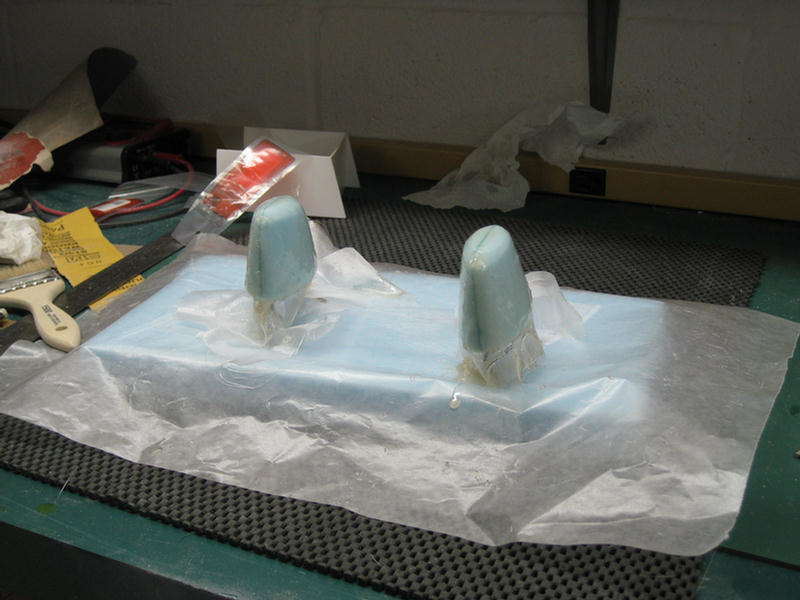
Messy, but required.
I will let this cure until tomorrow then cut off the excess glass and do the bottoms.
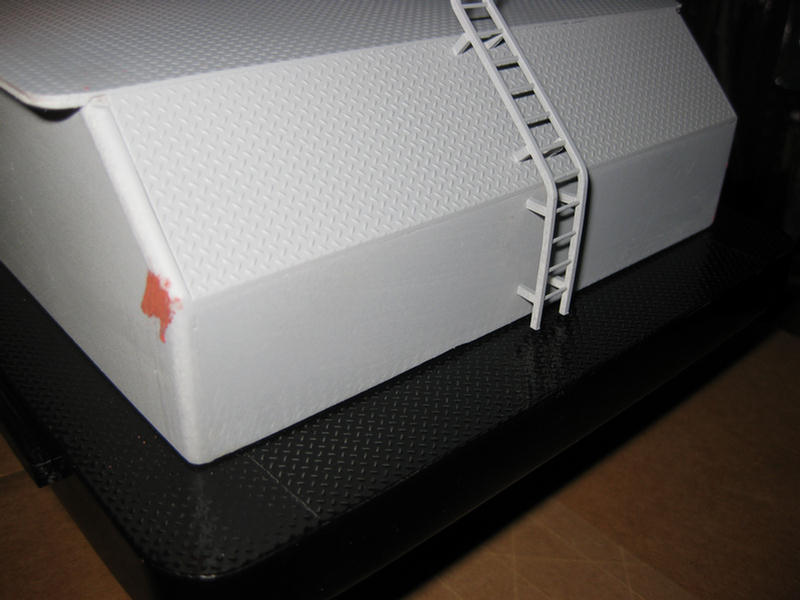
Bent the ladder to hug the shape of the stern, Then built up the ladder stand-offs.
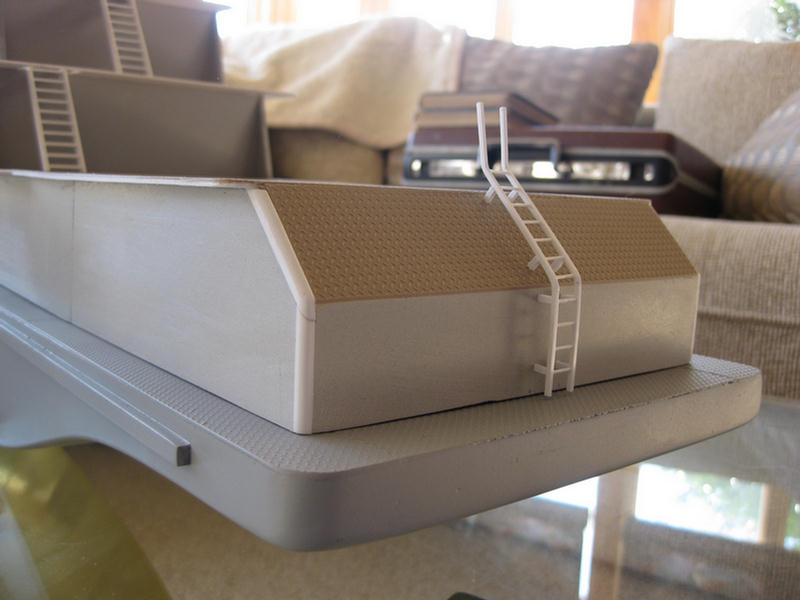
Ladder in place on stern.
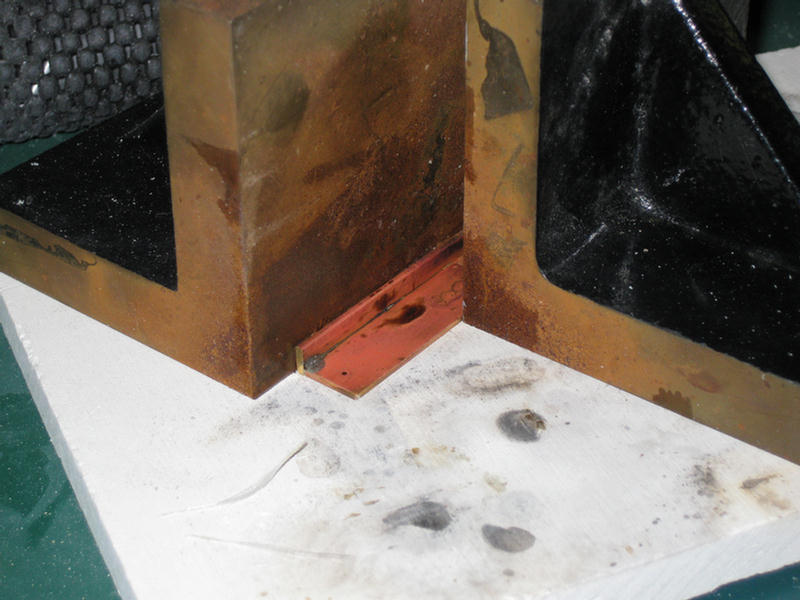
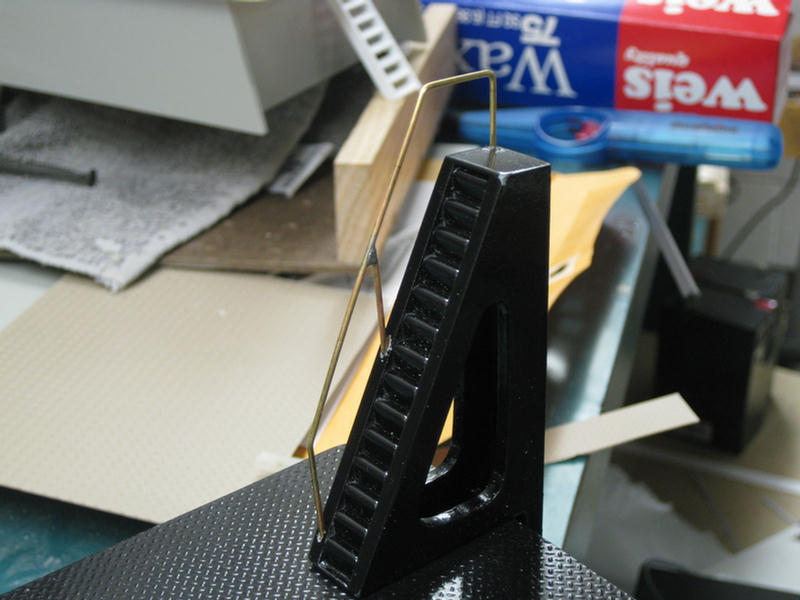
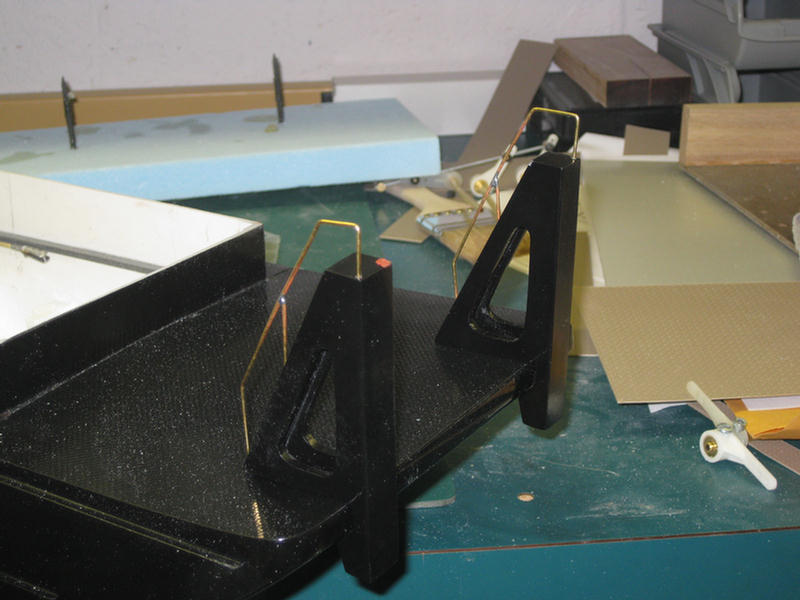
This is my stanchion drilling jig for some of the handrails. I will need to place quite a few of these and it is easily detected when they are not straight.
Here is the end of the days work. Tomorrow, hopefully, will be finish sanding on the hull and maybe some black paint.
Did the final wet sanding on the basic hull and now it is time to spray!
First dusting of the gloss black. Subsequent coats to follow.

And the push knees.
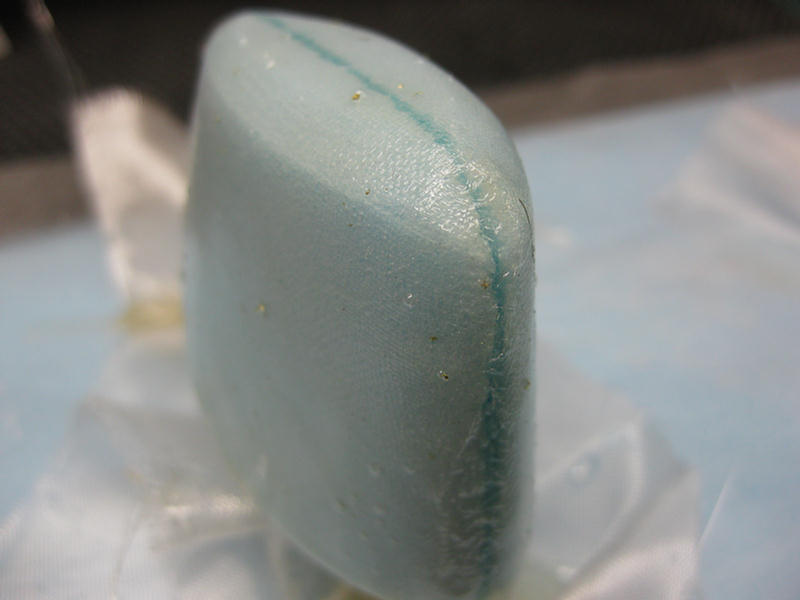
The funnels were sanded down close to their final shape. Here I have placed the bottom glass layer in place.
A close up of the glass cloth in place. Oh oh, I need to go and pop that bubble.
The basic hull color turned out great.
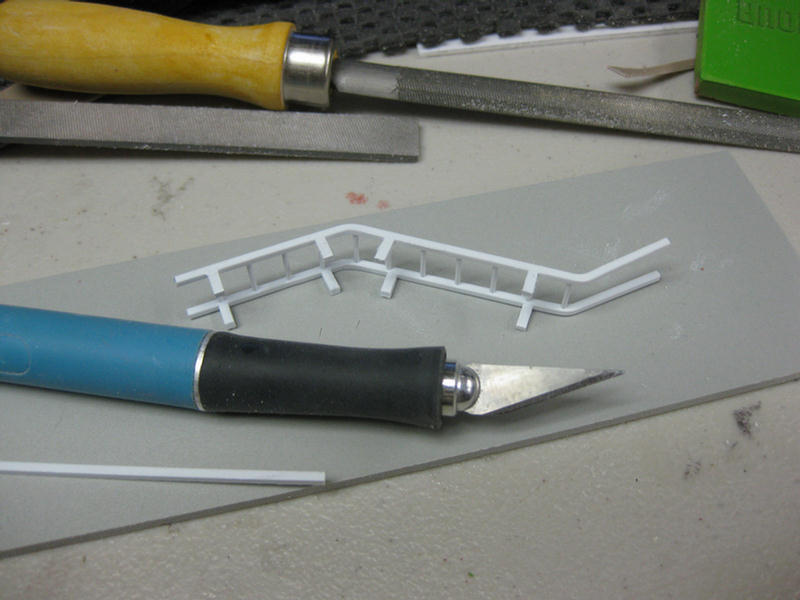
I've been wanting to use this tool for about a year now. Today I will make about 100 gussets in two different lengths. These gussets will go under the overhang of the decks to give the overhanging portion some additional support.
Here are a few of the gussets in place.
Primer applied.

This is the toe board that will be used in the rear portion of the first deck.
The toe board keeps your feet from slipping off the edge of the deck, and hearing the sounds of splashing.
Now for some white primer. When this is dry, I will wet sand it for the final color coat.
These are handrails for the push knees.
I'm getting my hull dusty!! :(
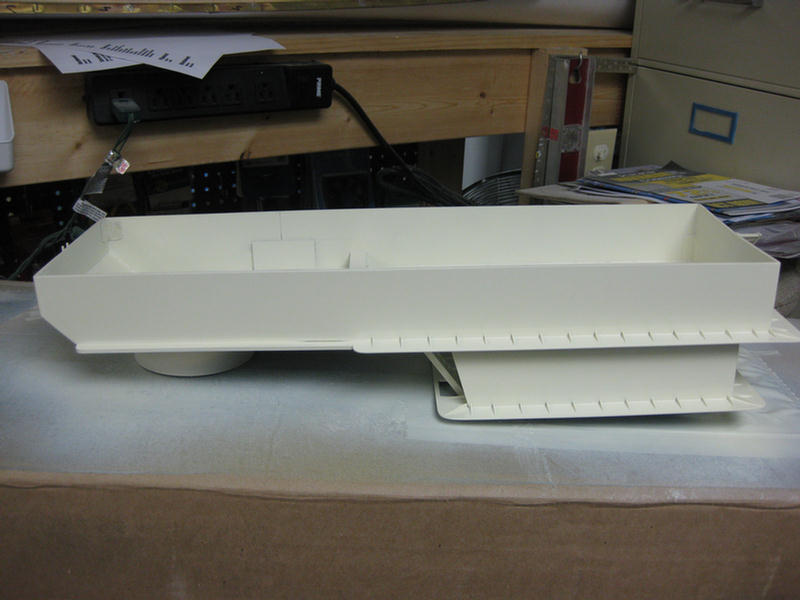
Color chosen is an off white. Looks a little off color here because of the florescent lighting. Once I get it in natural lighting, a truer rendition will be evident.
The reason you don't see the upper decks is that I am thinking about starting over on the pilot house. The previous one might be one more of my many "proto-types."
"Proto-Type" is my way of saying "failed attempt!" :)

Opening up the flues.
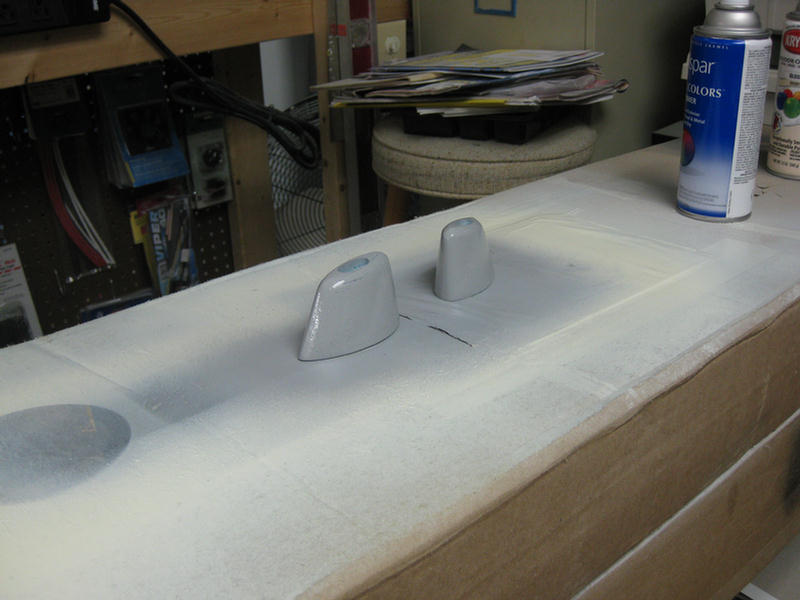
Prime, fill, sand, and paint.
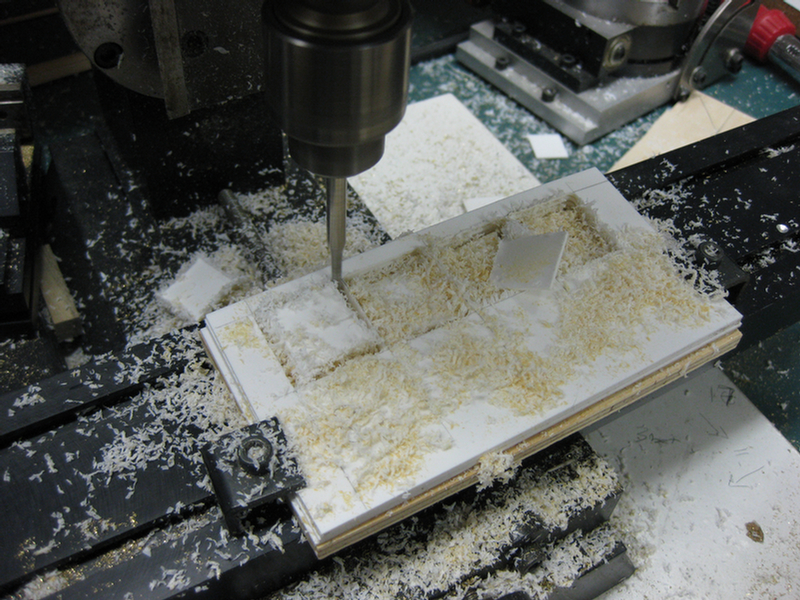
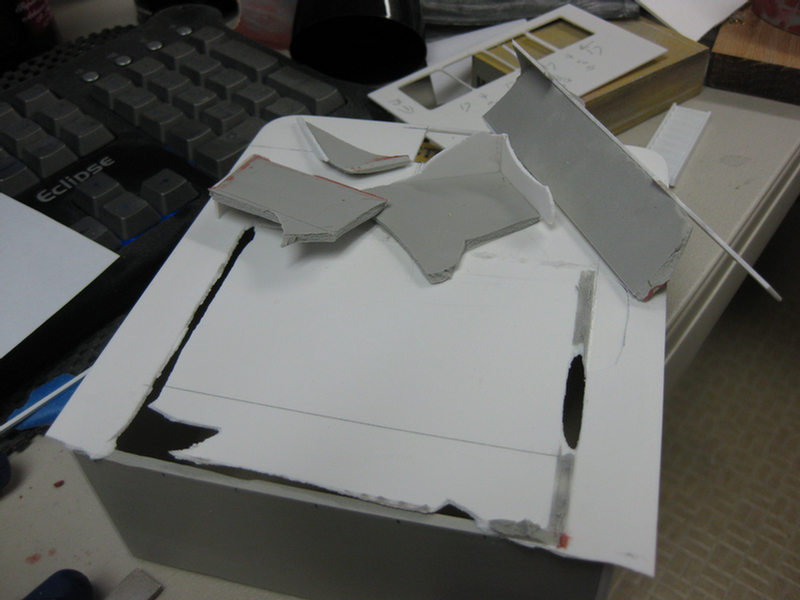
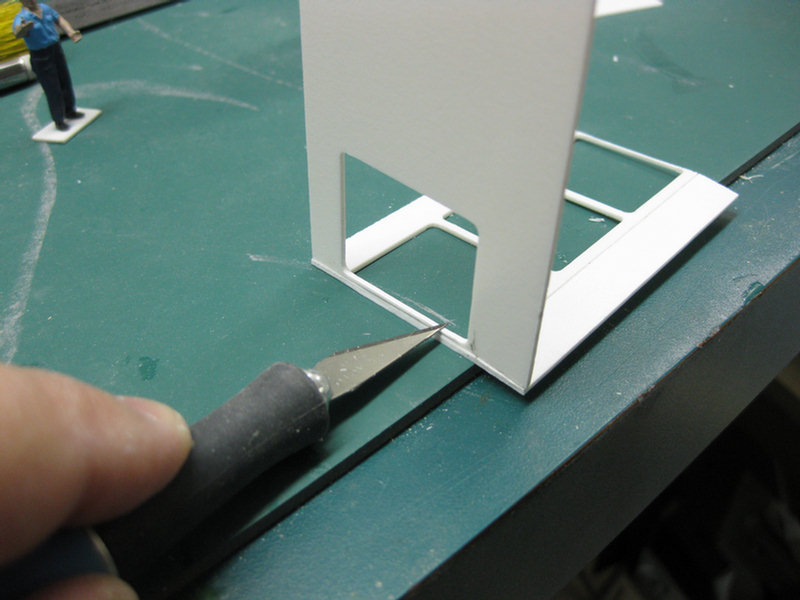
An experiment to see if I could mill my window openings.
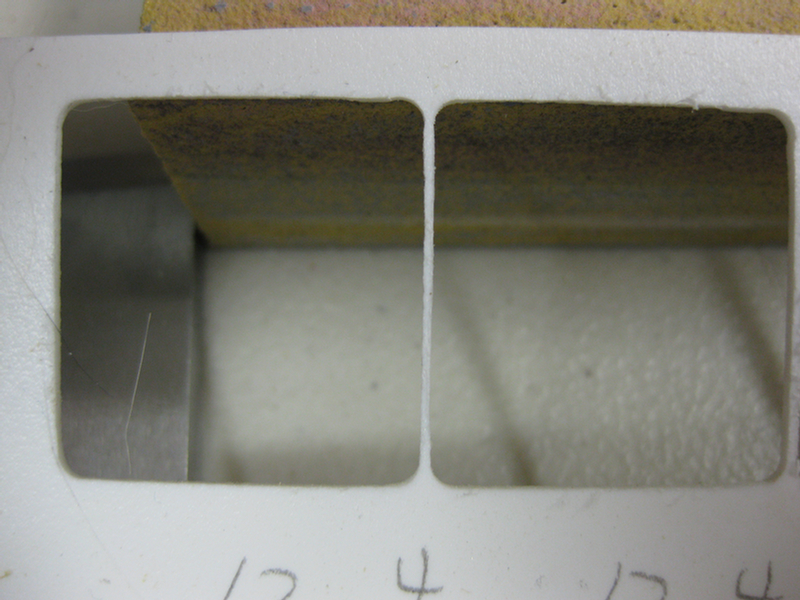
I believe this will work and will try another test.
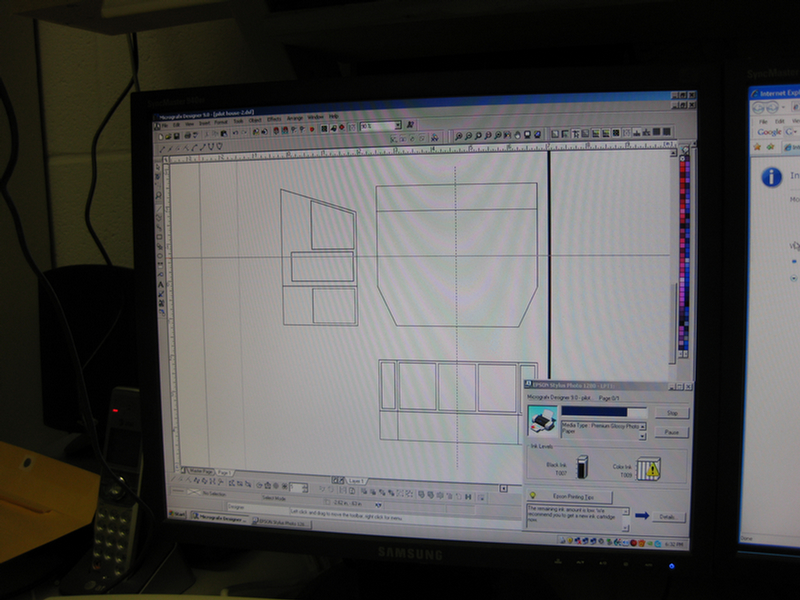
Guess what? I don't like the pilot house I built so I am drawing another version.
LOL! Here I am "gently" removing the old pilot house.
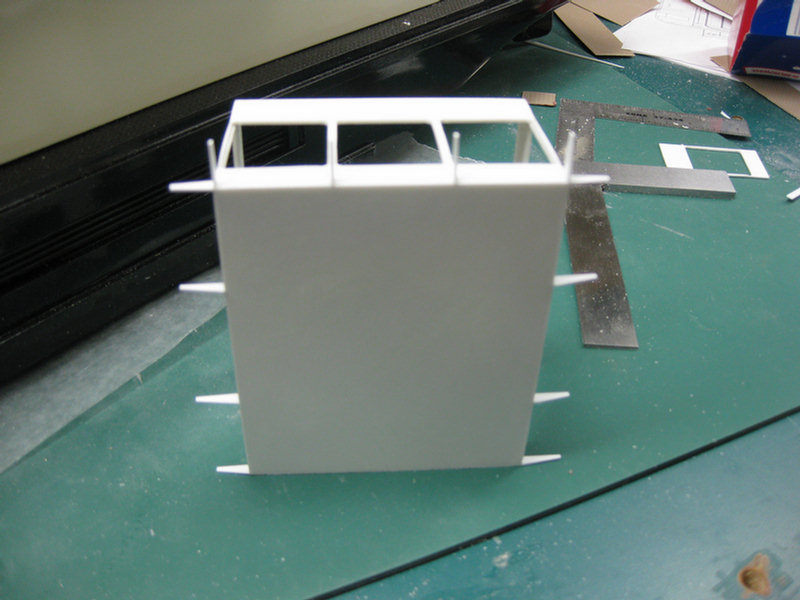
Okay, on to the new one.
Front windows will lean forward a little to help with glare.
Attaching one of the sides to the front.

Here, you can see the three front panels of glass will angle outward somewhat.
Adding angled brackets to support the brow.
Three of the four pieces that form the brow in place.
The daylight you see at the brow will be filled with a tow board on the upper portion of the roof.
Time to watch some FOOTBALL!
Some minor wet sanding and then the last coat of primer.
The wet sanding is complete and now the gray primer is on.
After knocking off any lint that lodged in the primer, it is time for the white prime coat.
Now the color coat is on.
Stacks now painted too. Seems I spent an awful amount of time on the stacks.
Getting there.

I have some boo boos to fix where the gray deck paint found its way under the masking tape.
More tomorrow.
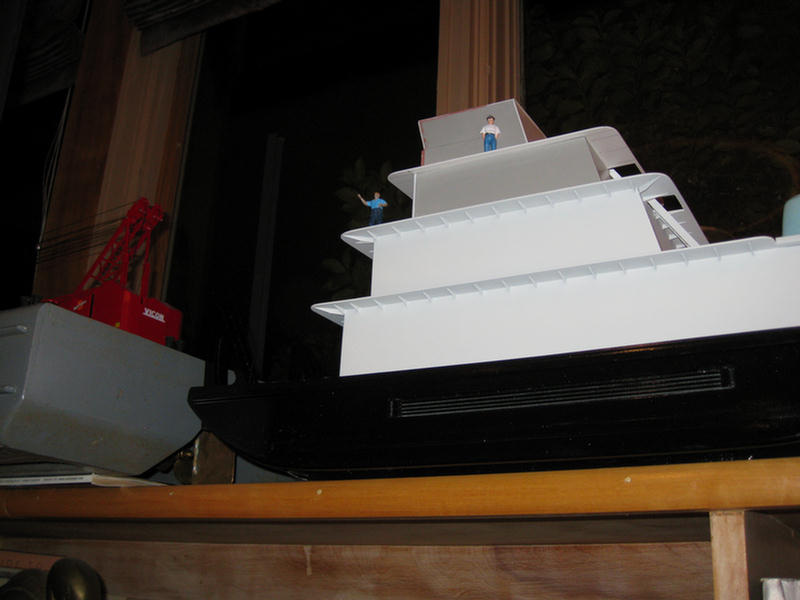
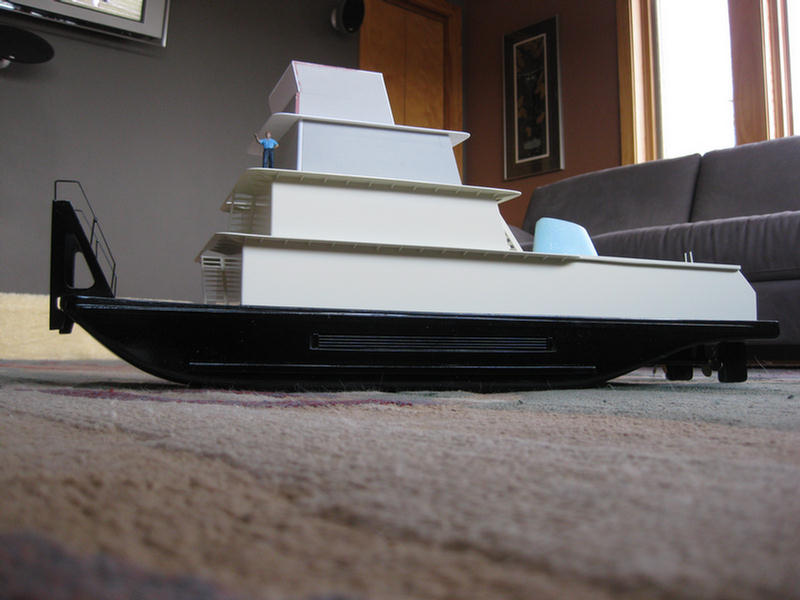
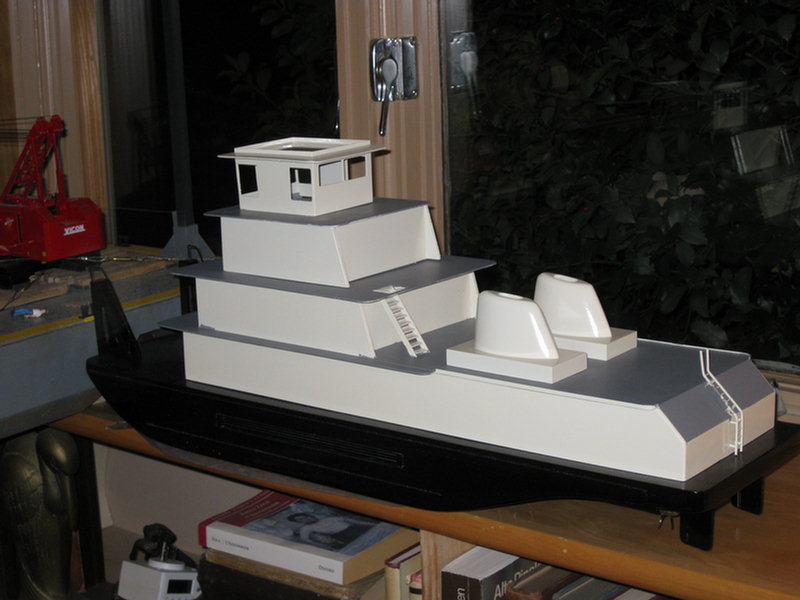
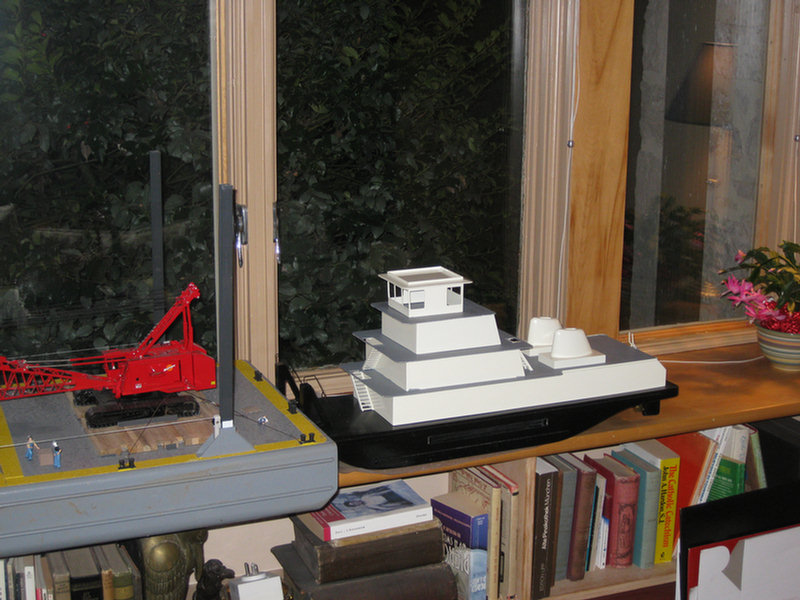
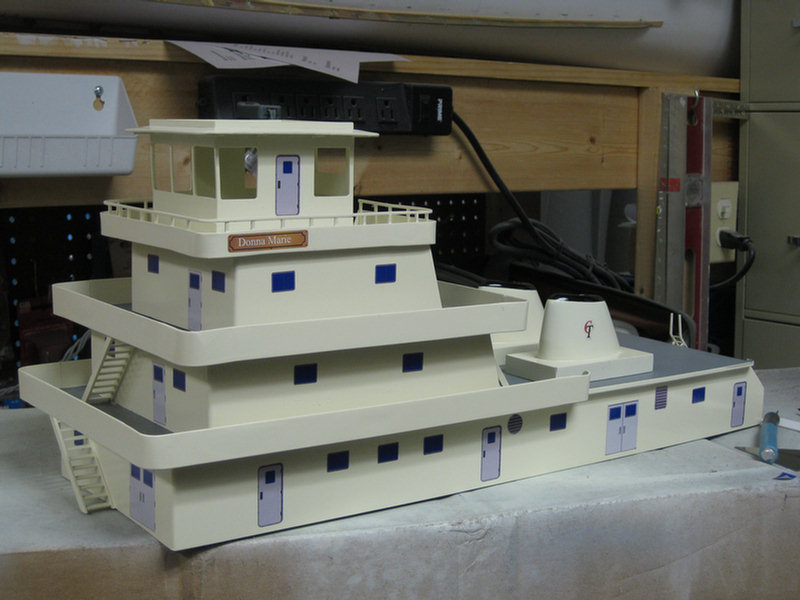
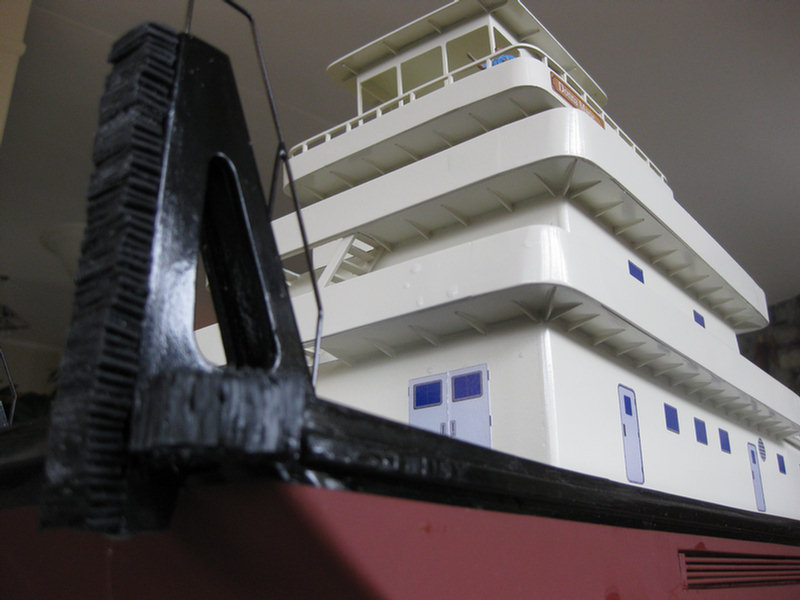
Note the solid guarding around the decks is now installed.
I also raised the pilot house.
Ahh.....Remember all that solid railing at each deck level? I just ripped all off. I made it out of a material that was too thin. the result was that it was wavy. So, I will start over and use a heavier stock.

The topmost deck will have something a little different. a half solid rail with a open handrail to finish.
This looks a little different and it is pretty solid and straight.
Now to repaint most of the decks.
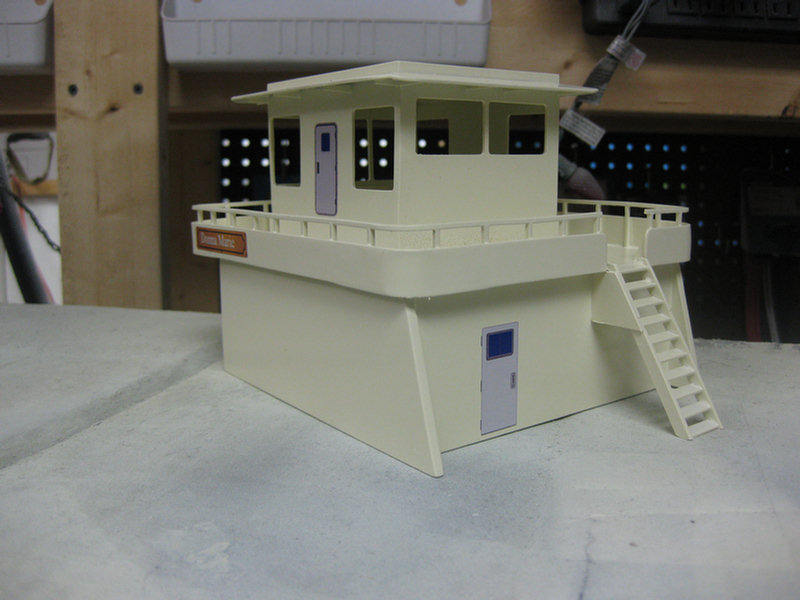
I drew all of the artwork for the decals. I tried making the decals myself, but the quality was not up to par. So, I sent my artwork of to Callie Graphics of Edgewood, NM and in a few days I received my decals back of the quality required. Sometimes it's better just to let the pros do it! :)
The towboat will have decals for all of the doors, windows, and vents for all but the pilot house. There I will use decals for the doors but have real windows so I can add some future detail to the inside of the pilot house.
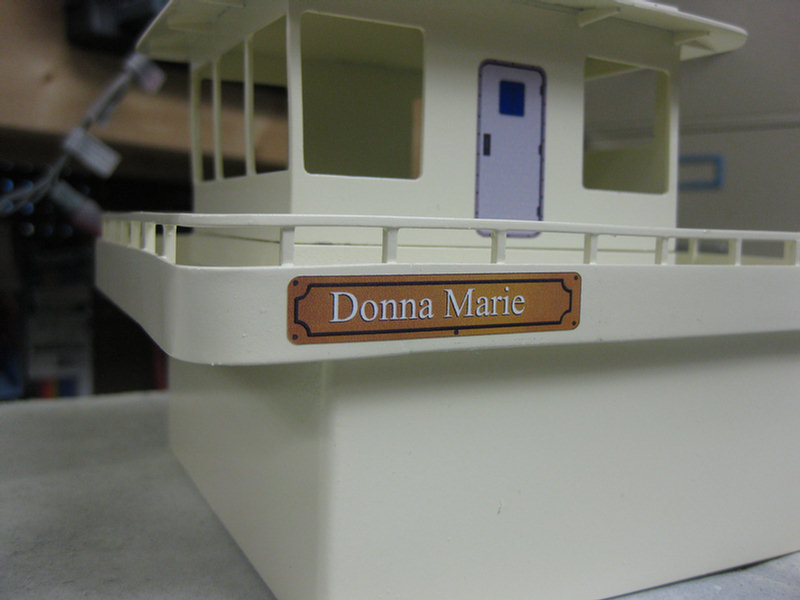
Naming this after my Wife should bag me some serious brownie points!!
Adding the decals.
After the decals, there will be added details attached.
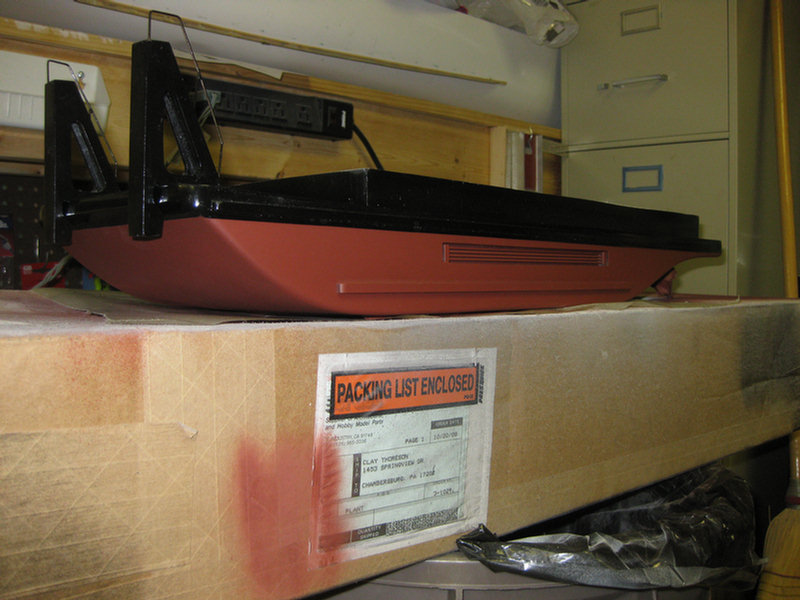
Time to paint the part of the hull that will remain below the waterline.
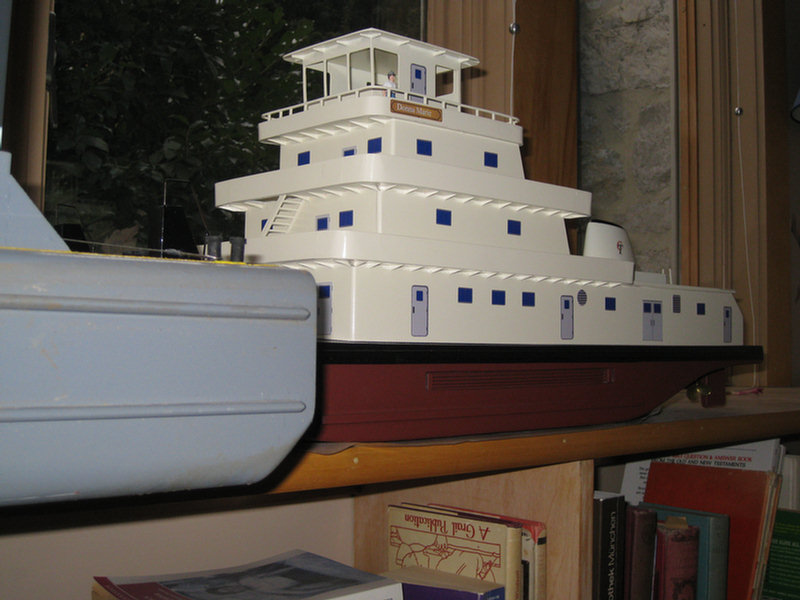
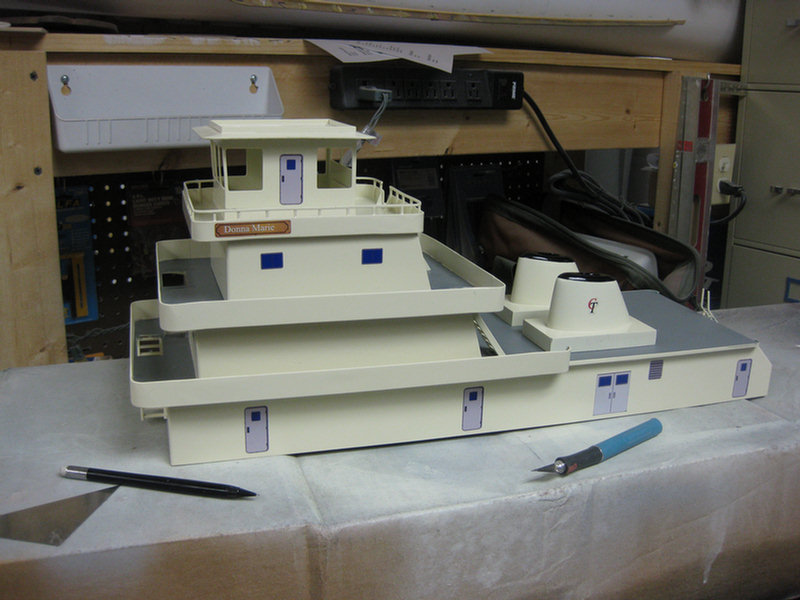
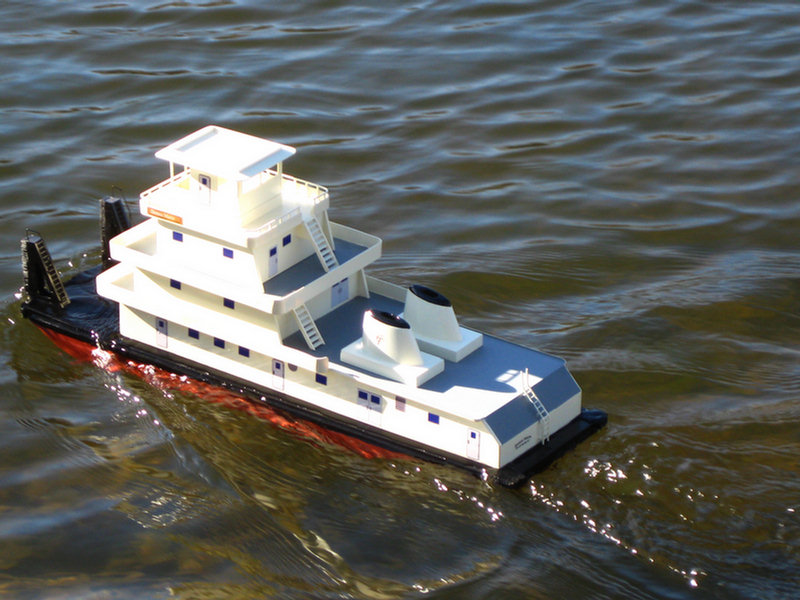
Well, I think it has a nice look to it.
Still have quite a bit of detail work and all of the electric connections left to do, but I think the Donna-Marie is looking pretty good.
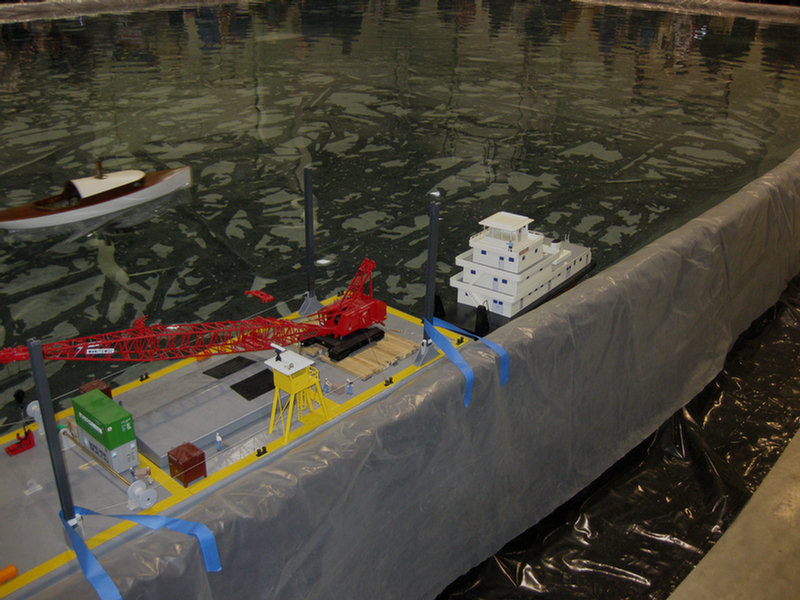
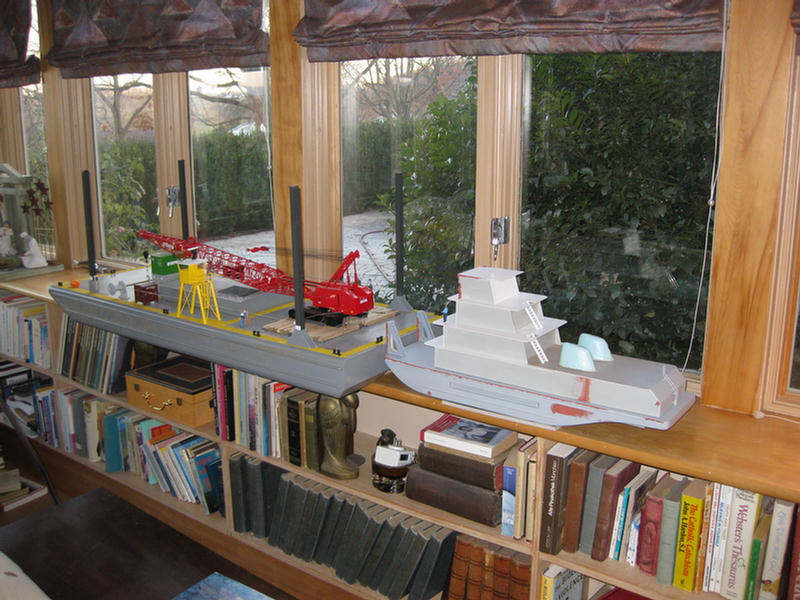
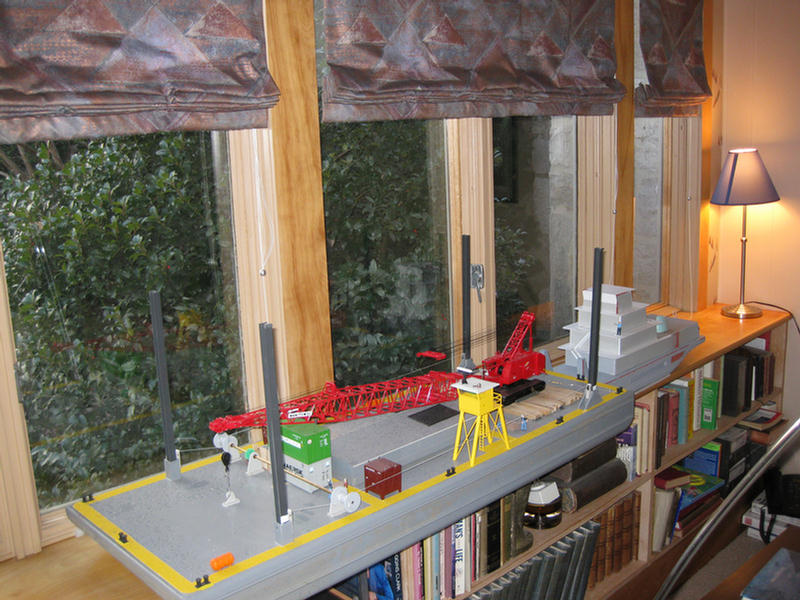
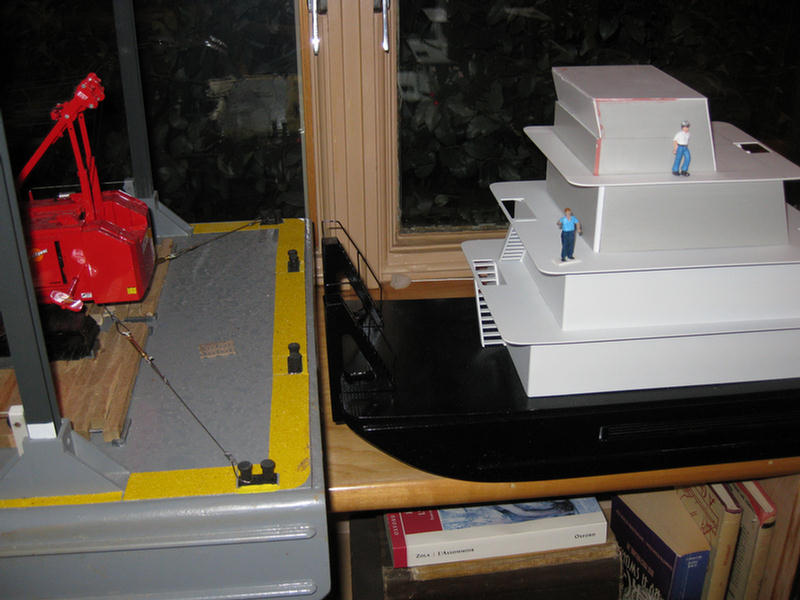
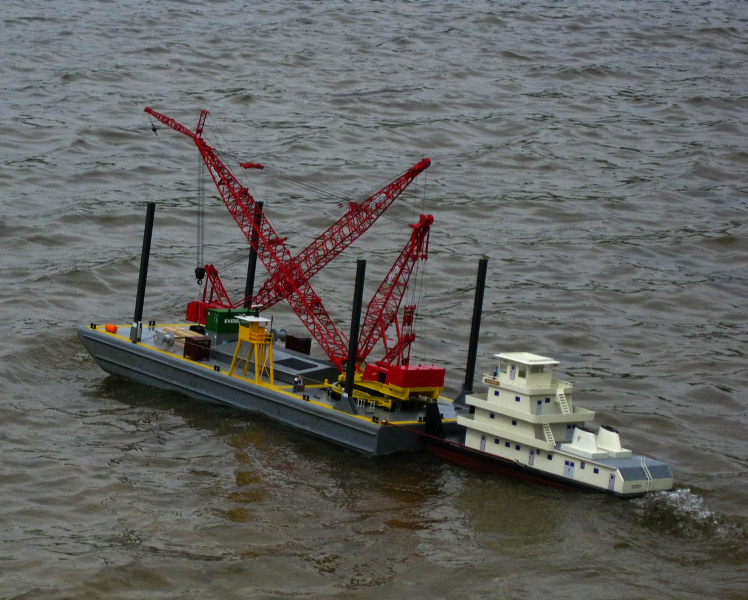
This is at the Cabin Fever show in January. The barge was docked with my patented docking tape. The Donna Marie was just set in the water as I do not have any of the electrics done inside the boat. Made for a nice static shot though. And, she didn't sink!
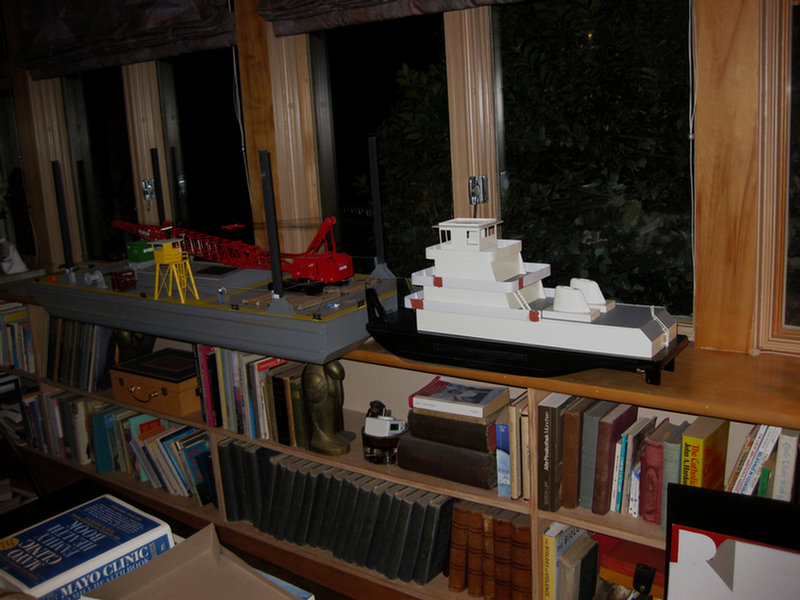
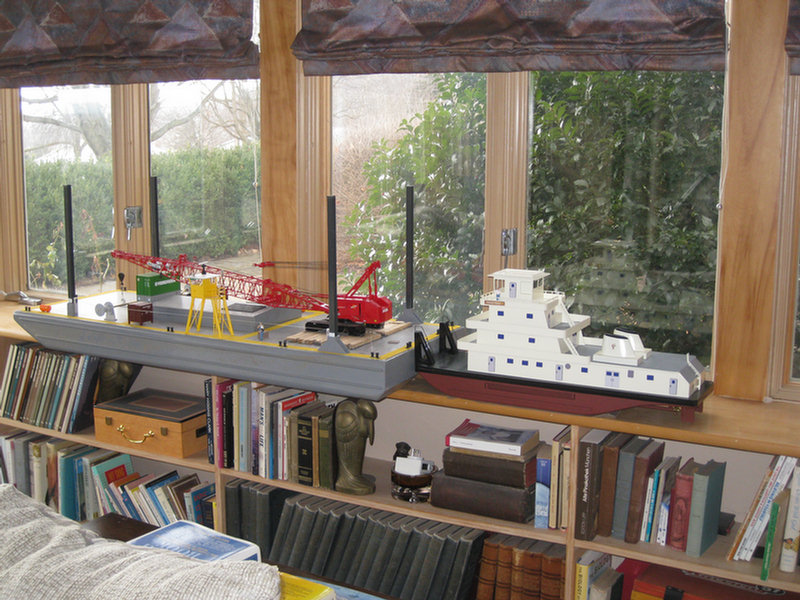
The Donna Marie behind the barge. I only wish she was able to have pushed the barge around the pond. I just ran out of time.
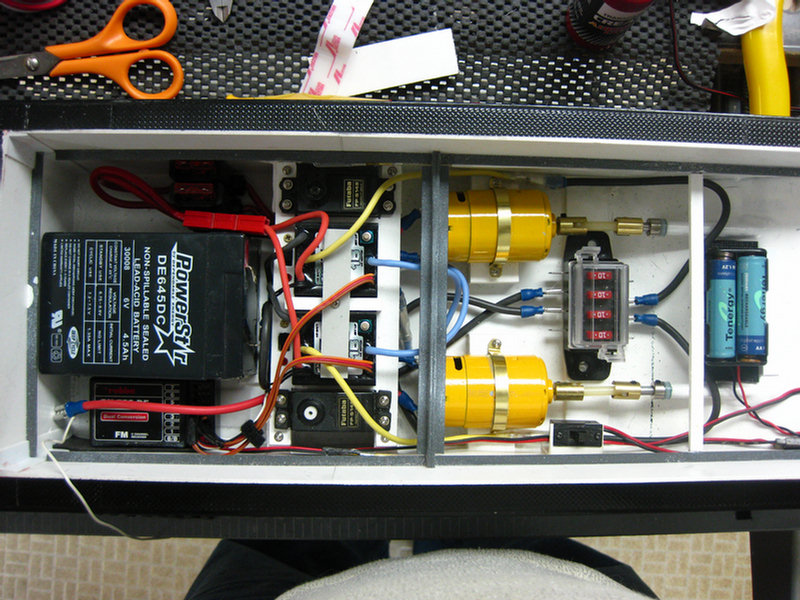
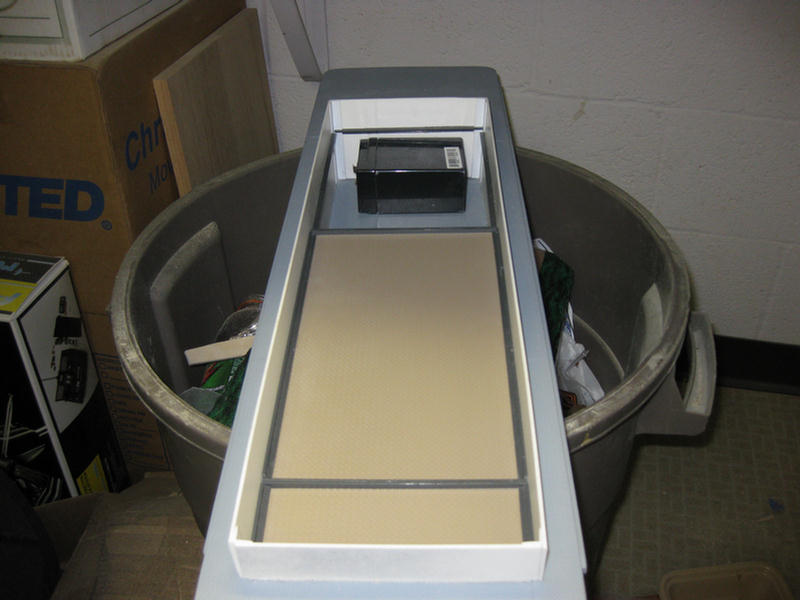
As I mentioned above, at the show, the towboat was just sitting in the water since I had not yet installed all the radio and electrical gear. Things are a bit tight in the engine room, but....looks like it is all going to fit.
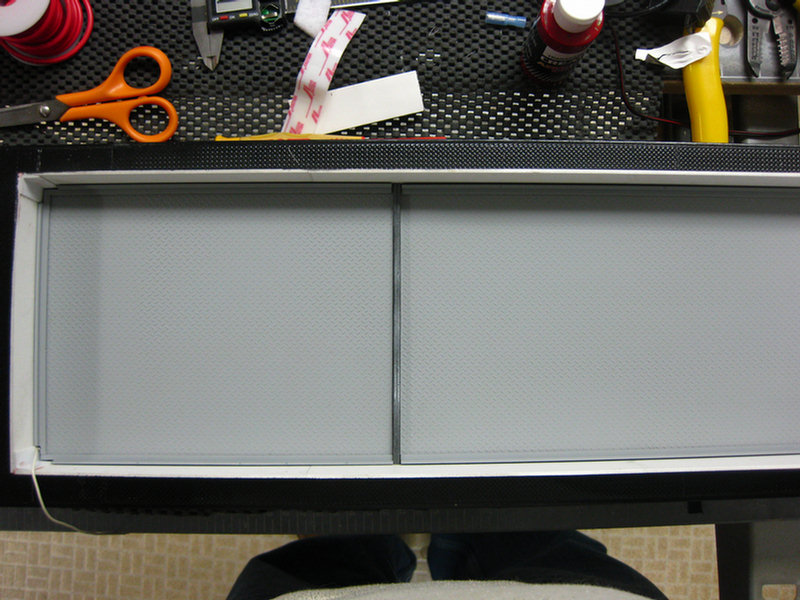
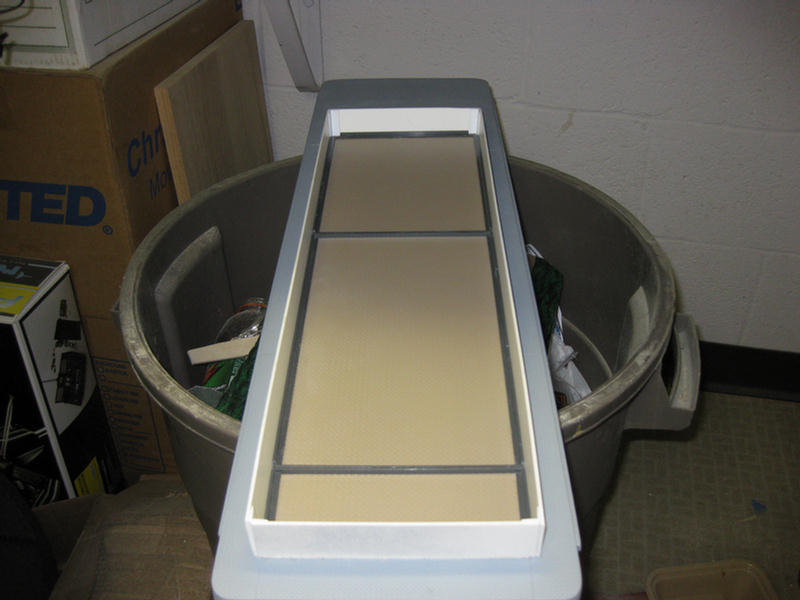
Everything fit and I was able to cover the room with deck plating.
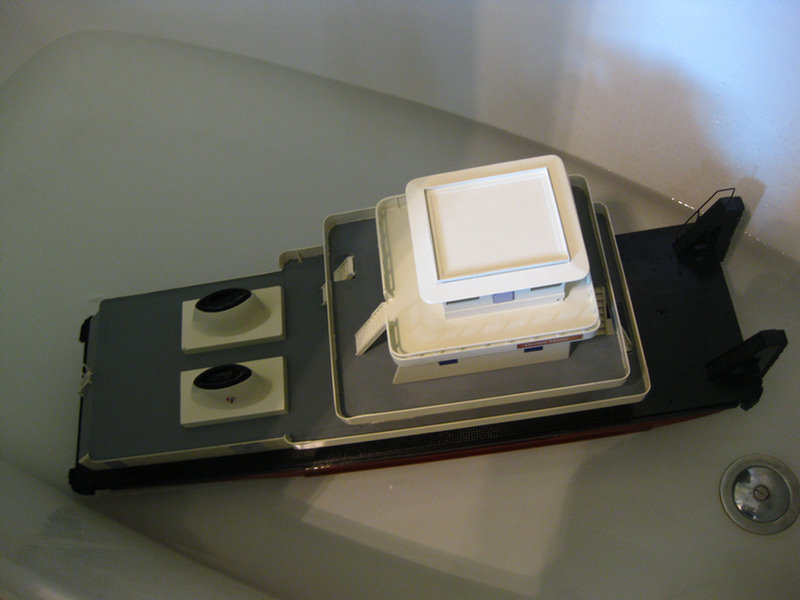
Rub-a-dub...dub.......Towboat in da tub.
Push knee bumpers and corner bumpers in place.
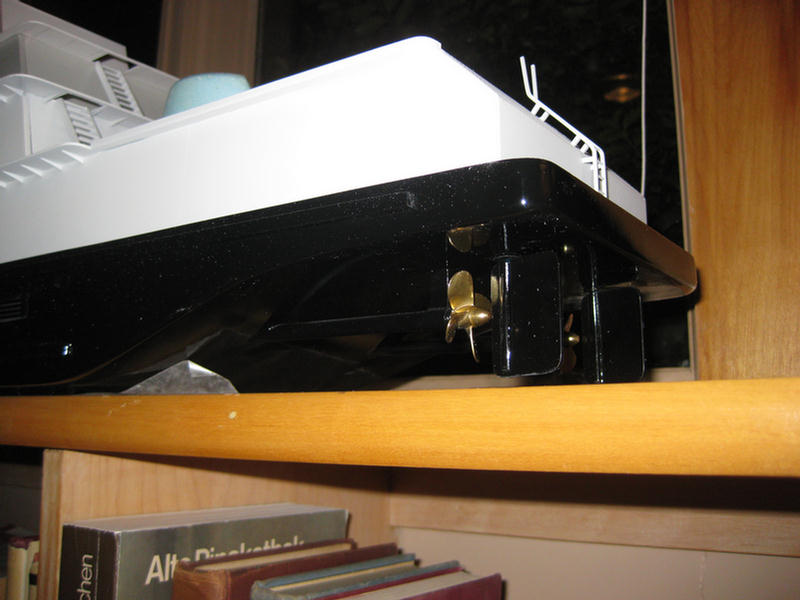
Still need to make and install the four flanking rudders.
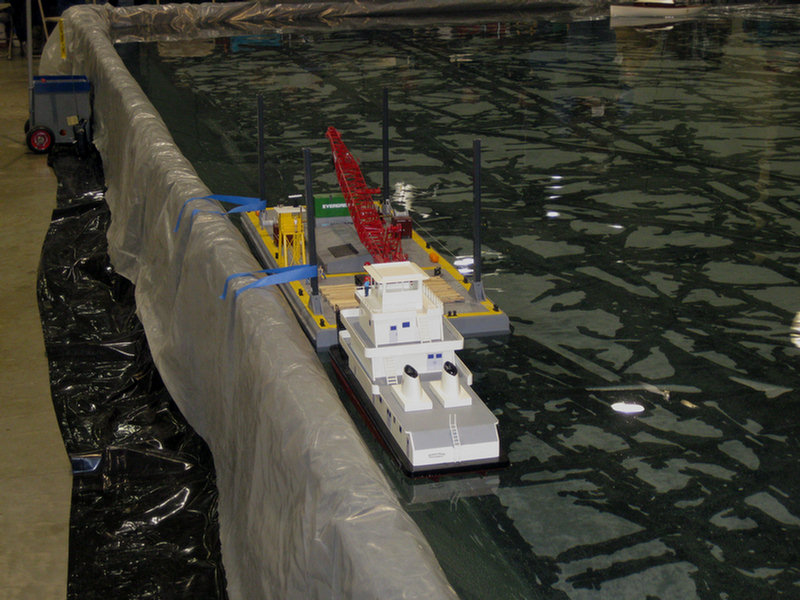
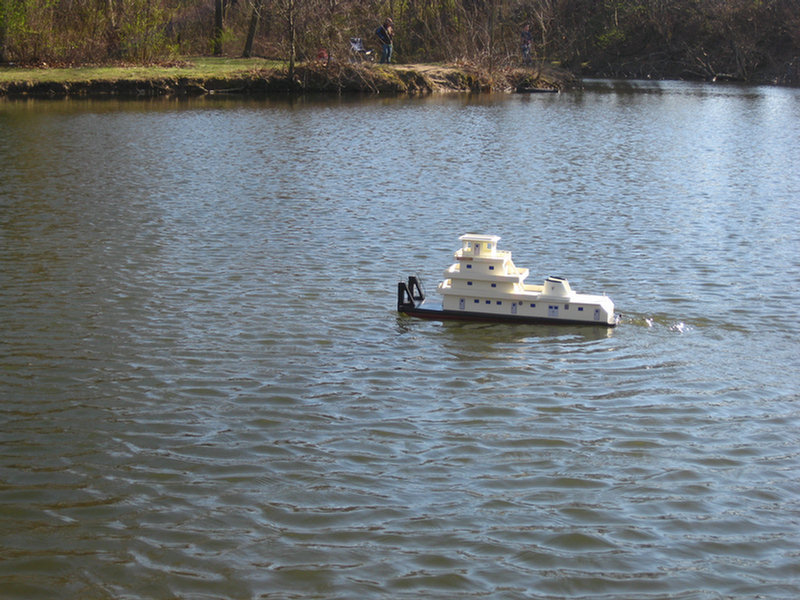
There we go, four flanking rudders now in place. The Donna Marie is now ready to test in the water.
Nice and easy push. Having trouble with interference "chugging" of one motor when attempting to use both. All of the photos at this run are done with only the port motor running.
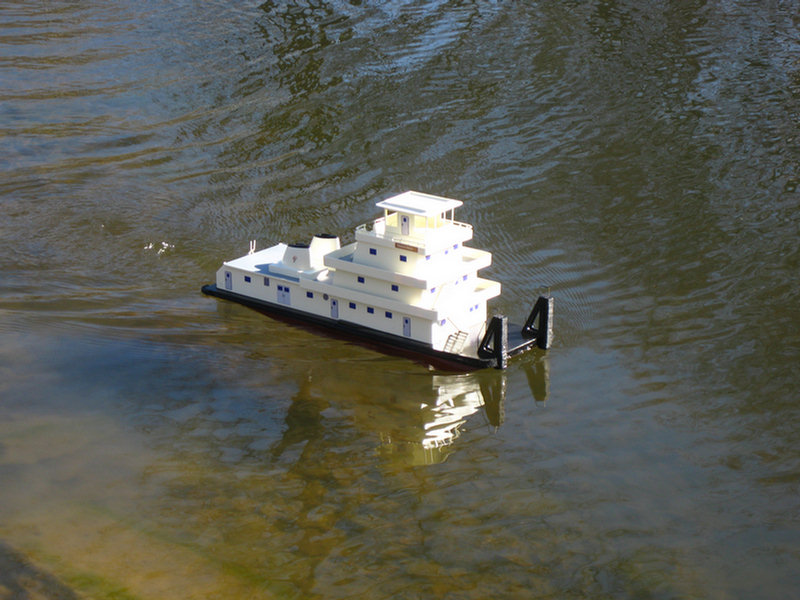
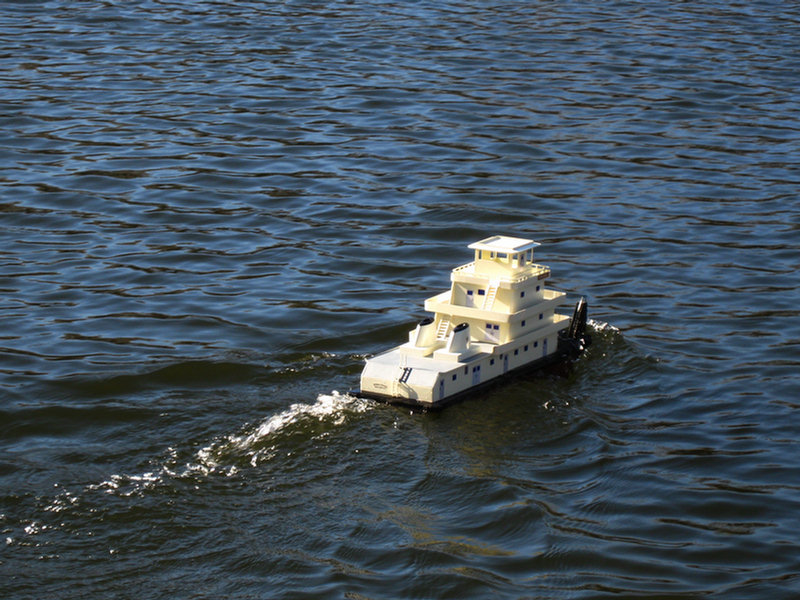
At slow speed the bow stays above the water.
At 3/4 throttle, the bow is awash.
At full throttle (one motor) She can push a big wave over the bow.
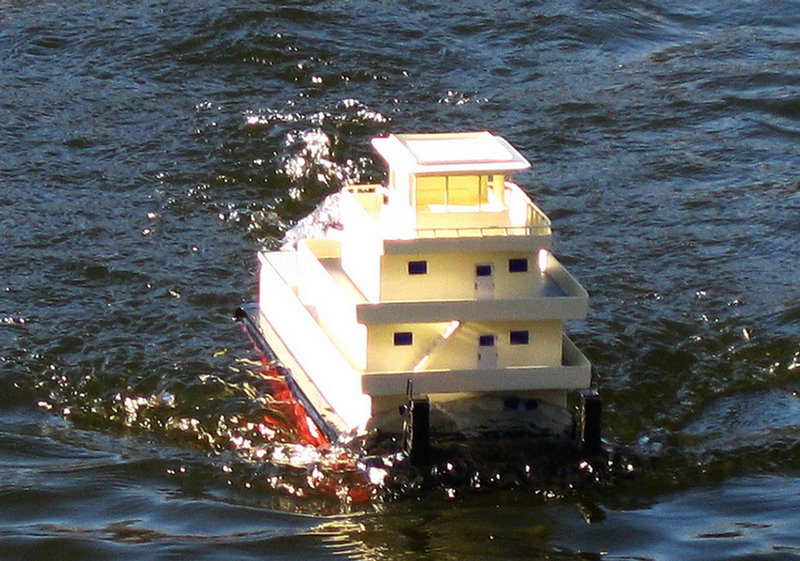
Pushing some serious water. Better batten those hatches!!
Rough seas!!
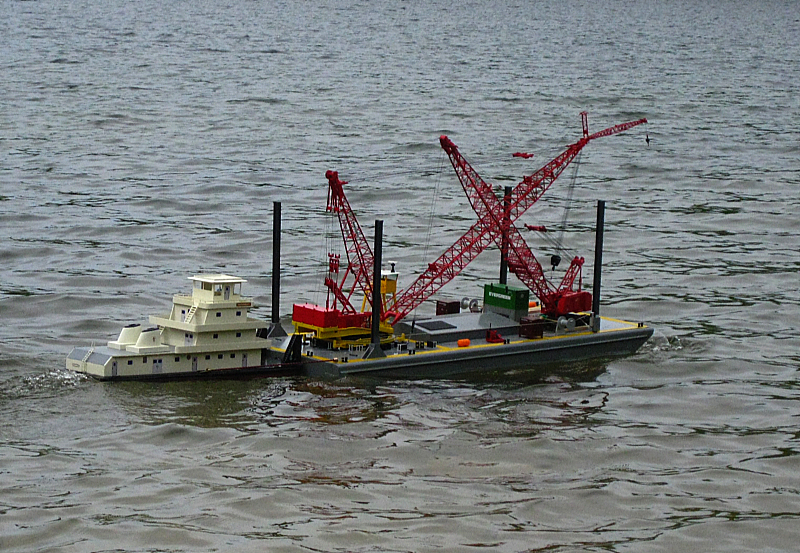
Now with Ringer and standard crane